
A tutorial with all the basic steps of painting furniture is what it’s all about today! If you read my last post, then you are ready to move past Feelings 1,2 and 3 and it’s time to conquer your fears!
I get asked a lot about how to use the magical stuff in the pretty little cans 🙂 I have held paint classes to teach people in person, and have even taught some friends right in my garage. I thought this would be a great place to give y’all a beginners guide tutorial to get you on your way.
Don’t worry! It’s not as scary as it seems. I am in the process of painting a custom bedroom set for a client, and knew this antique dresser would be the perfect piece to do a tutorial on. DISCLOSURE- I will apologize right now for A) Messy garage background shots B) Paint on garage floor C) Outgrown fingernail polish with paint all over hands. That’s real life around here, y’all. We gave up a long time ago on laying down drop cloths under every piece I paint in the garage. And well, who has time to get their nails done in a timely fashion these days? Not me 😉
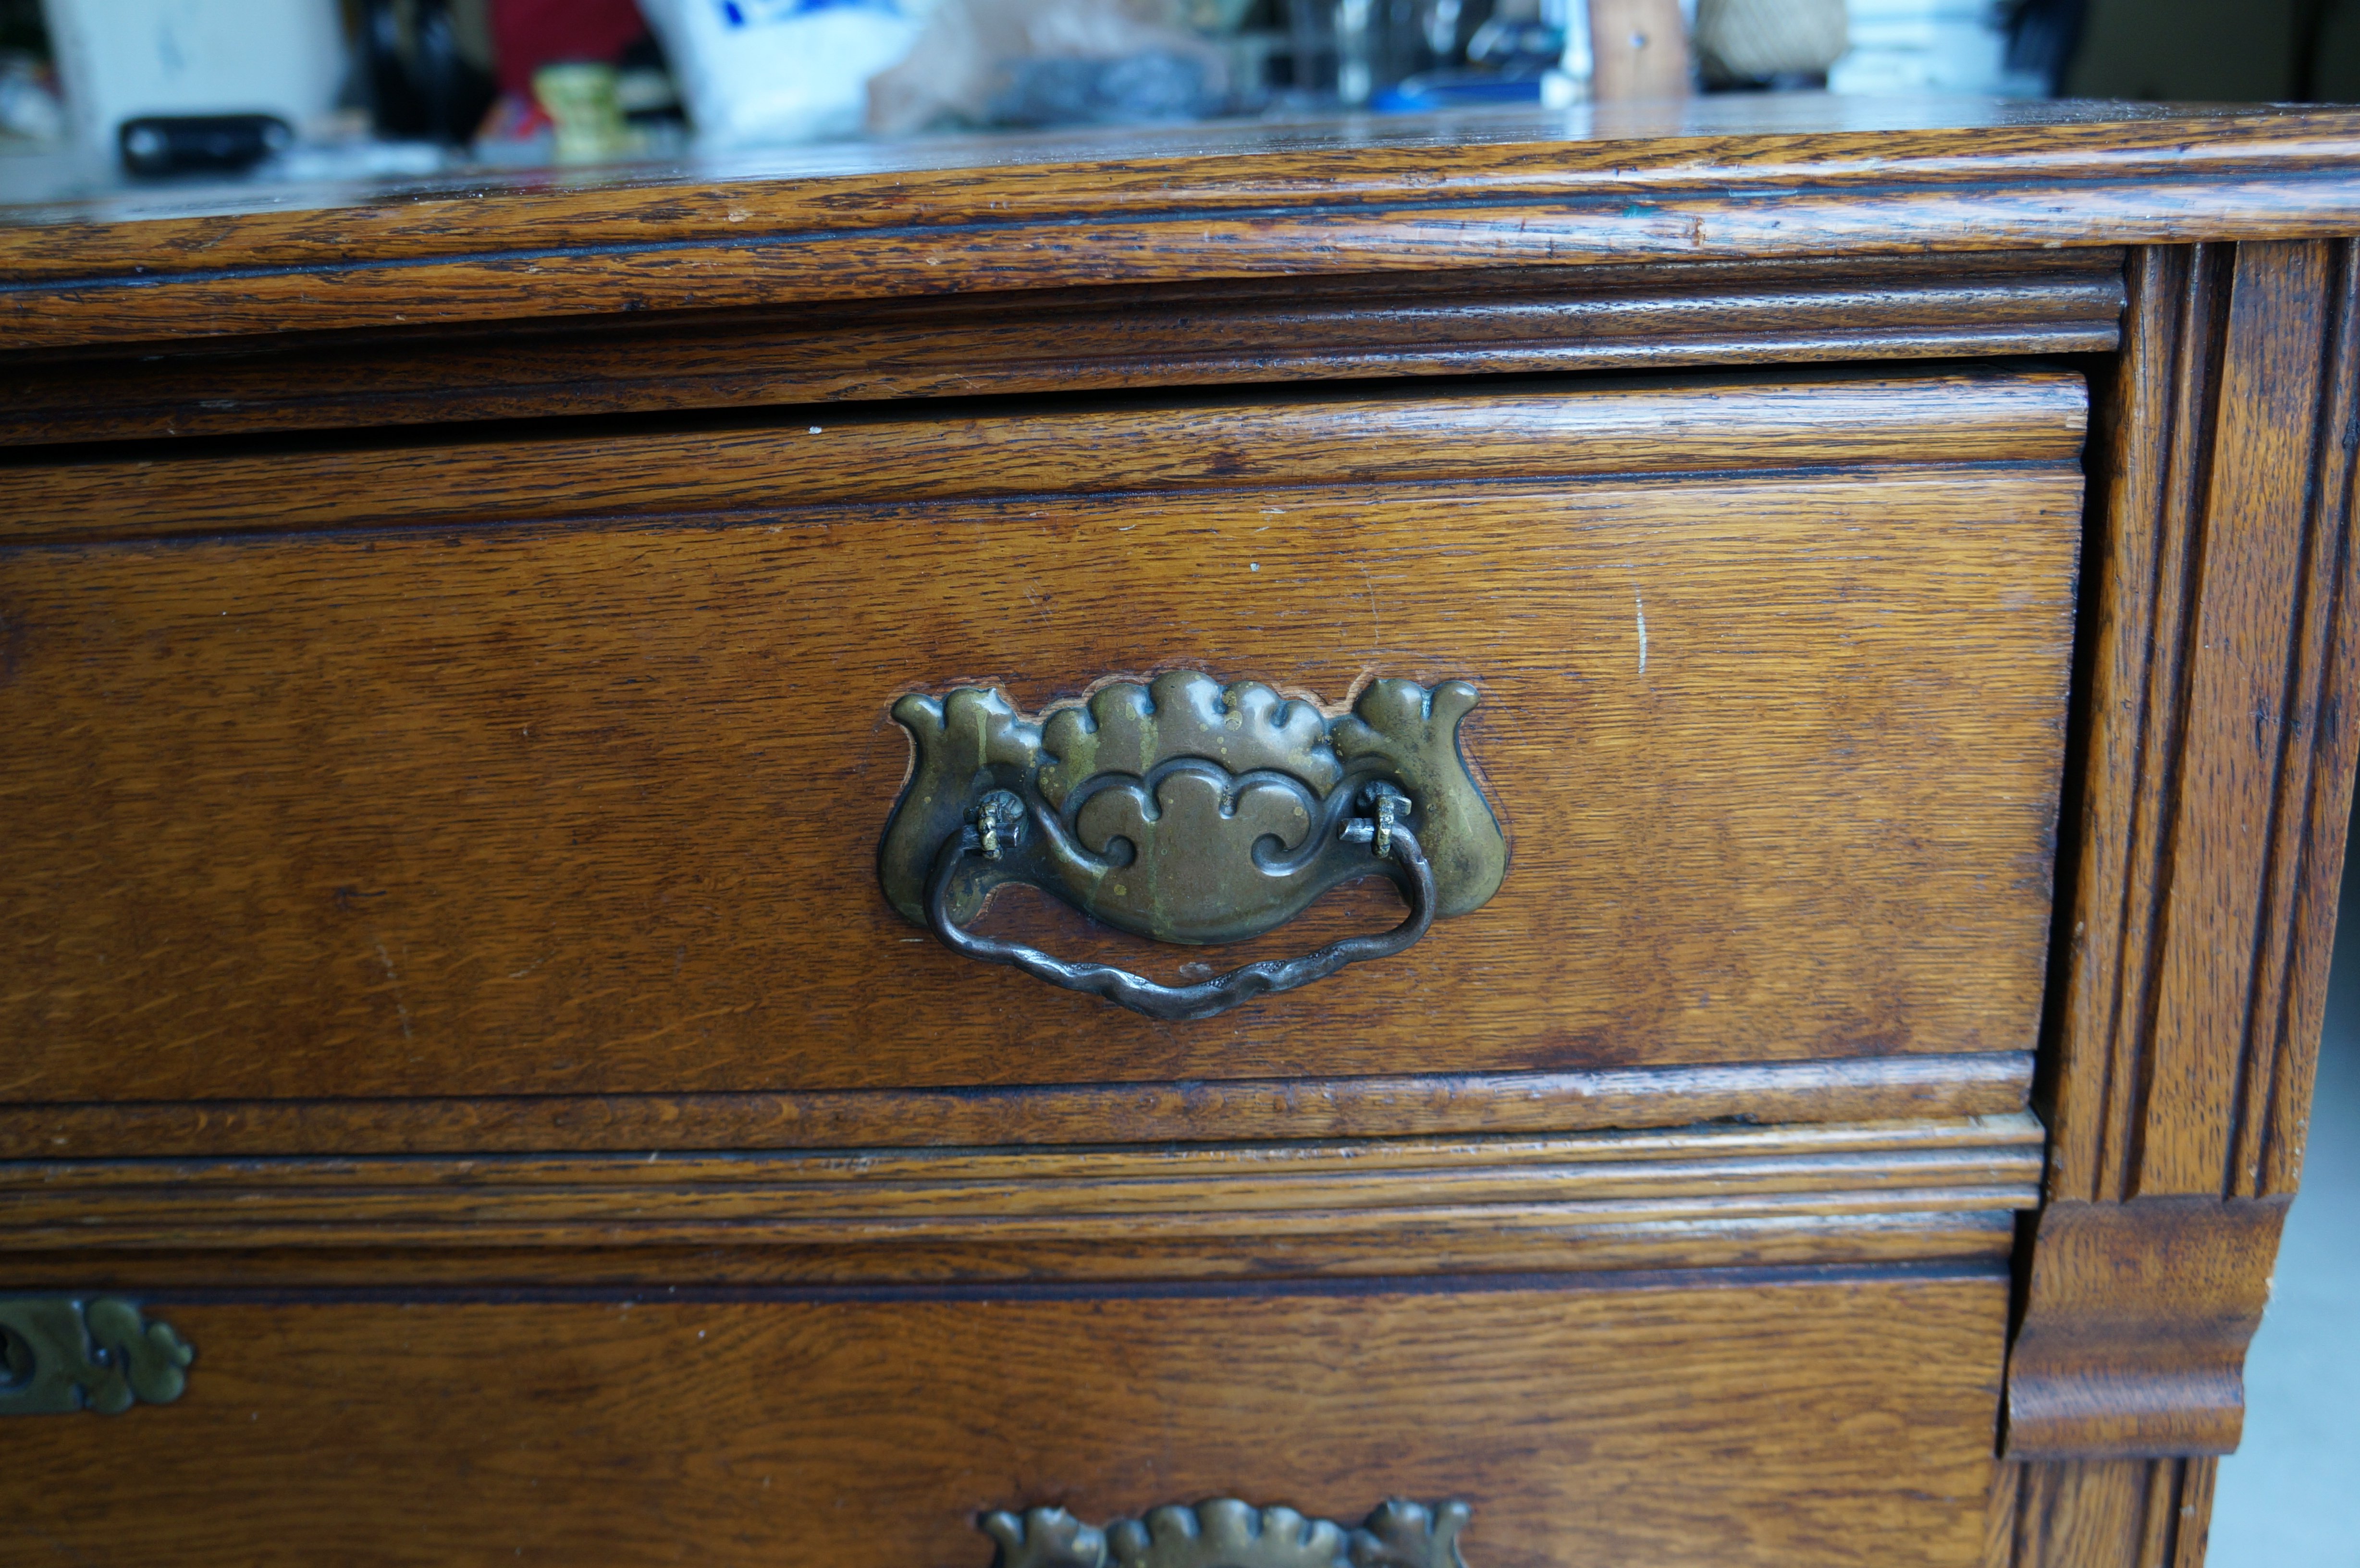
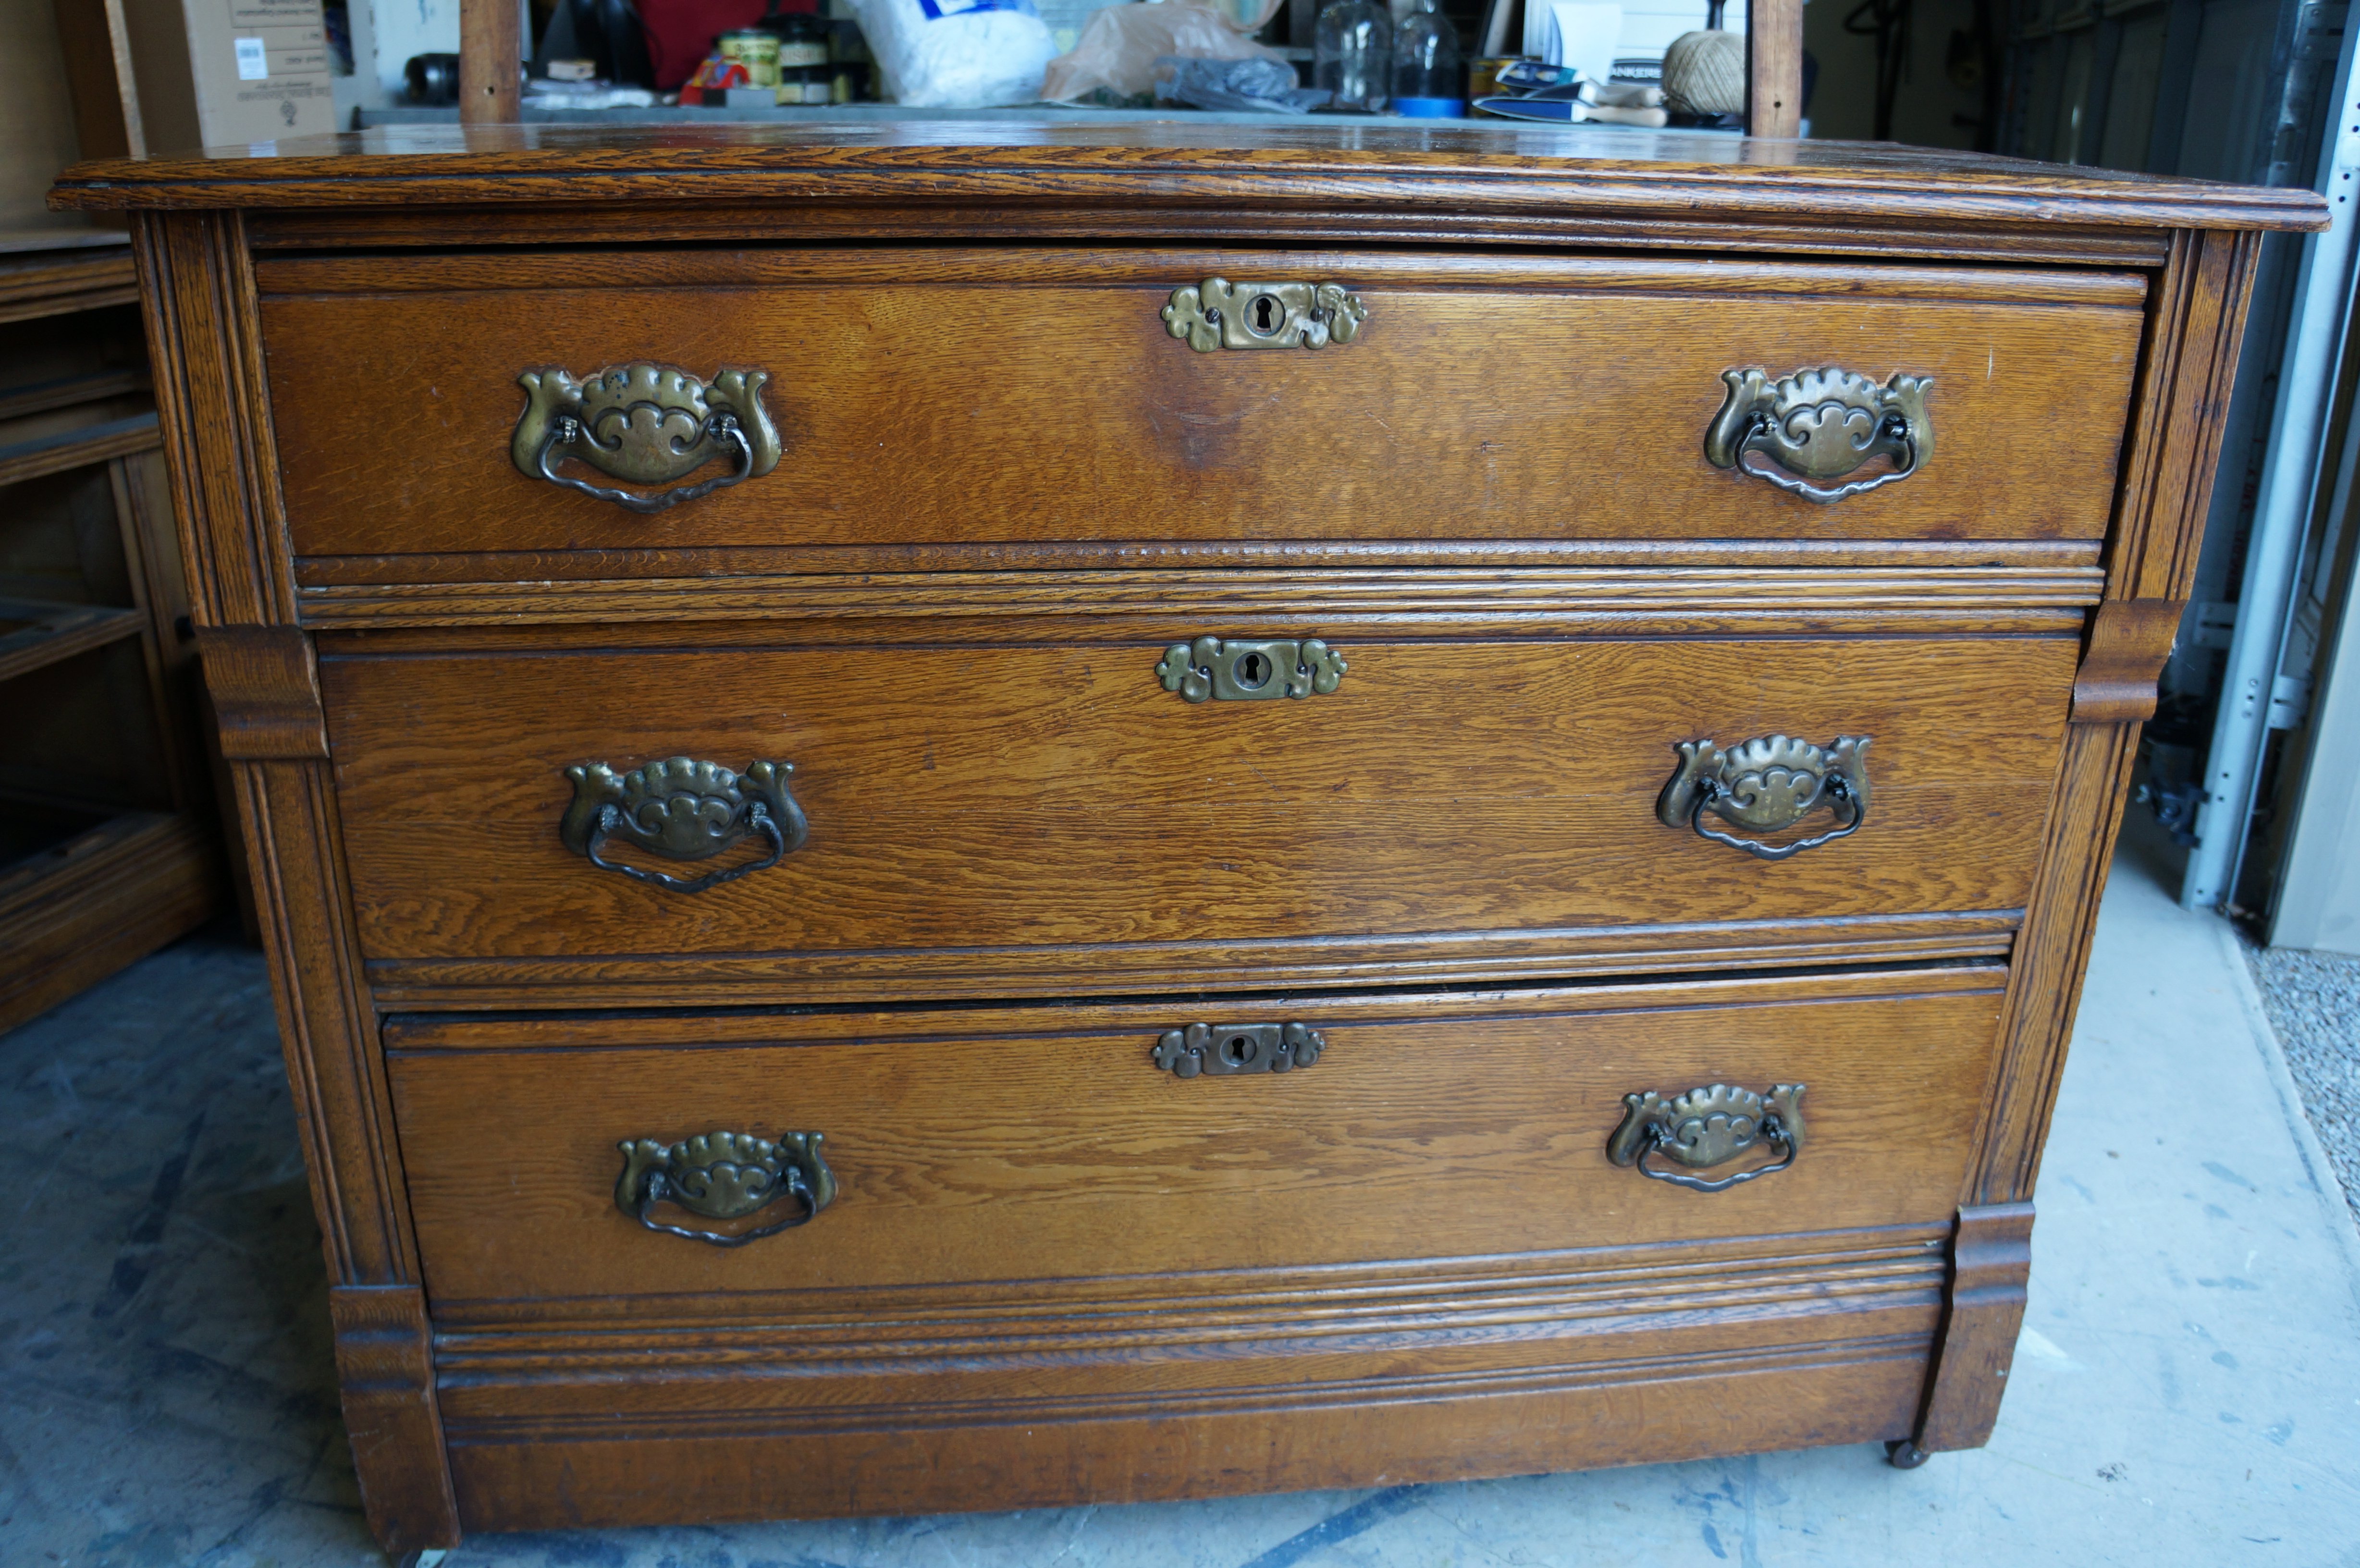
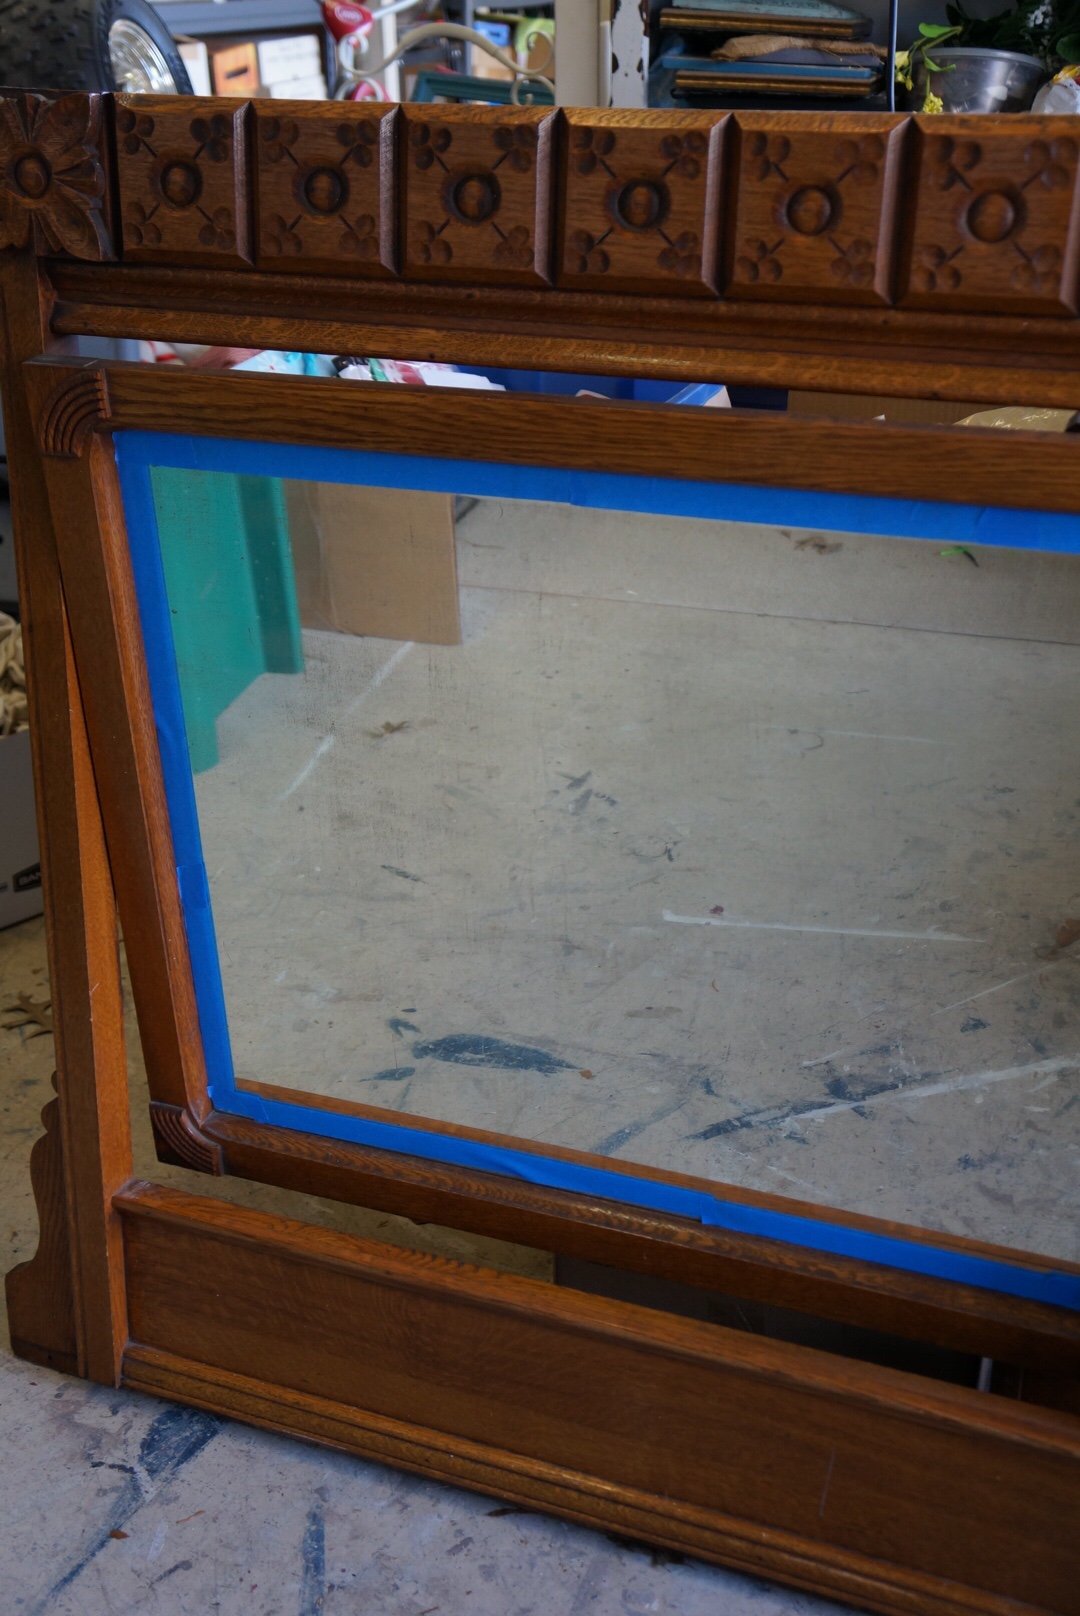
Here are some before pictures.
My paint of choice and what I am using for this tutorial is Blackberry House Paint. However, if you do not have Blackberry House in your area, you can find other lines that will work and will follow these exact instructions. Search furniture paint retailers or chalk paint retailers near you. These instructions WILL NOT work for latex paint or spray. Now, let’s get to what you came here for 😉
-
- STEP 1- Clean your piece! I recommend using a good degreaser. Older pieces that have sat around longer collecting dirt and dust might take a little more elbow grease to get clean. Something a little newer might just need a good wipe down. Mean Green 132 Industrial Strength Cleaner/Degreaser, 32 fl. oz.

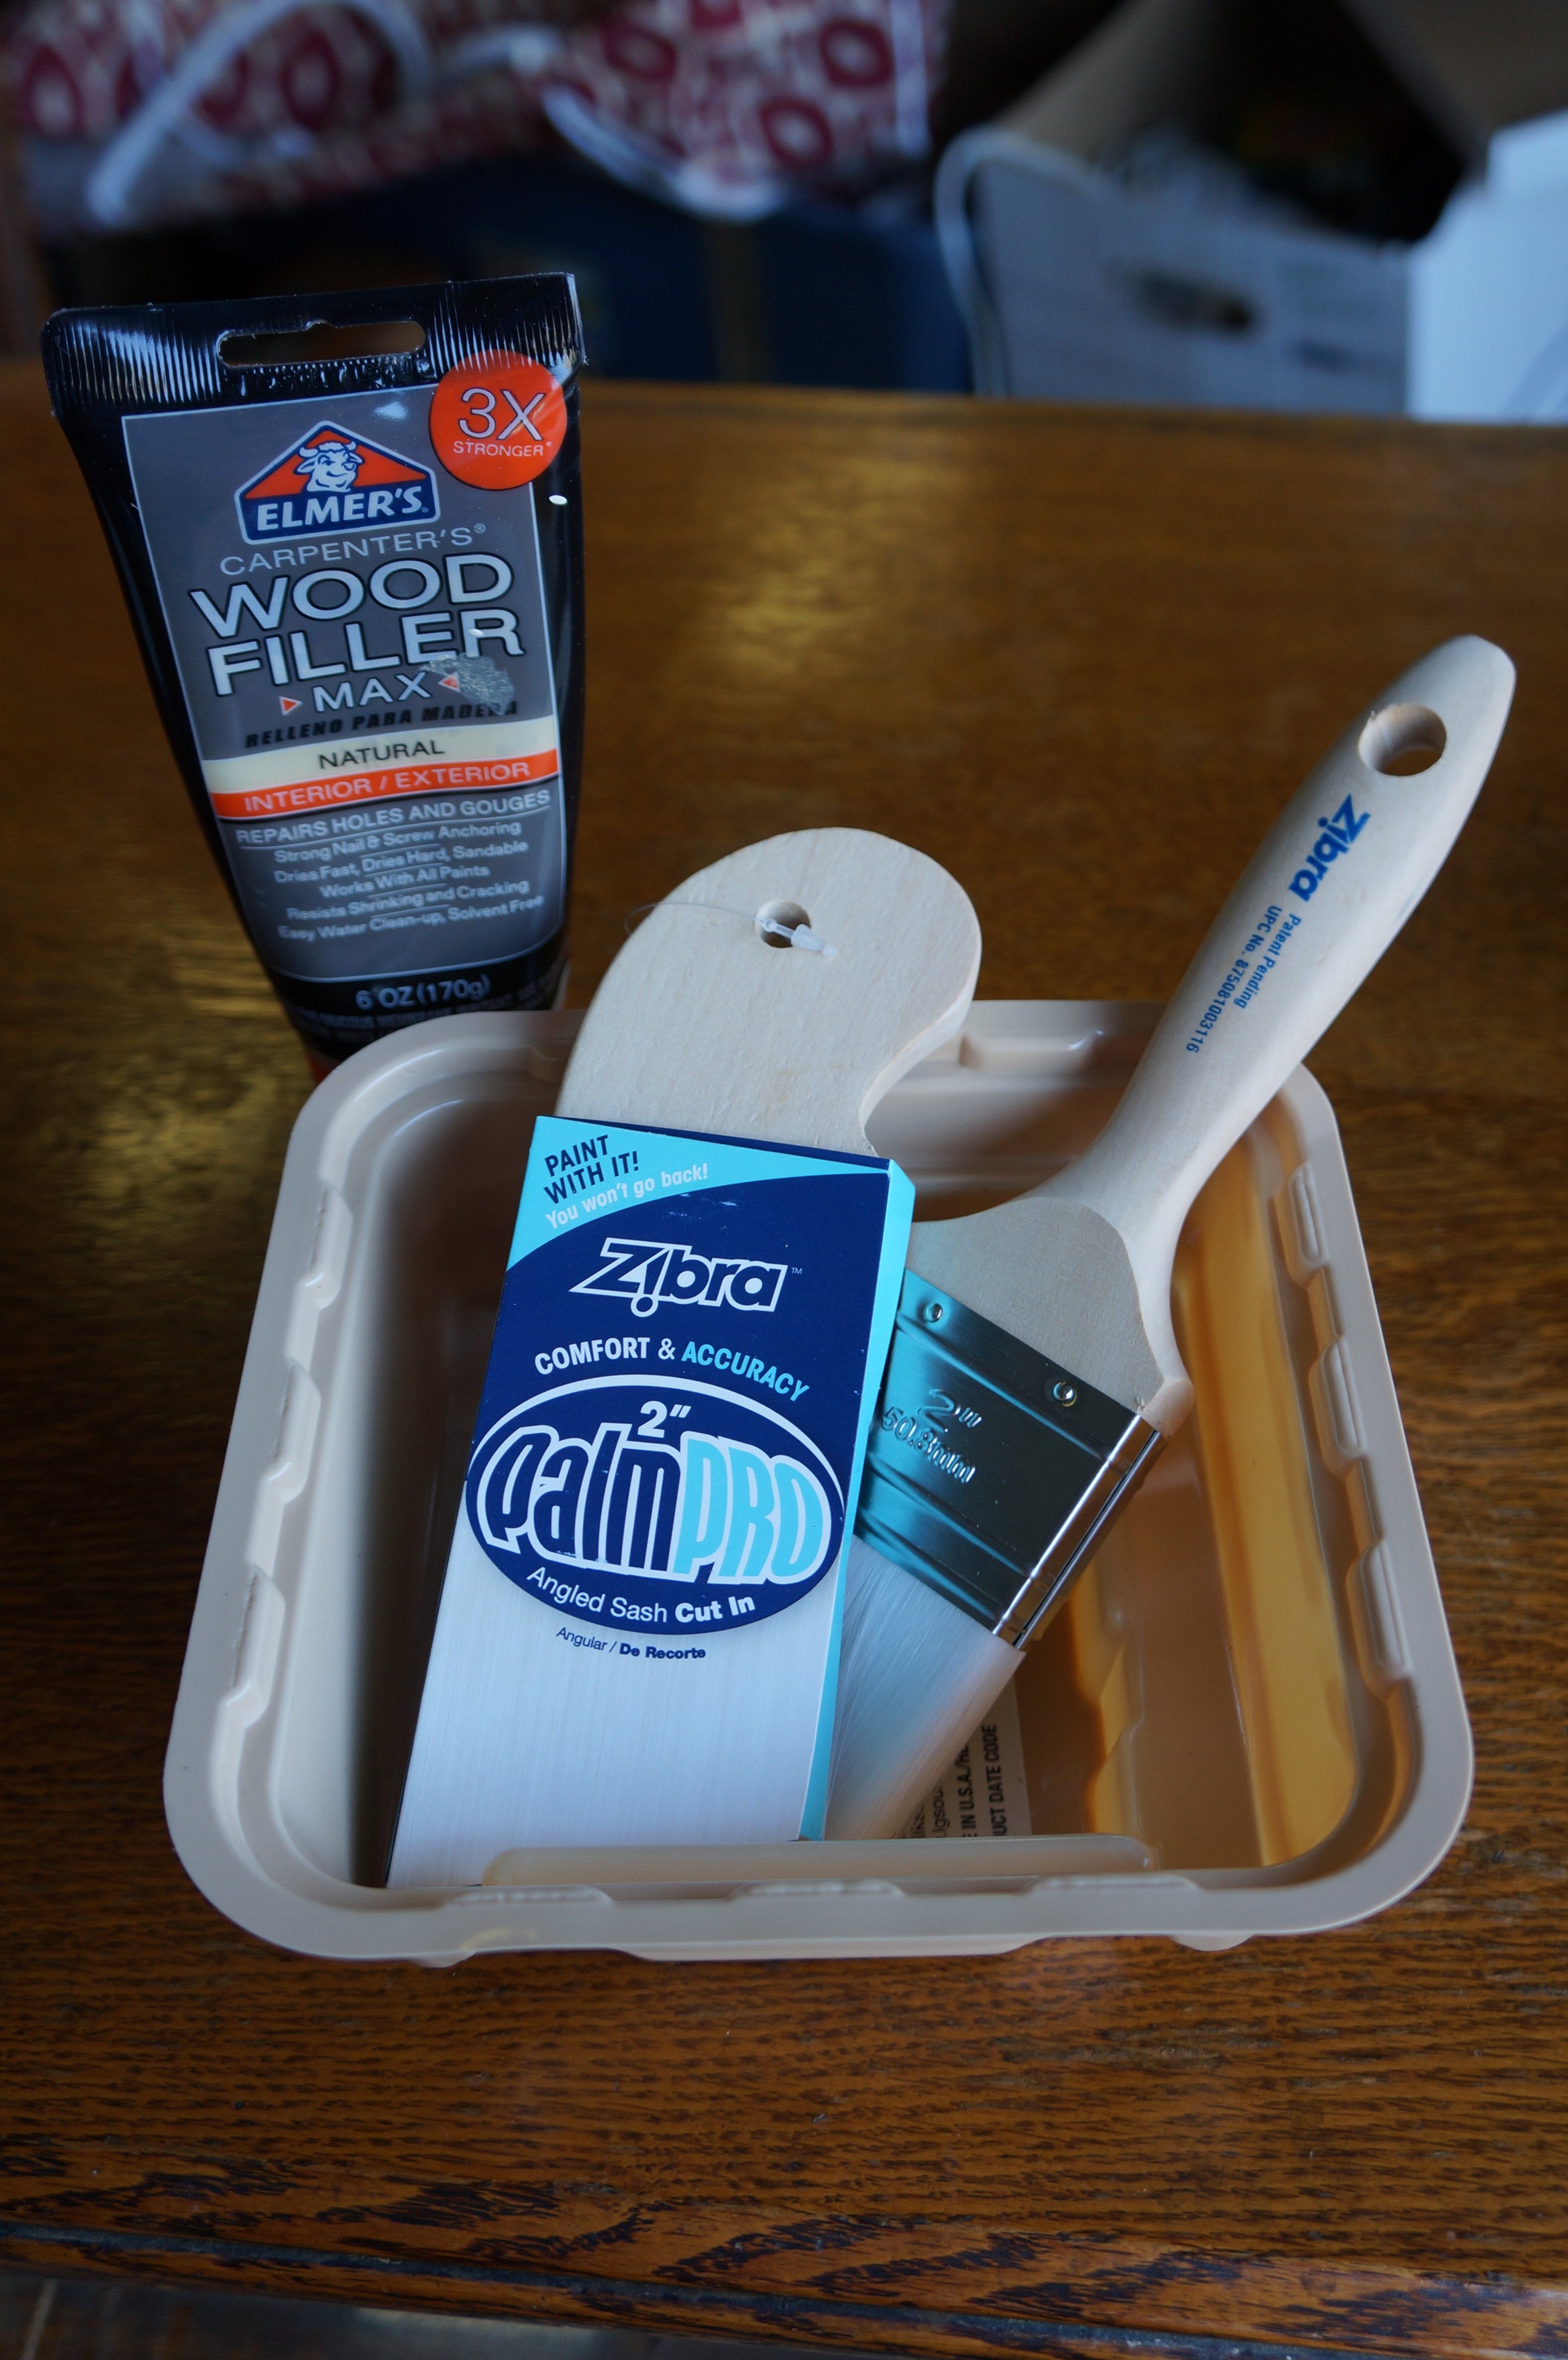
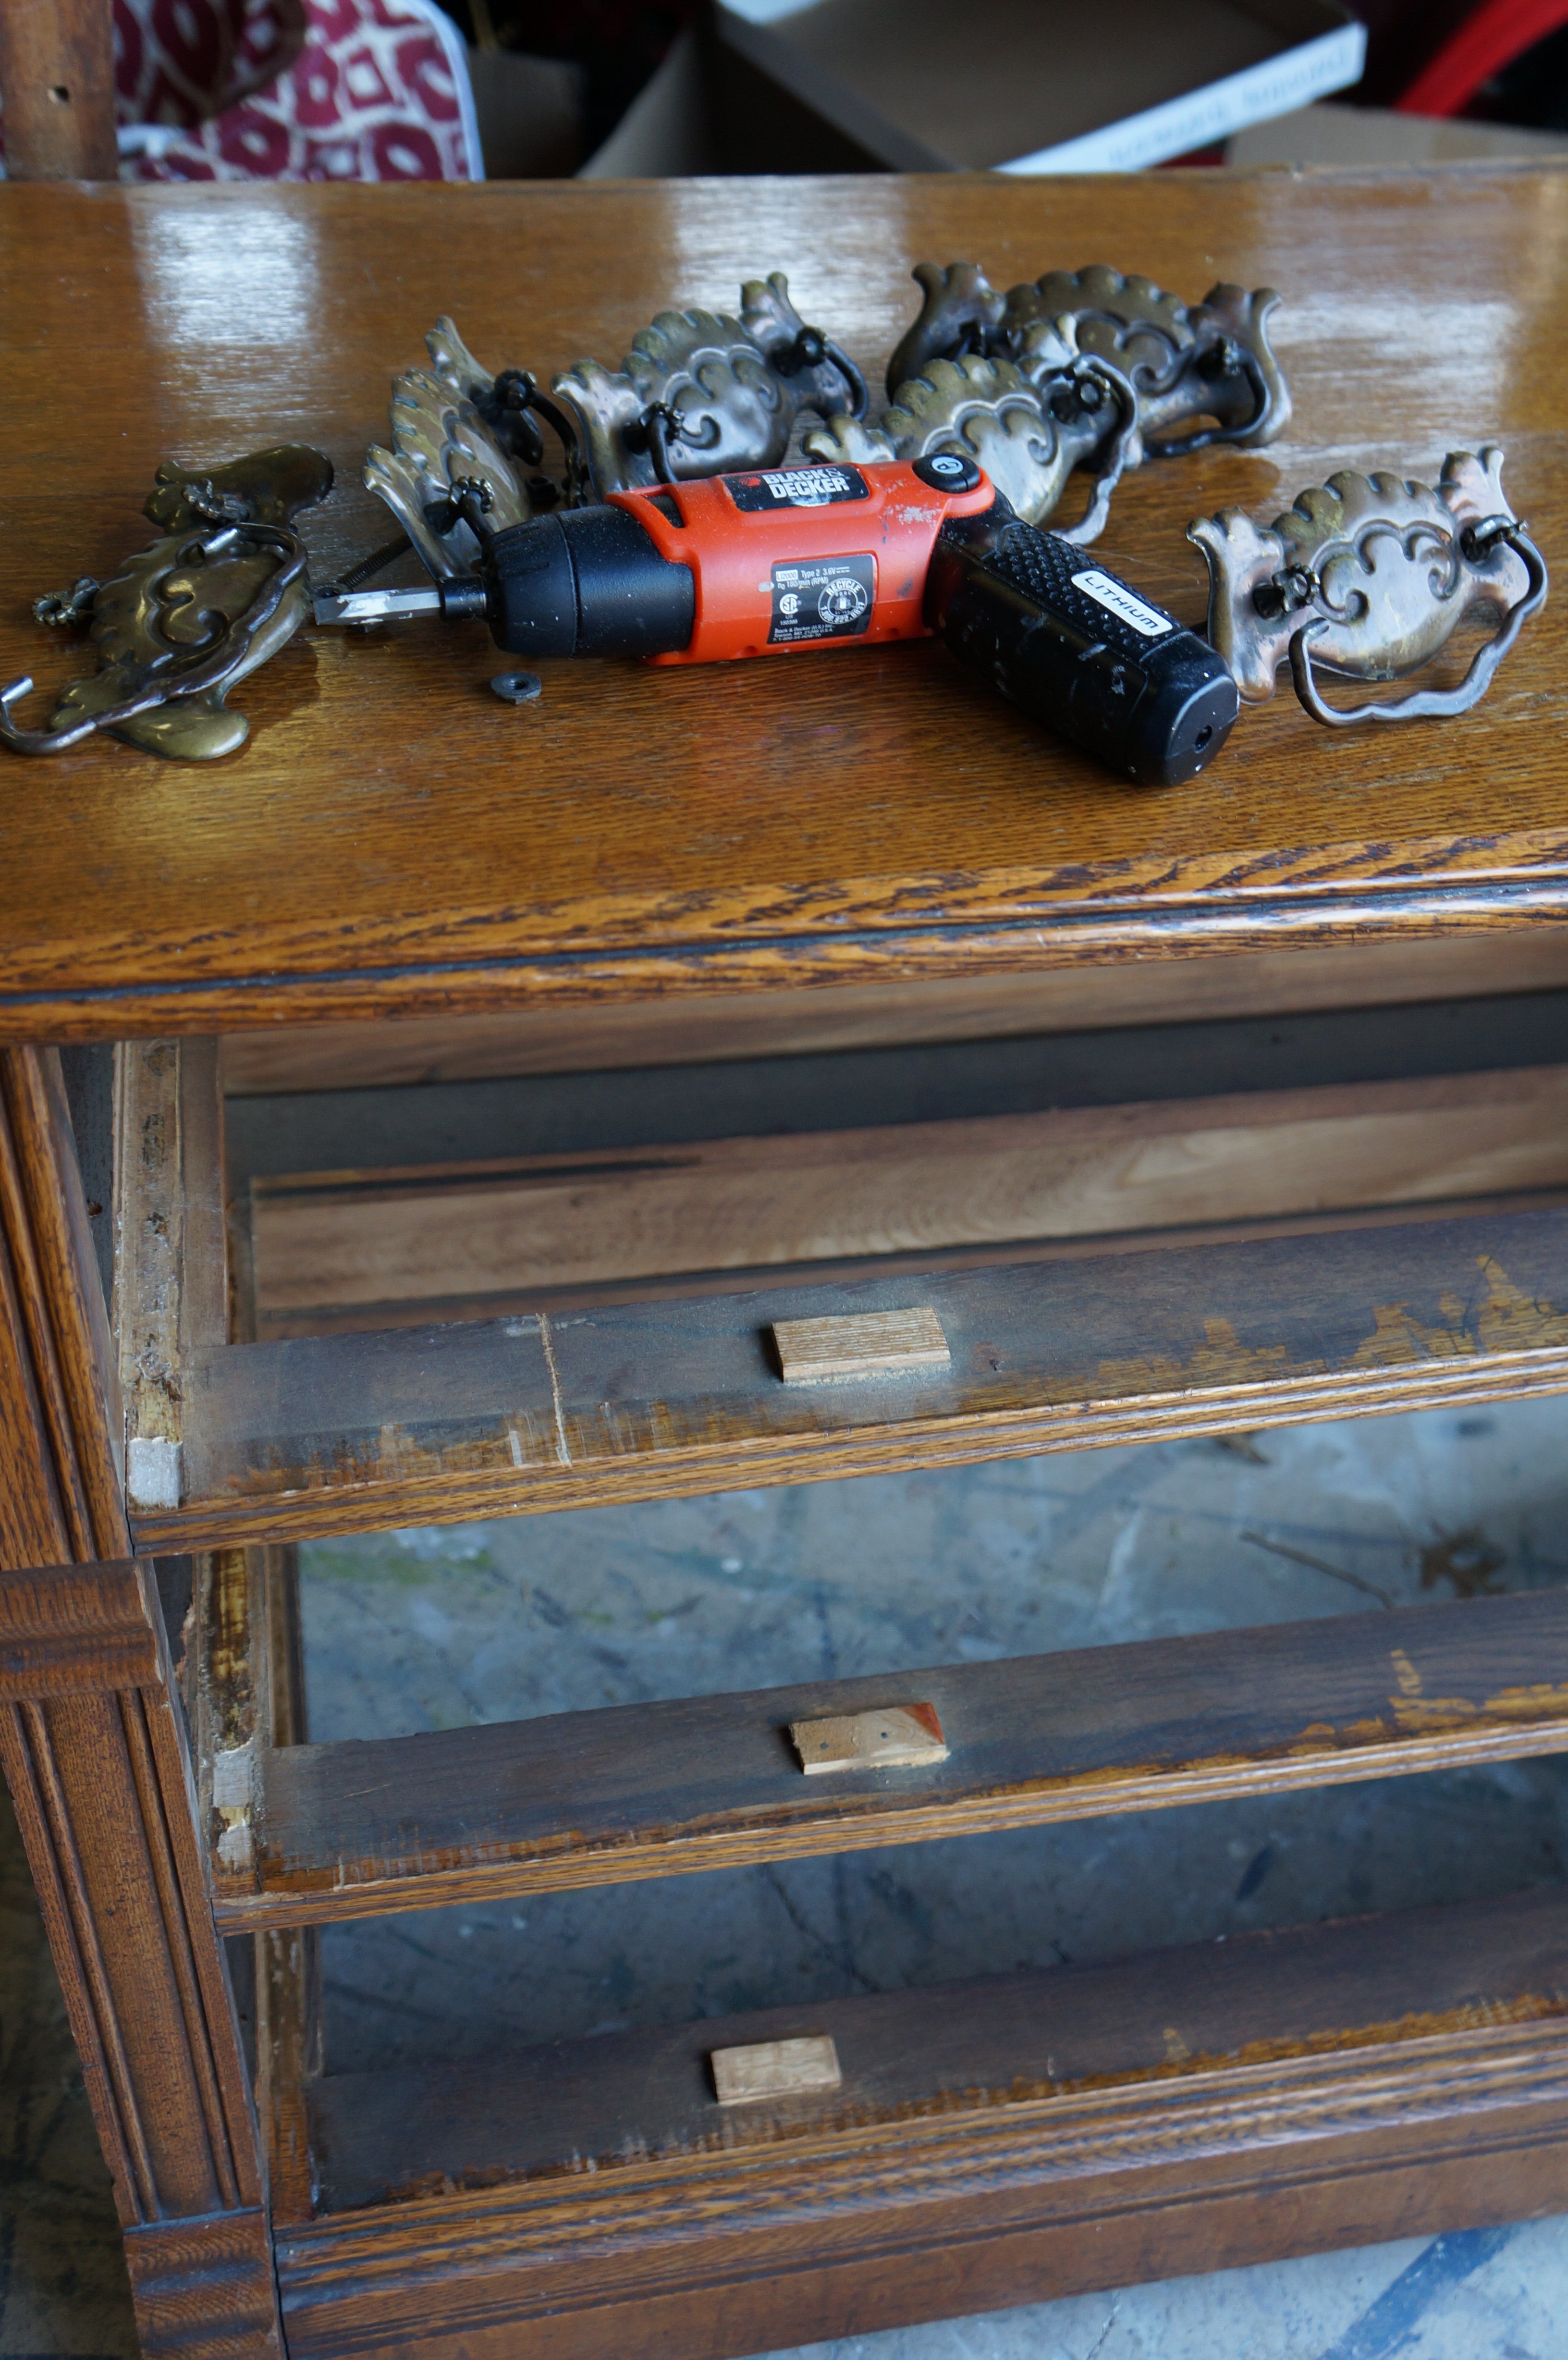
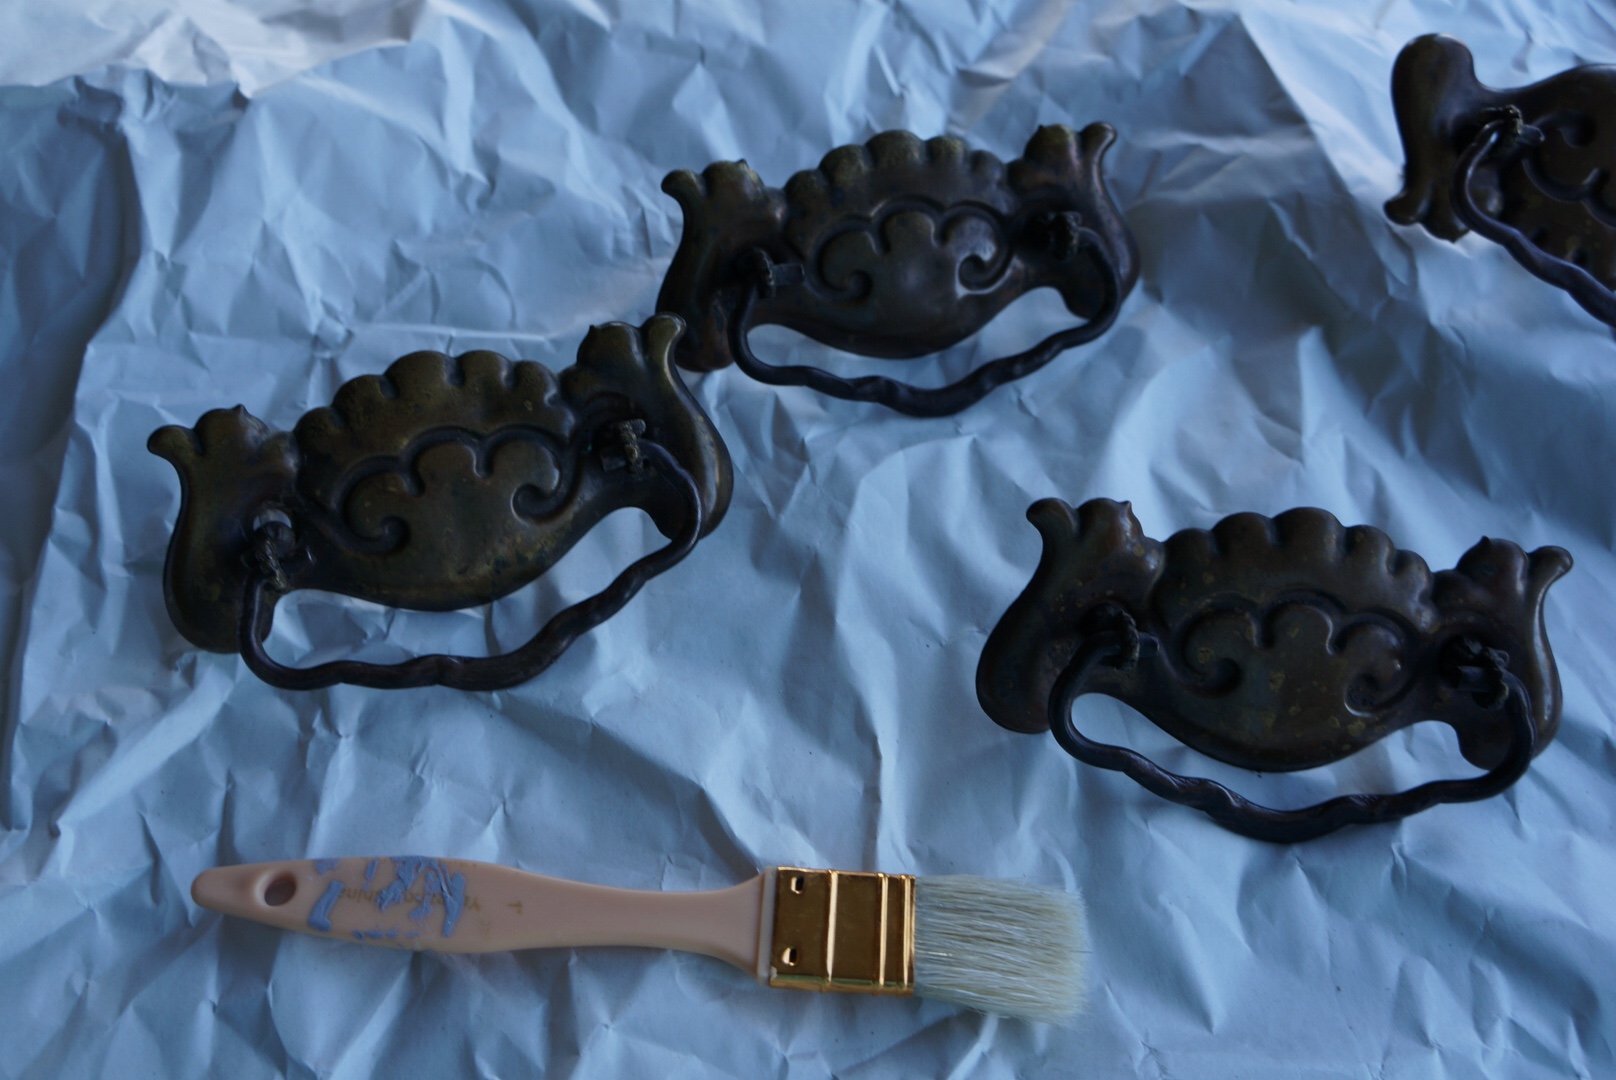
- STEP 2- Prep your piece! This is the nice part…there is not a lot of prep work! NO SANDING, NO PRIMING! If you care about your garage floor (unlike me) or are painting inside, you will want to be sure and put down a drop cloth or two under your piece. I always remove the hardware and drawers first. I love my handy little electric screwdriver. If there are any big holes or scratches you would like to fill, you can use a wood filler like this to fill them in. Elmer’s E855 Carpenter’s Wood Filler, 3.25-Ounce Tube, White
Fill in the hole, let it dry and then sand down. For me, all the little scratches and dings just add character to a piece. So, unless it is something pretty major I usually leave it as is and skip this part! This piece also had a mirror with it, so I taped off the mirror with painters tape so I won’t get any paint on the mirror itself. Now your piece is clean and prepped and open for business!3M Scotch-Blue 2090 Safe-Release Crepe Paper Multi-Surfaces Painters Masking Tape, 27 lbs/in Tensile Strength, 60 yds Length x 3/4″ Width, Blue
-
- STEP 3- Prepare your paint and supplies! I like to use these little plastic paint containers to pour paint out of from the can. You never want to paint directly from your paint can. Pour a small amount into your container (maybe half way up, depending on the size of the piece you are working on). I love and use the Zibra paint brushes in either a 2 inch or 2 inch angled brush.Zibra PB200LCS Grip-n-Glide 2-Inch Cut-in Paint Brush Stubby Handle
Purdy makes some awesome brushes as well. Purdy 144152125 Clearcut Series Glide Angular Trim Paint Brush, 2-1/2 inch
For this project, I used Blackberry House Paint in the color Warm Milk. It is a beautiful warm antique white and perfect for this project. This is also where I usually get my music going. Music is a MUST for me when I’m painting!

- STEP 1- Clean your piece! I recommend using a good degreaser. Older pieces that have sat around longer collecting dirt and dust might take a little more elbow grease to get clean. Something a little newer might just need a good wipe down. Mean Green 132 Industrial Strength Cleaner/Degreaser, 32 fl. oz.
GET A FREE MONTH HERE!
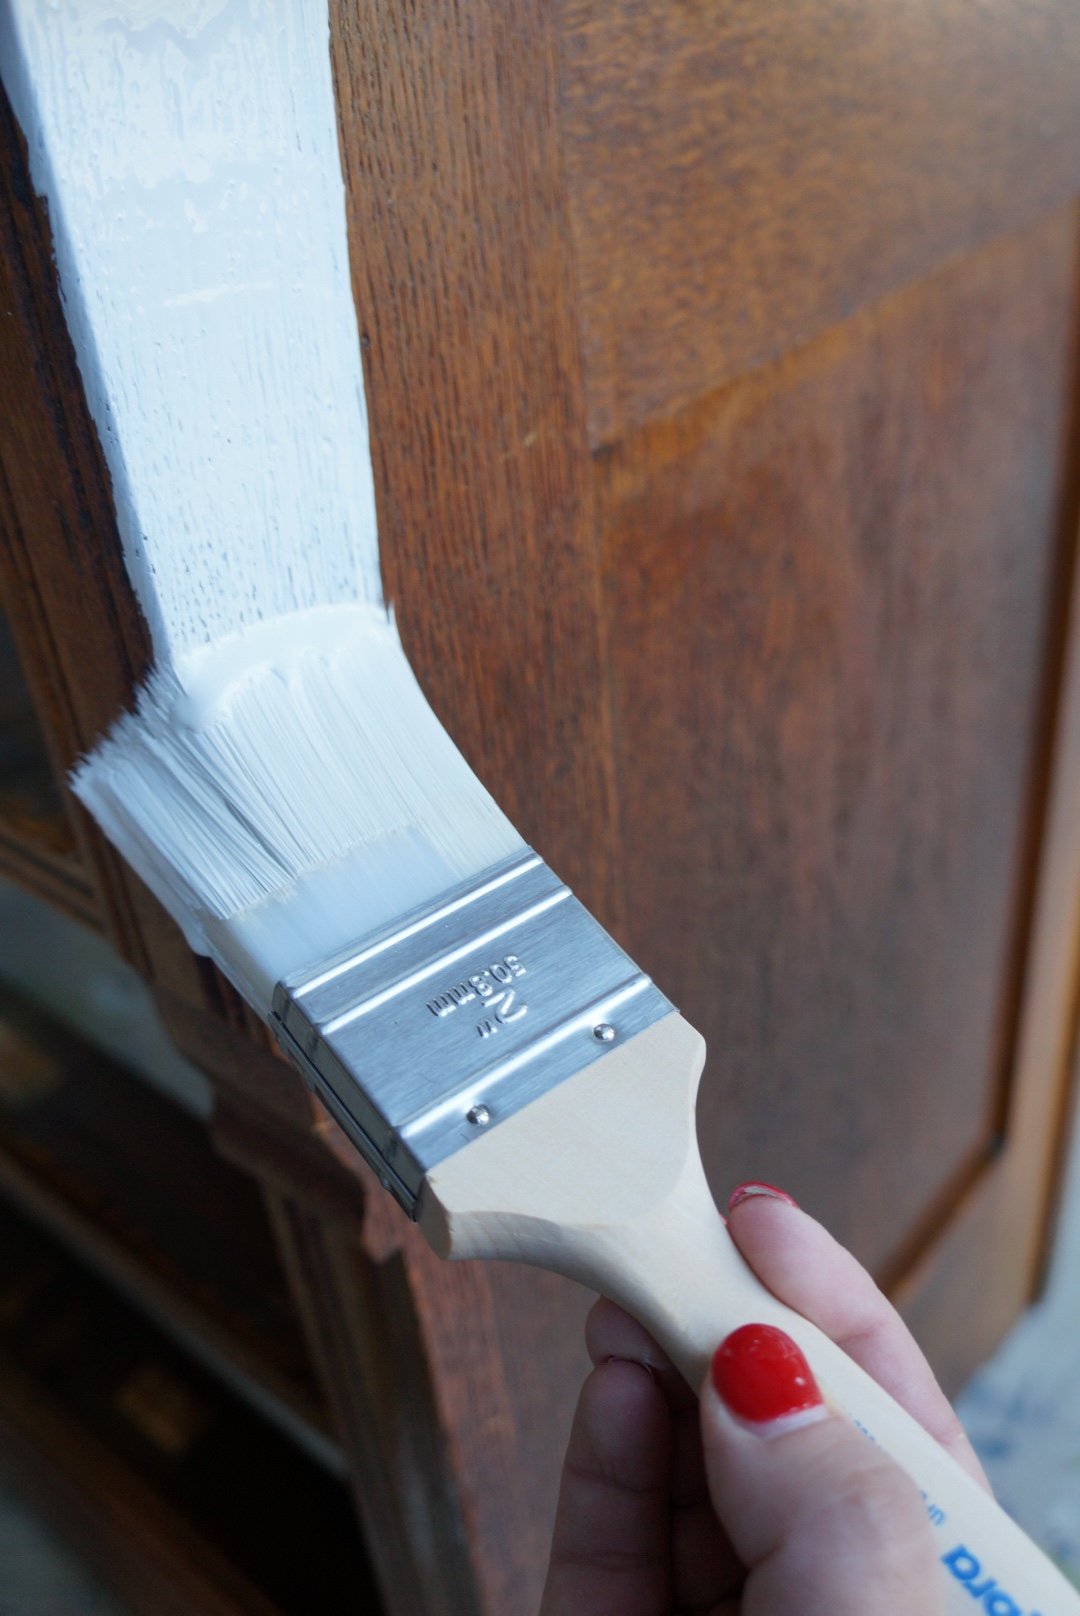
- STEP 4- Paint! I never like to start with the top of a piece, because I like to set my supplies there while I’m working. I usually start with the sides (or the back if you will be painting the back). The key here is to get enough paint on your brush that you get some good solid strokes, but not so much that it is just dripping off the brush onto the ground. You are going to want to paint WITH the gran of the wood. This is important to stick to as much as you can and will make your piece look better in the end. Try doing some solid strokes back and forth on one side of the piece. Don’t be super concerned about getting every nook and cranny, this is just your first coat and it’s ok…promise! Once you have finished one side, move on to the next, etc. Be sure to watch for areas that have paint dripping and just wipe those up with your brush. It is much easier to catch those along the way before they are dry. Once you get to the top of the piece, try and do continuous strokes back and forth. If you pick up your brush in the middle of the piece and start again, you may be able to see where you started and stopped. If this is not possible, once you have made a couple of strokes, go back over it with one big long swipe of the paint brush to blend it all together! WARNING- Your piece will NOT look good after one coat. So, do not think you have failed and do not give up. Keep going, friends!
-
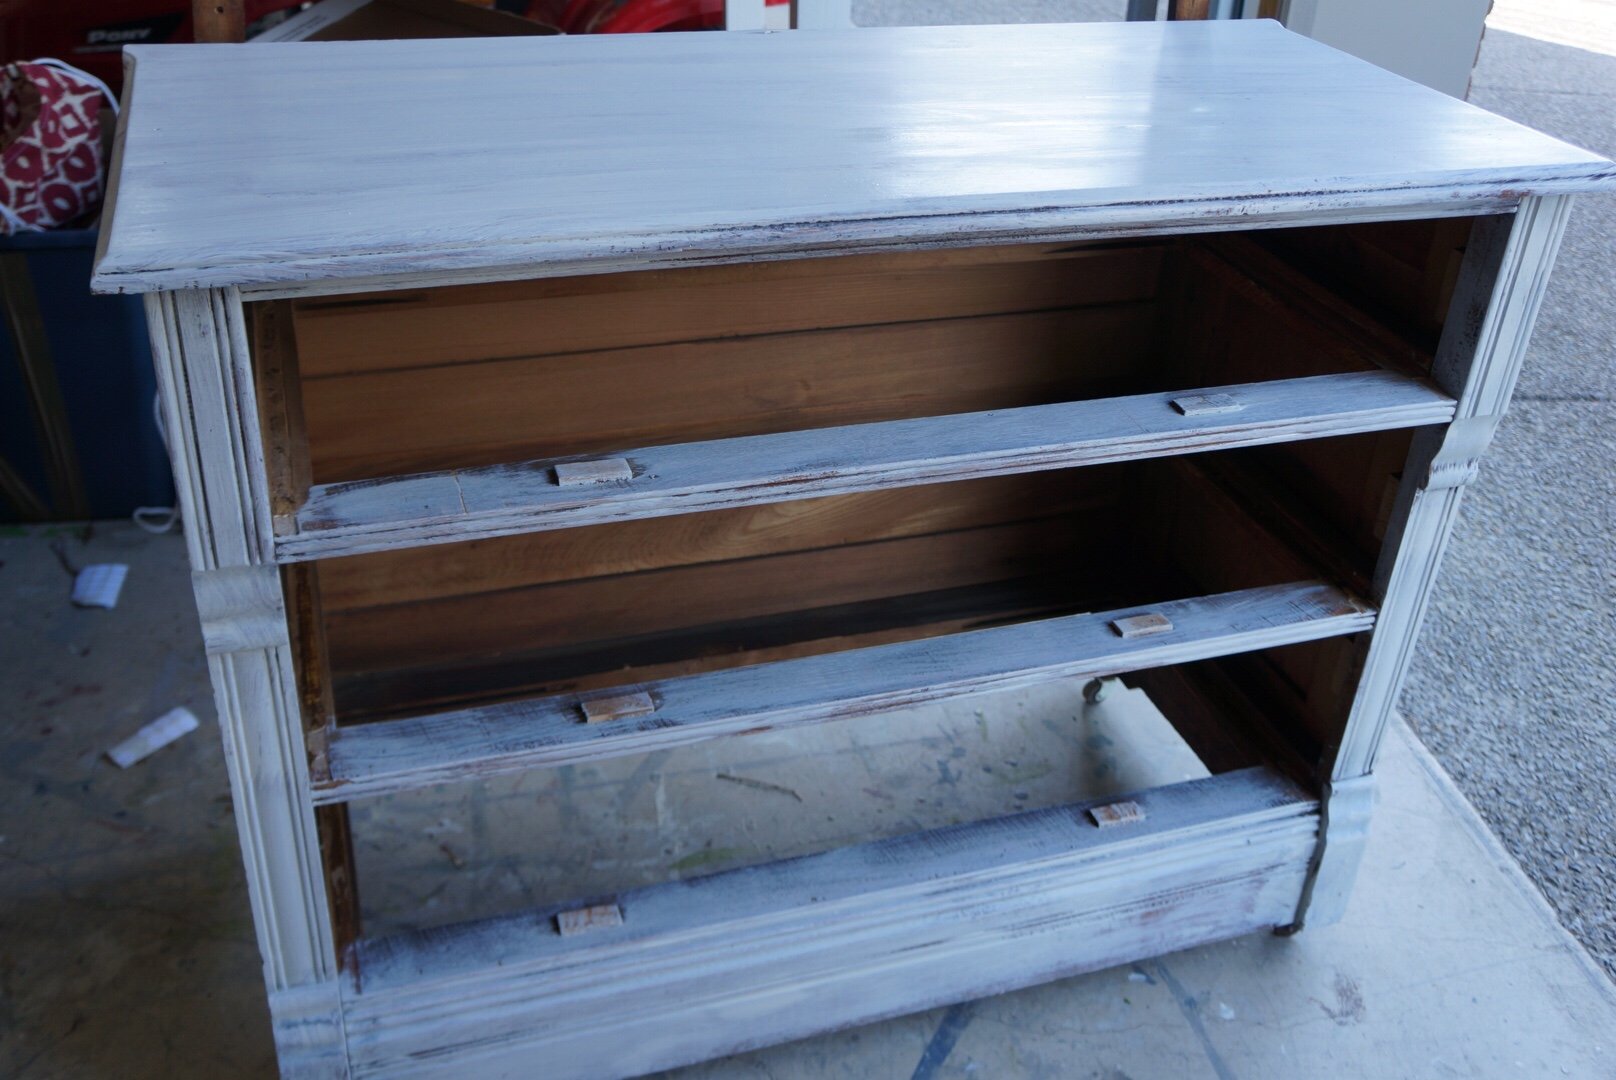
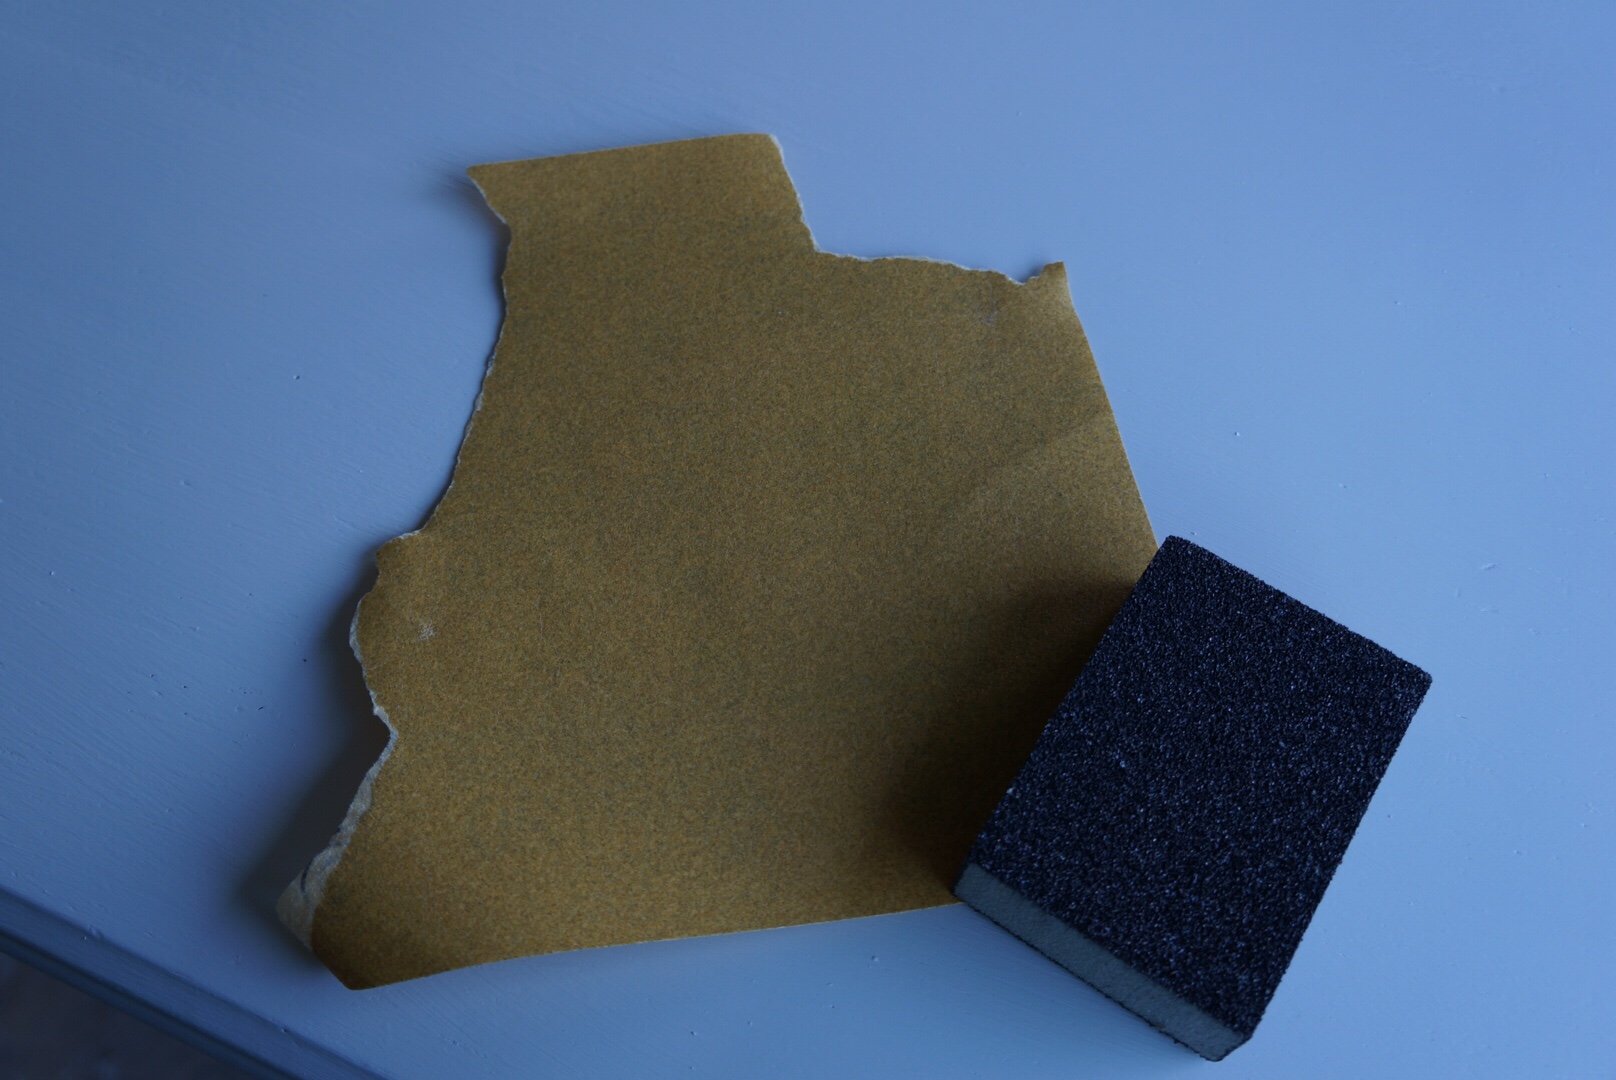
- STEP 5- Repeat! Here is another amazing thing about chalk type paints. They typically all dry SO fast! I know with Blackberry House paint, on most pieces once I am done with the first coat it is dry enough to go back to the side where I started and start the second coat. Amazing, right?! The only time this does not happen for me is if it is in the dead of the winter and cold temps out. The colder it is, the longer it will take the paint to dry. If you can paint anything indoors, you will be golden! BEFORE YOU START THE 2nd COAT- To get an extra smooth finish on your completed project, now is a good time to take a fine grit sandpaper block and rub it LIGHTLY back and forth across the piece. By lightly, I mean apply hardly any pressure at all. Once you are done, take a clean cloth and wipe off any residue. Now, repeat step 4 and paint another coat on your piece. It should be looking TONS better now, and for a lot of colors you will be DONE painting at this step. With most whites, it takes 3 coats because you are going from a darker wood to a lighter color. So, if your piece doesn’t have the coverage you are wanting go ahead and repeat step 4 one more time! (Side note- if painting something extra like the hardware, I like to paint a coat on those in between coats on my piece. A lot of times for hardware I use a chip brush or any type of smaller brush)
-
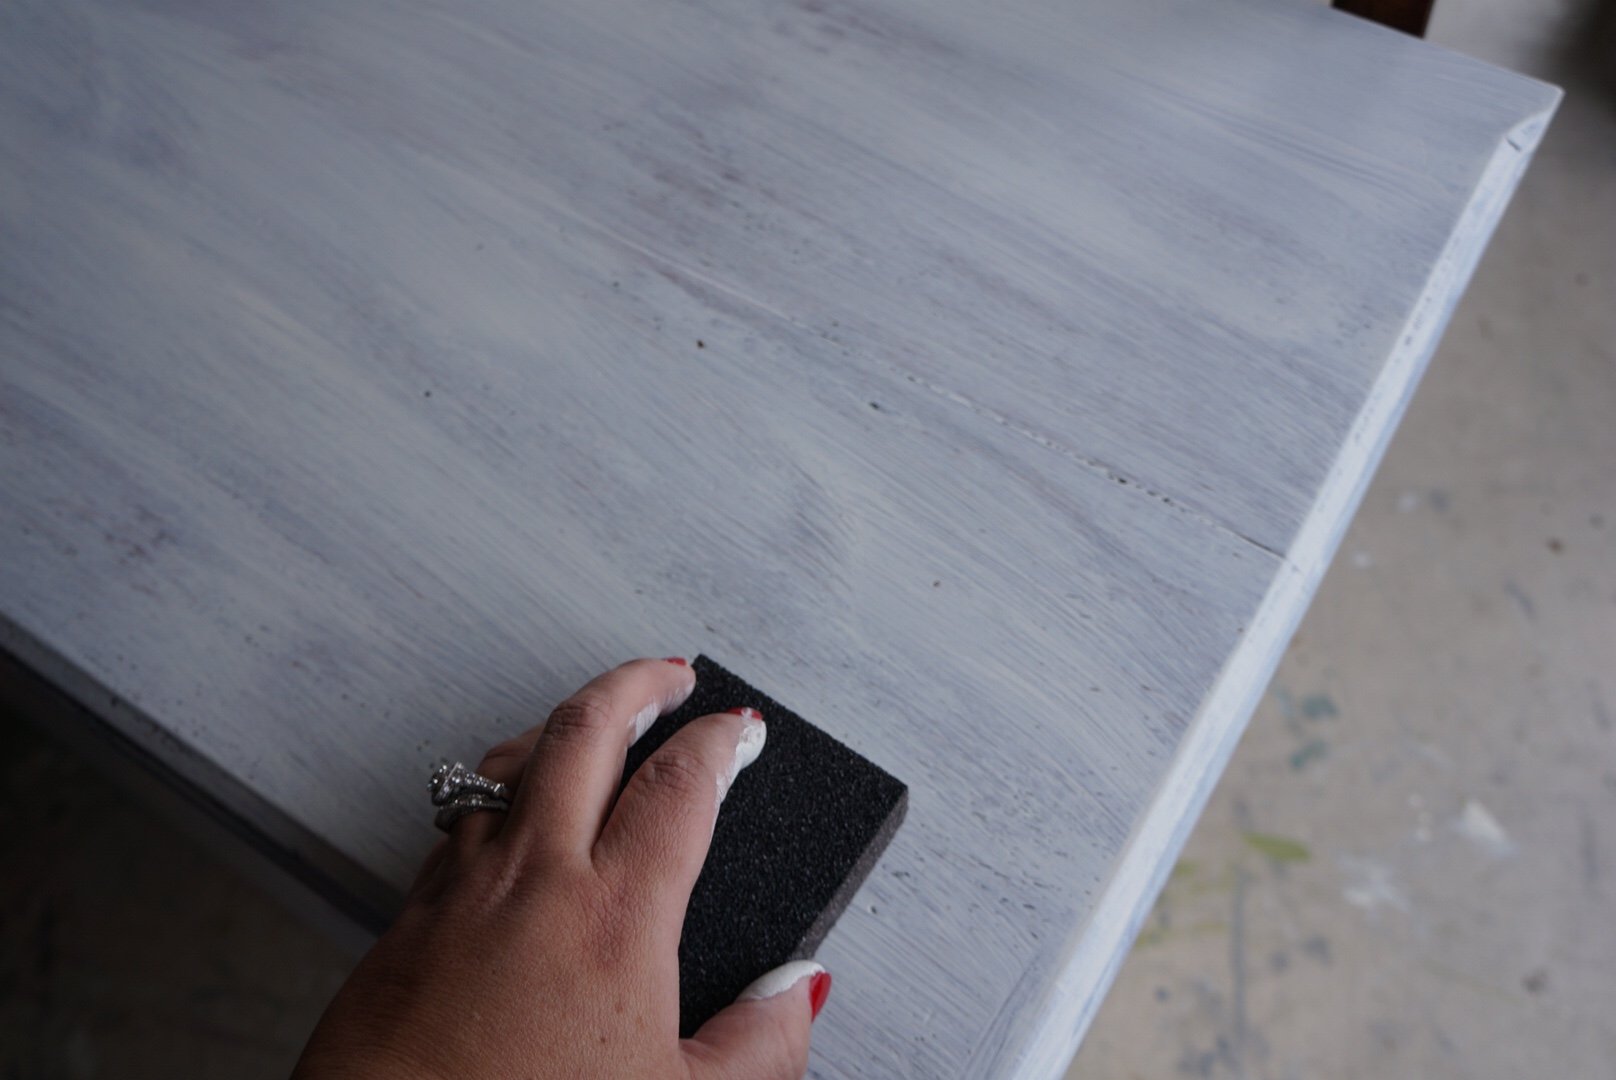
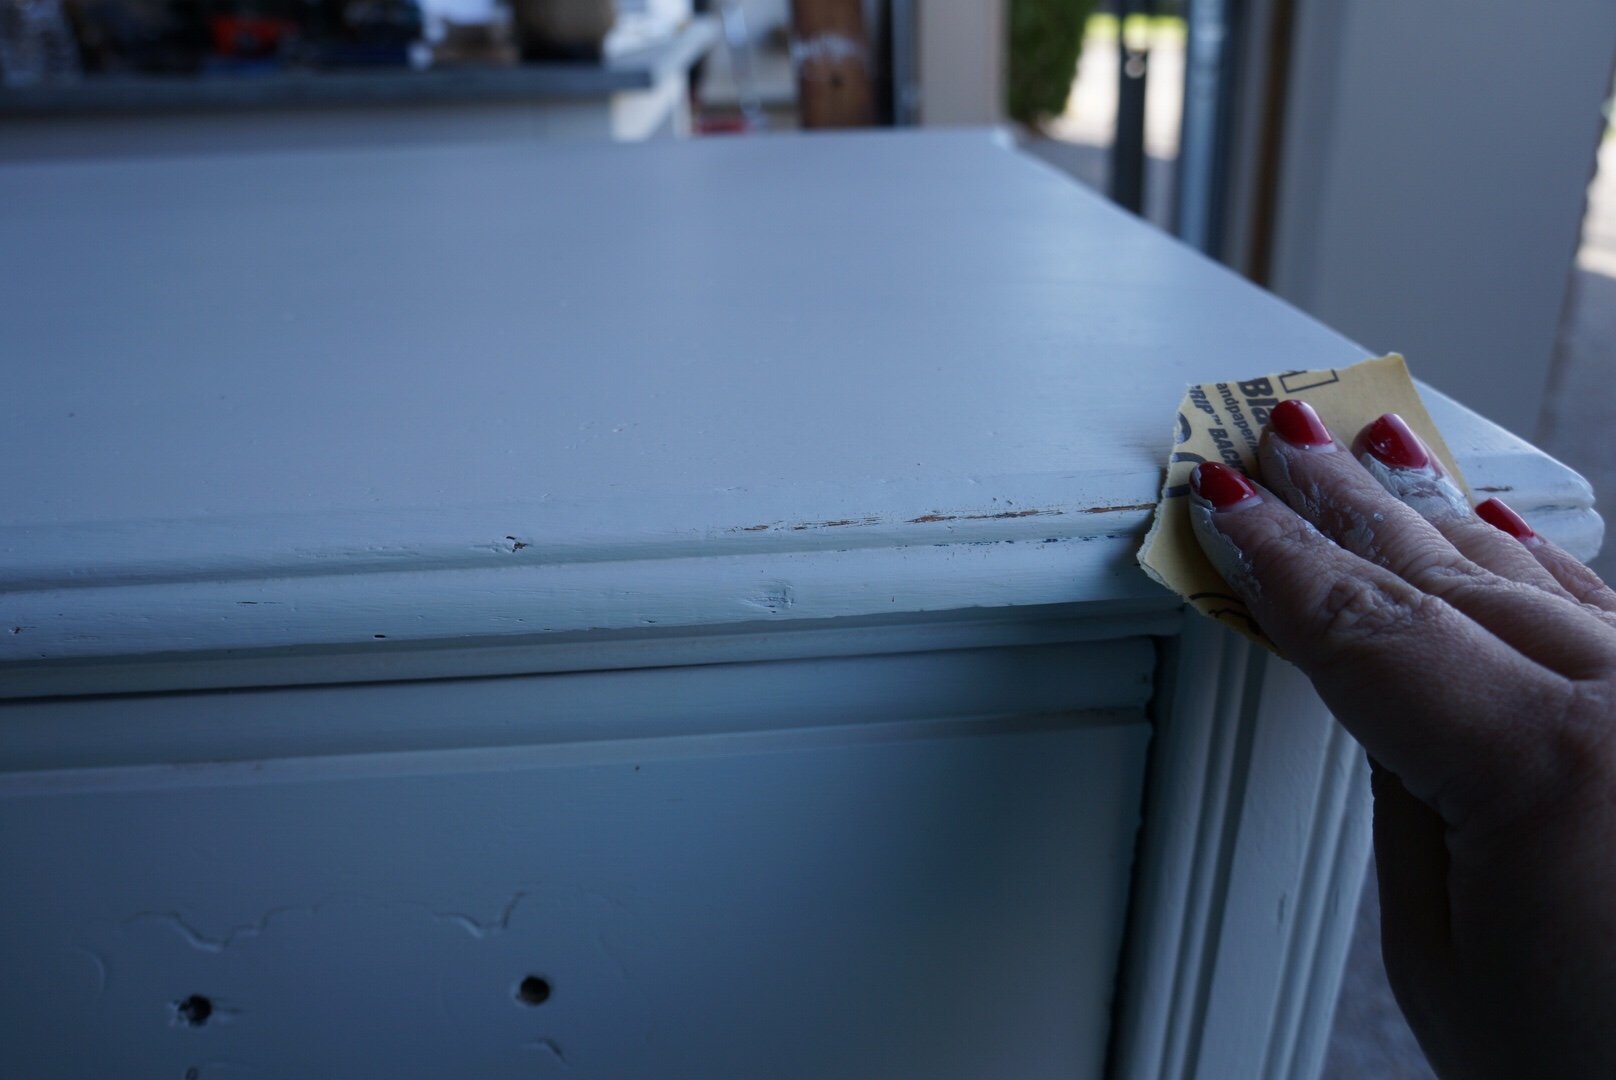
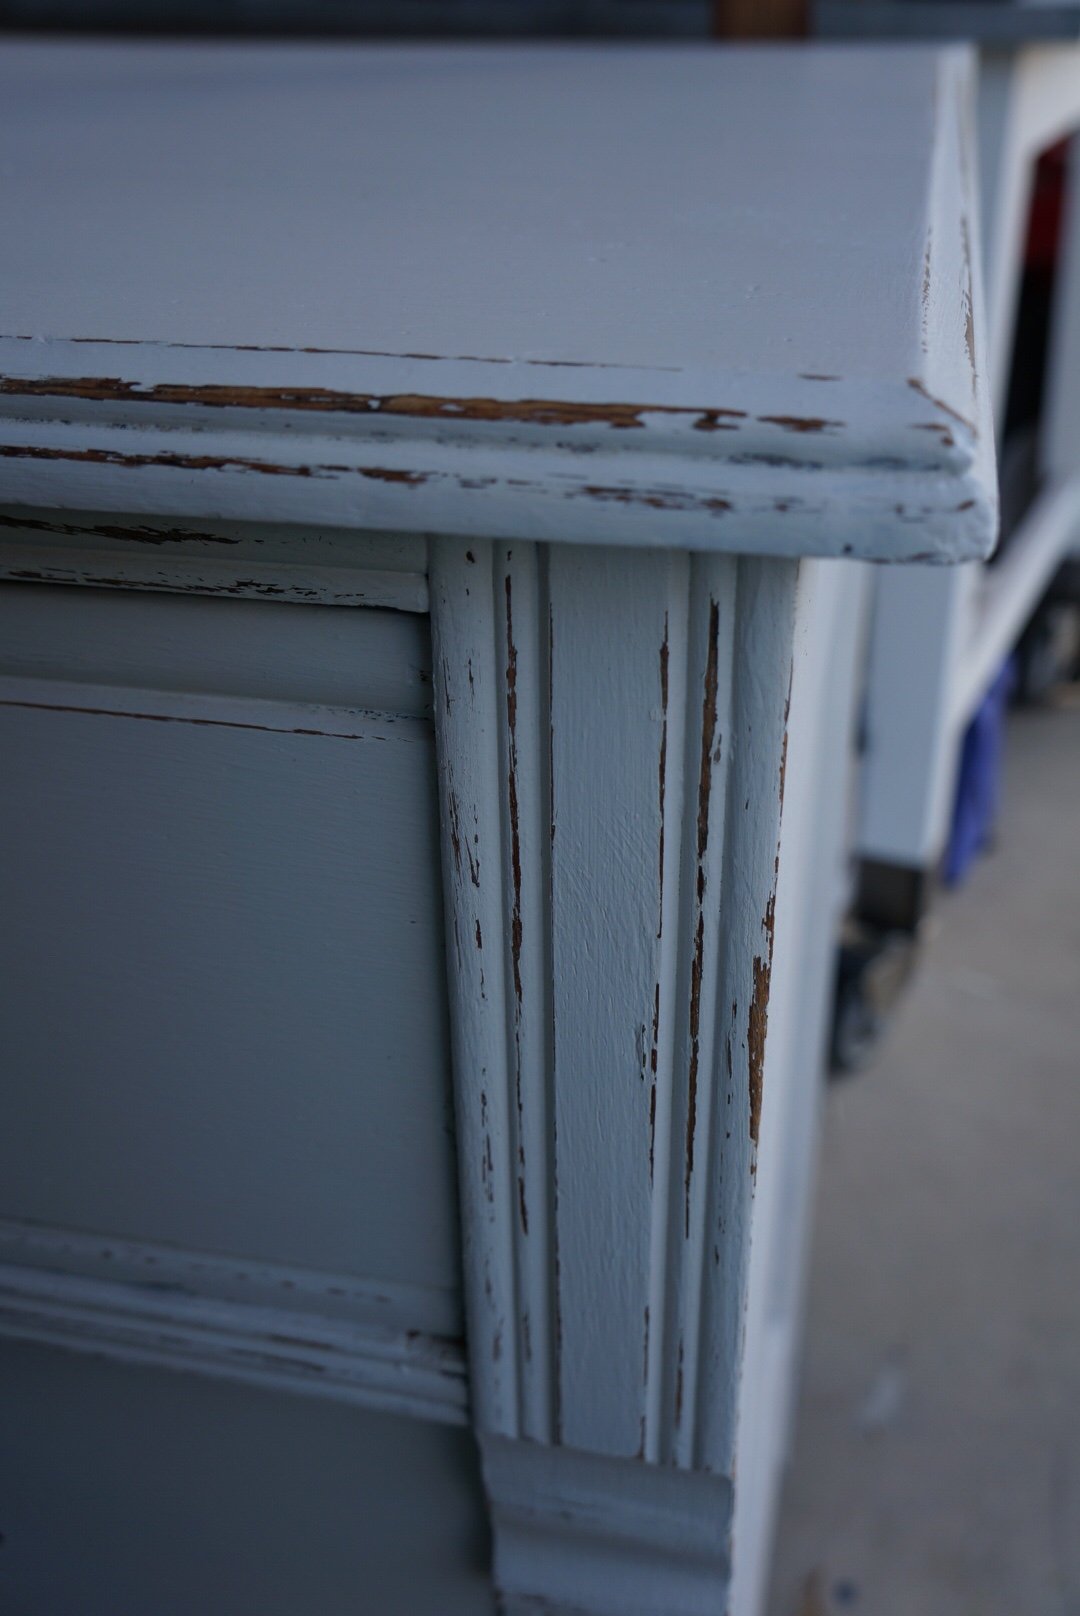
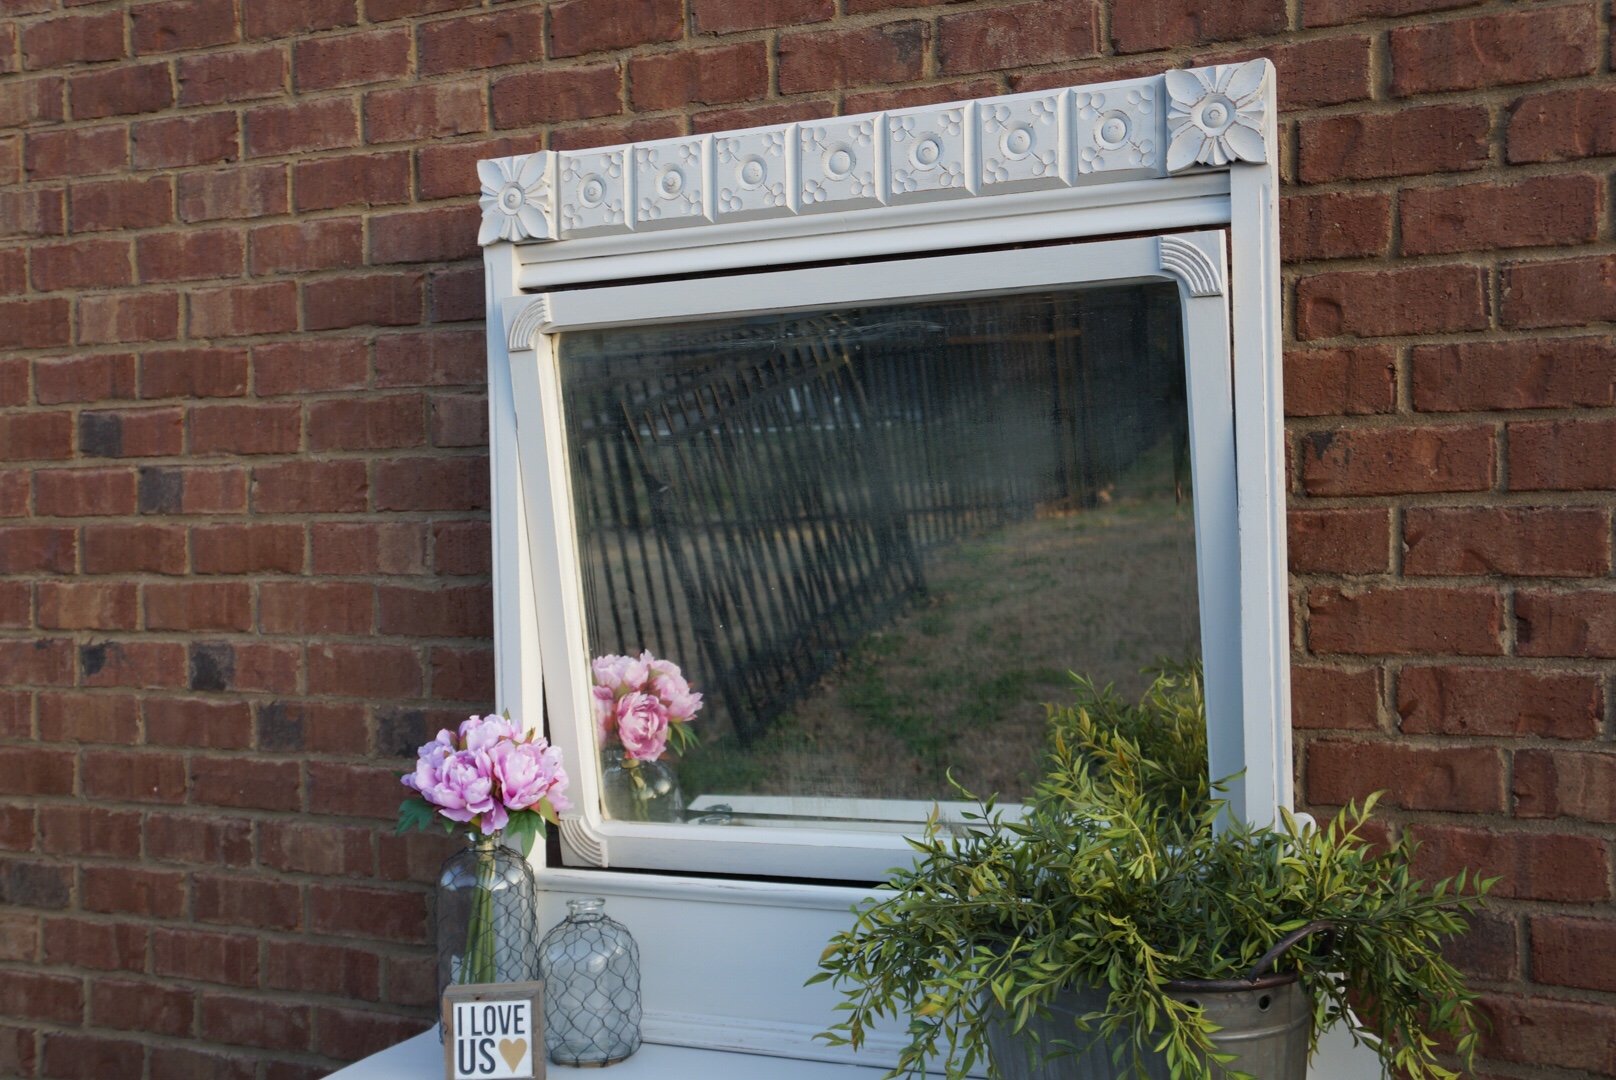
- STEP 6- Distressing! For me, this is my favorite part. It is when you start to see the beauty of a piece come together and all the details pop. You can use sandpaper sheets or a block, it is totally personal preference. I change it up from piece to piece and really use both about the same. I like to start with the edges of the pieces first and go from there. Here is the thing about distressing, especially for all of you Type A personalities (like myself). Throw your type A out the window…NOW! The last thing you want is for your distressing to look like a thought out, calculated event. You don’t want 2 inch distress marks with 2 inch spaces in between. You want it to look natural and worn like it did it all on its own over time. This honestly took me a little while to get the hang of because I can be such a perfectionist at times. This does not and should not be perfect! Just have fun with it and let your creativity flow here. You can do as much or as little distressing as you want on a piece. Sometimes I don’t know until I get into it and I either go crazy with it or keep it minimal. Again, be sure to wipe off any residue with a clean cloth when done.
-
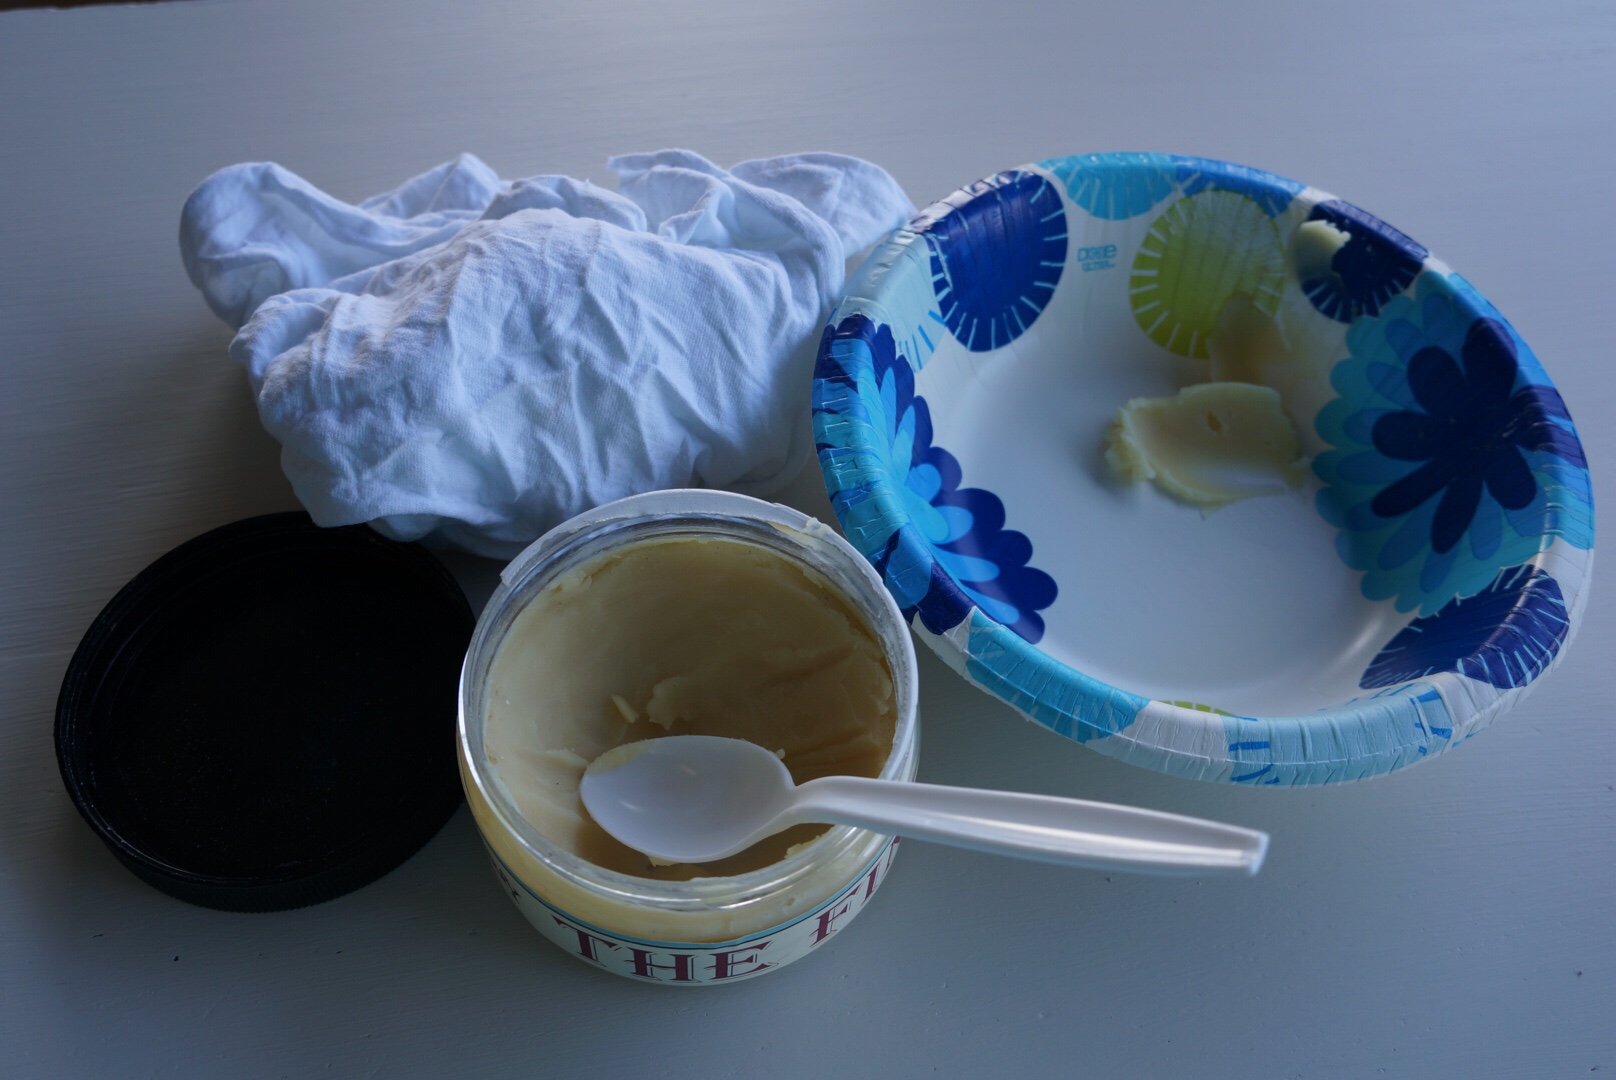
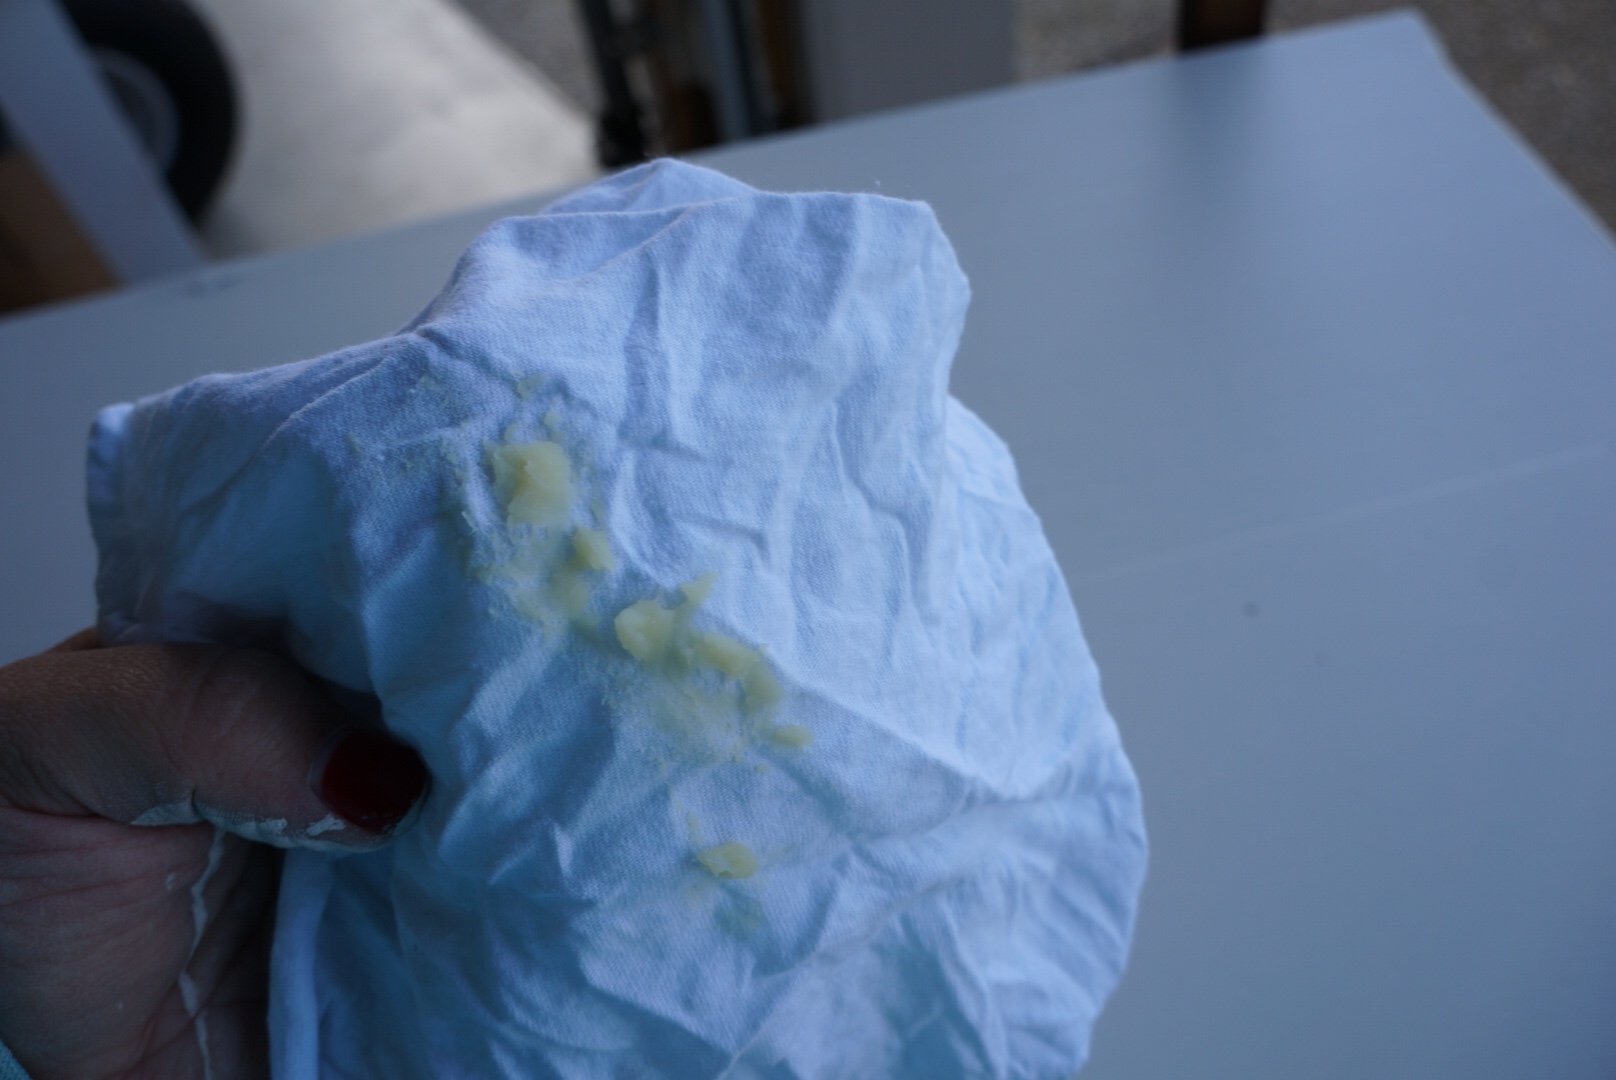
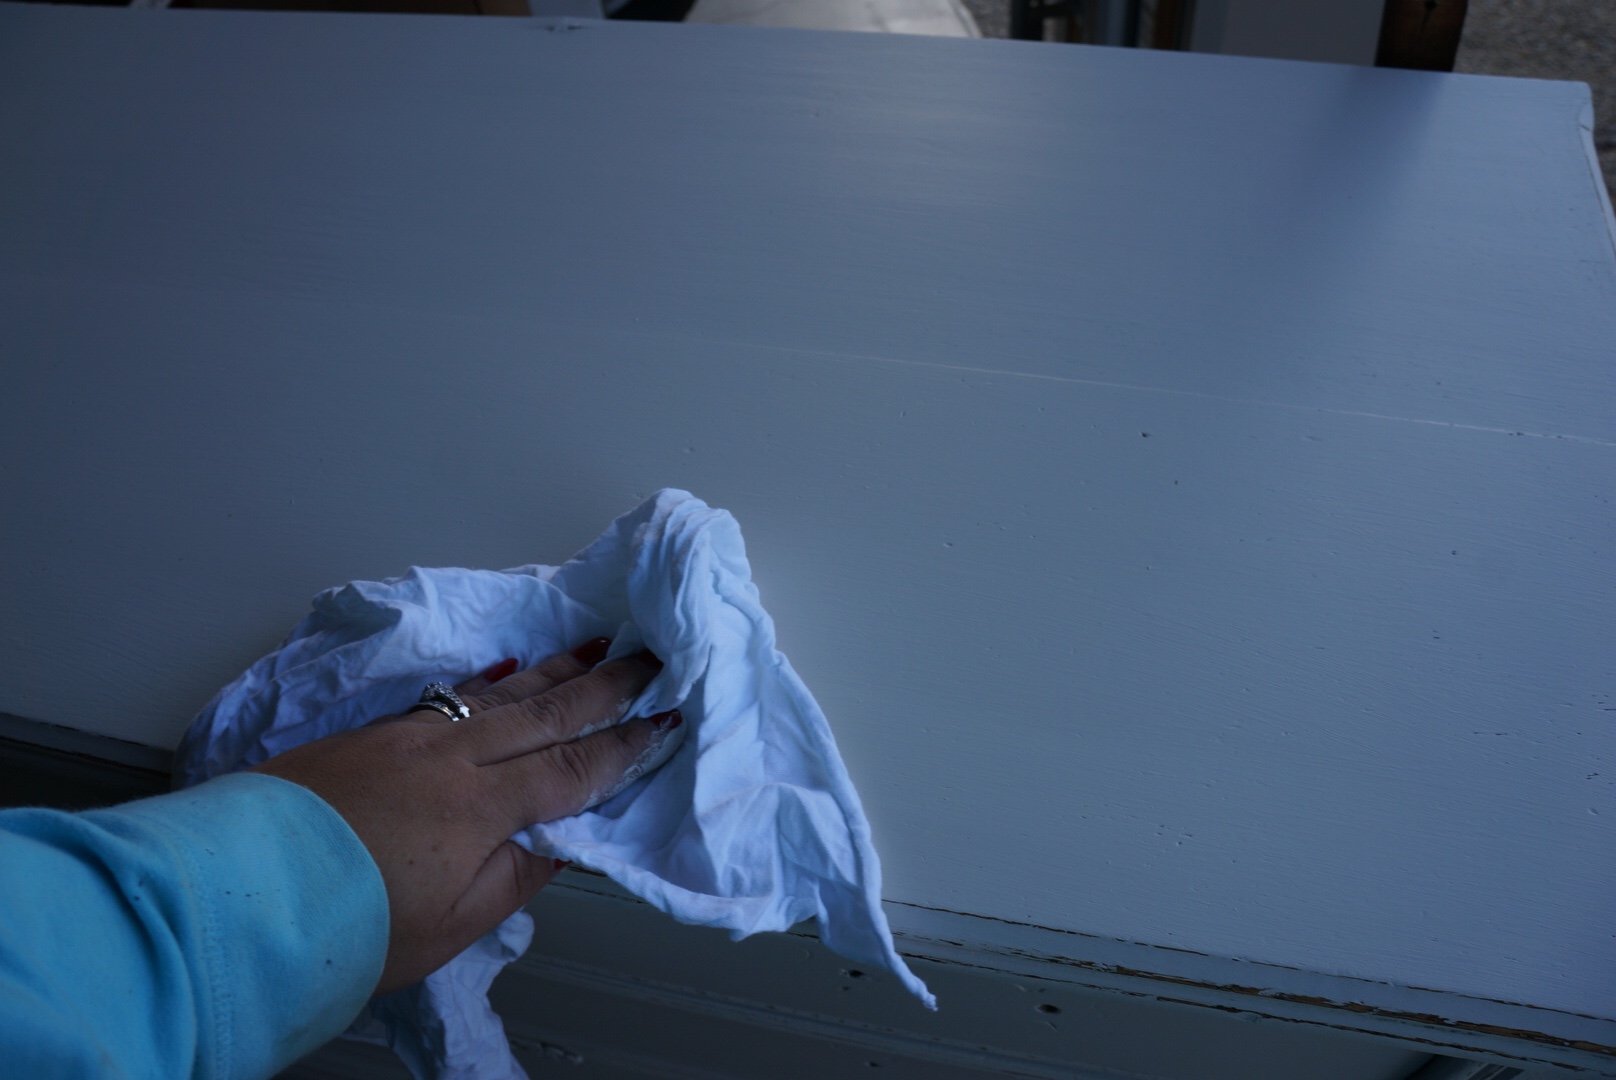
- STEP 7- Waxing! Don’t run away….don’t stop reading. This step is not as scary as it seems. I know this is the part that intimidates people the most. It was definitely the scariest part for me when I started. A clear or natural wax will act as your sealant on a piece and this is a step that you don’t want to skip. Be sure your piece is completely DRY before starting this step. It shouldn’t take long after your last coat before it is ready. I like to scoop out a little wax and put it in a paper bowl. A little bit goes a LONG way, so start out with a small amount and you can always add more if need be. Take your waxing rag cloths and dab just a bit of the wax on the rag here. Pick a side and start rubbing it in. Go in the same directions with it as you did your paint strokes, and just rub back and forth until smooth. With Blackberry House paint and wax, this step takes minimal effort and no real buffing is required. With some other lines, you might have to put a little more elbow grease in to make sure the piece is smooth and not tacky to the touch. Extra note- You can also buy special brushes made just for waxing. I personally find that for the natural/clear waxes, using a rag works just as easy and when you are done you can toss the rag and it’s one less thing to clean up! YOU COULD ALSO USE POLYCRYLIC TO SEAL YOUR PIECE INSTEAD OF WAX!
-
- STEP 8- Put your piece back together! Install the hardware, put the drawers back in, etc.
- STEP 9- Take a step back! Now, slowly step back and take a look at your piece. Pat yourself on the back, do a little happy dance, then call your mom and your BFF to tell them how amazing you are. Admire the beauty you just created and be SO proud of yourself.
- STEP 10- Let the piece fully cure (usually for at least 24 hours) and then take it to its new forever home. Decorate it with all the pretty things, then step back again and repeat step 9! You just nailed it and you will more than likely be hooked and want to do it again!


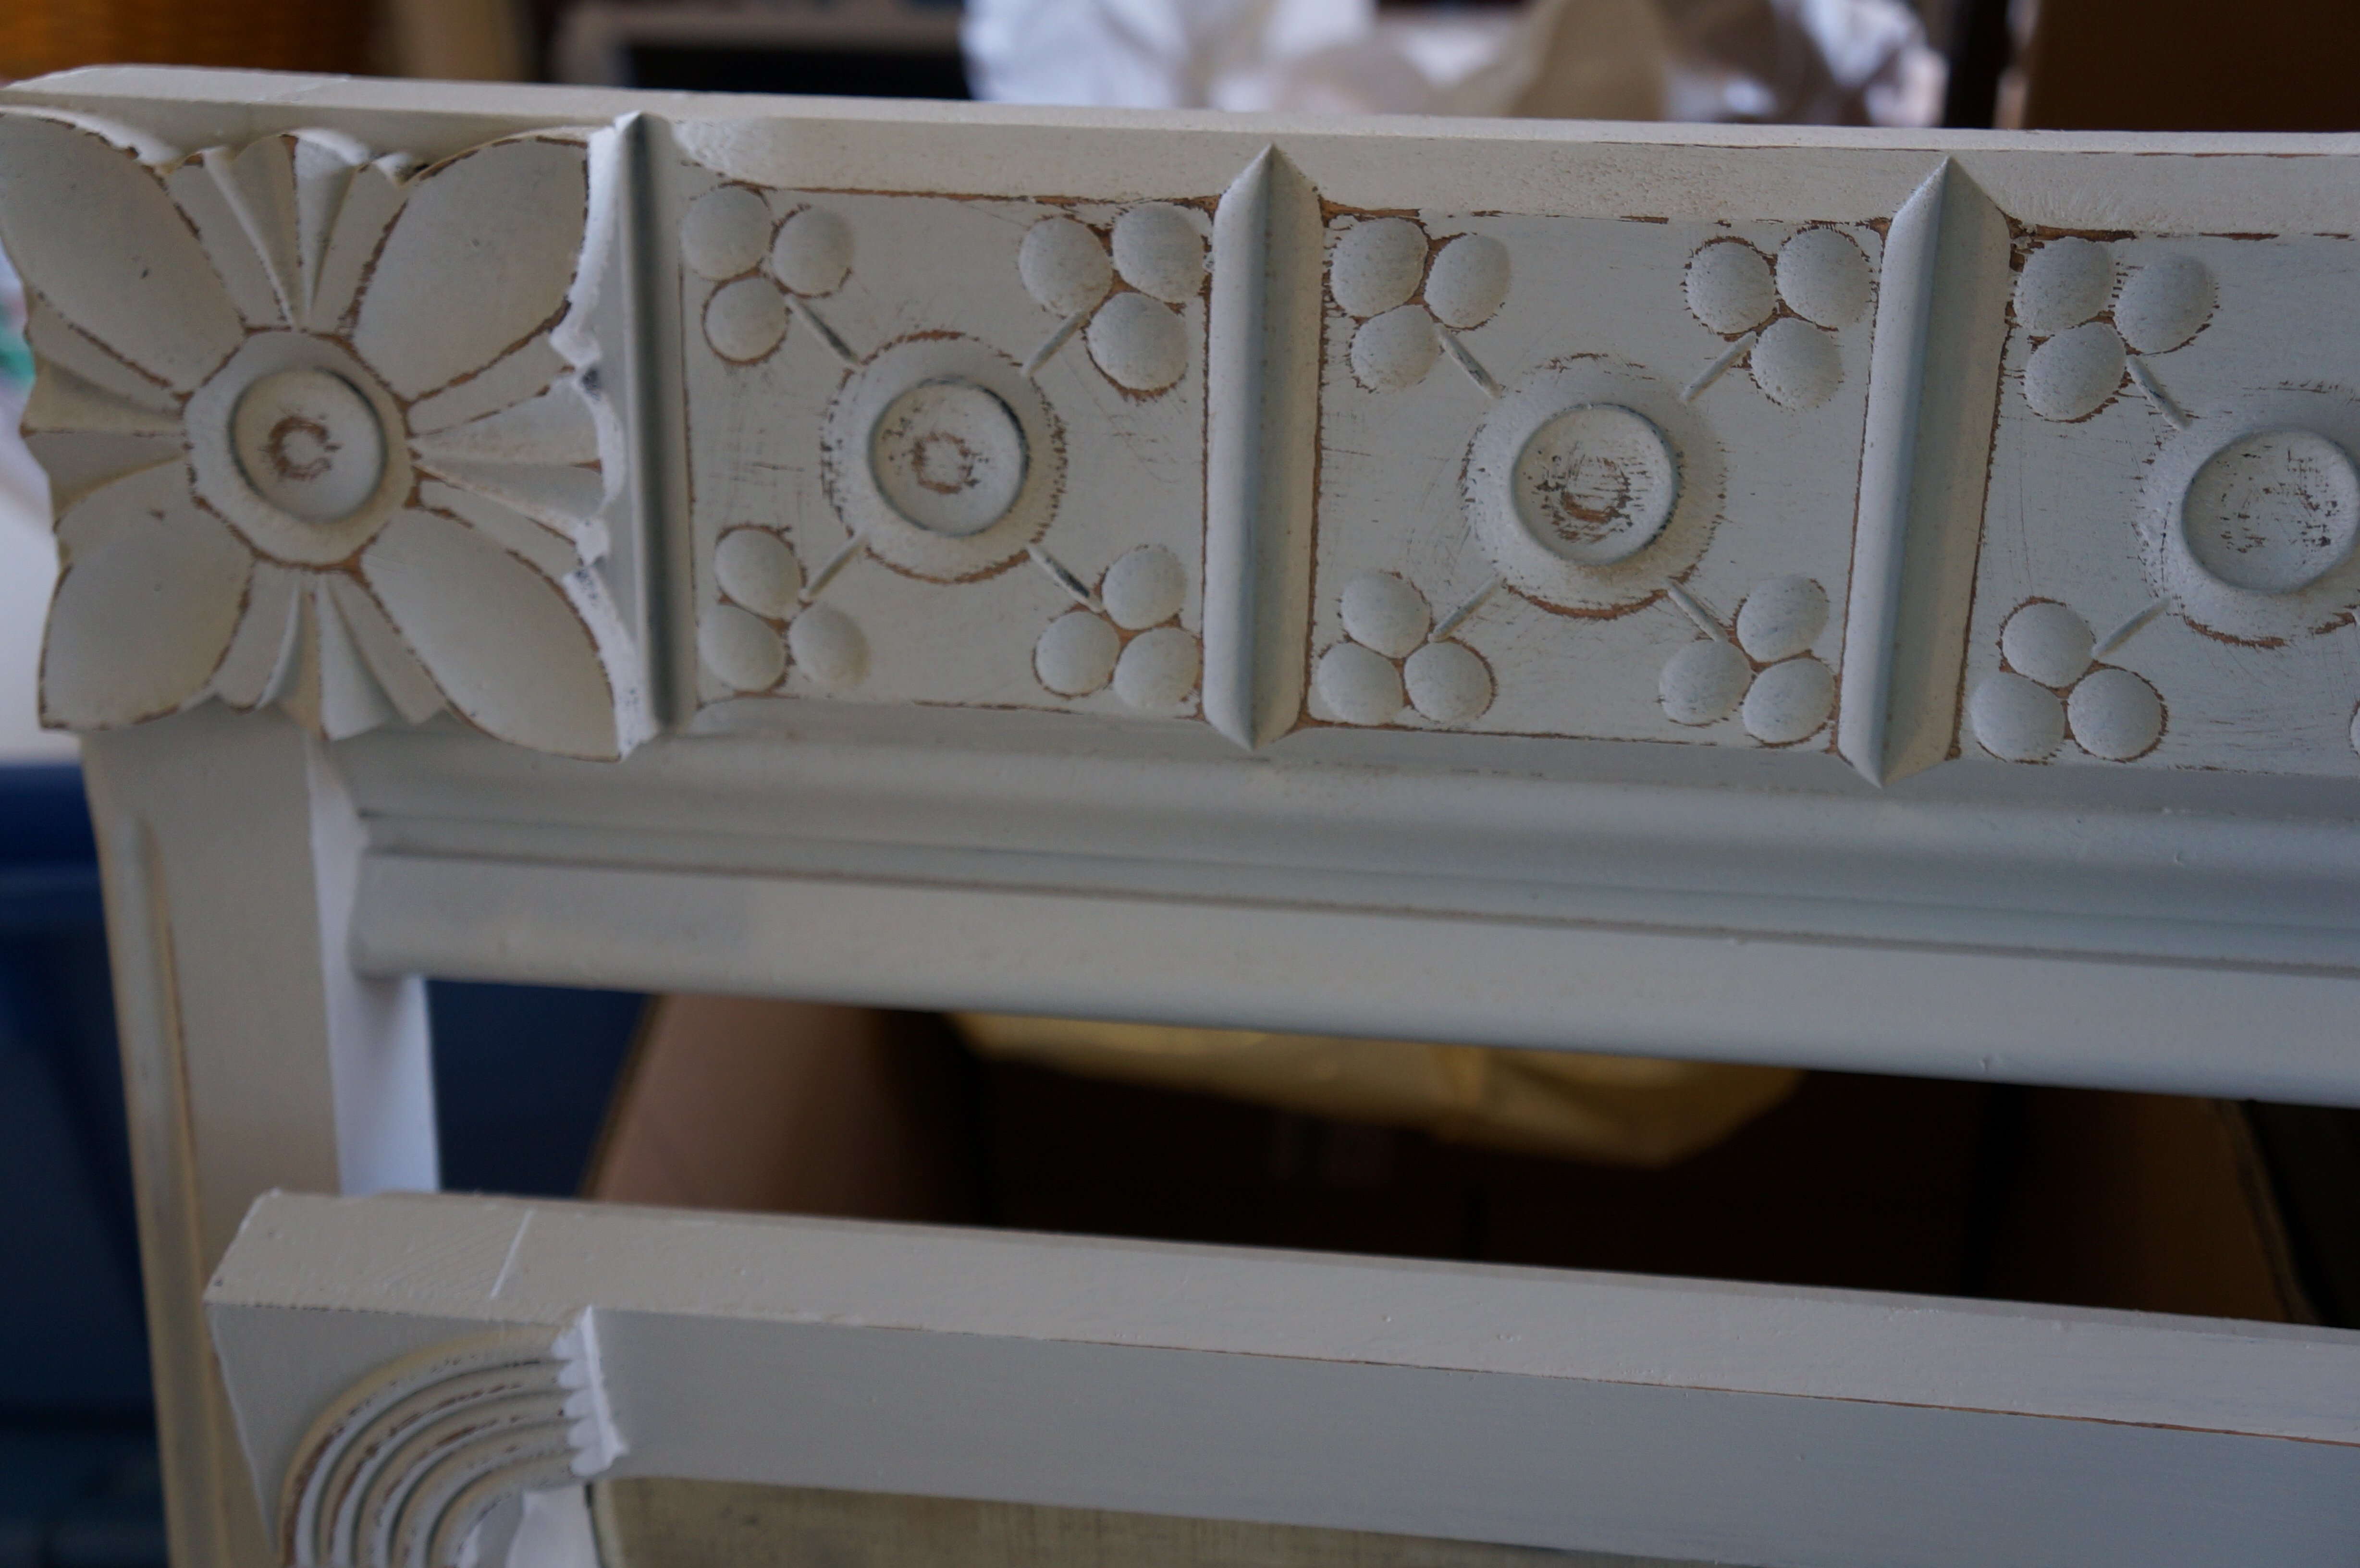
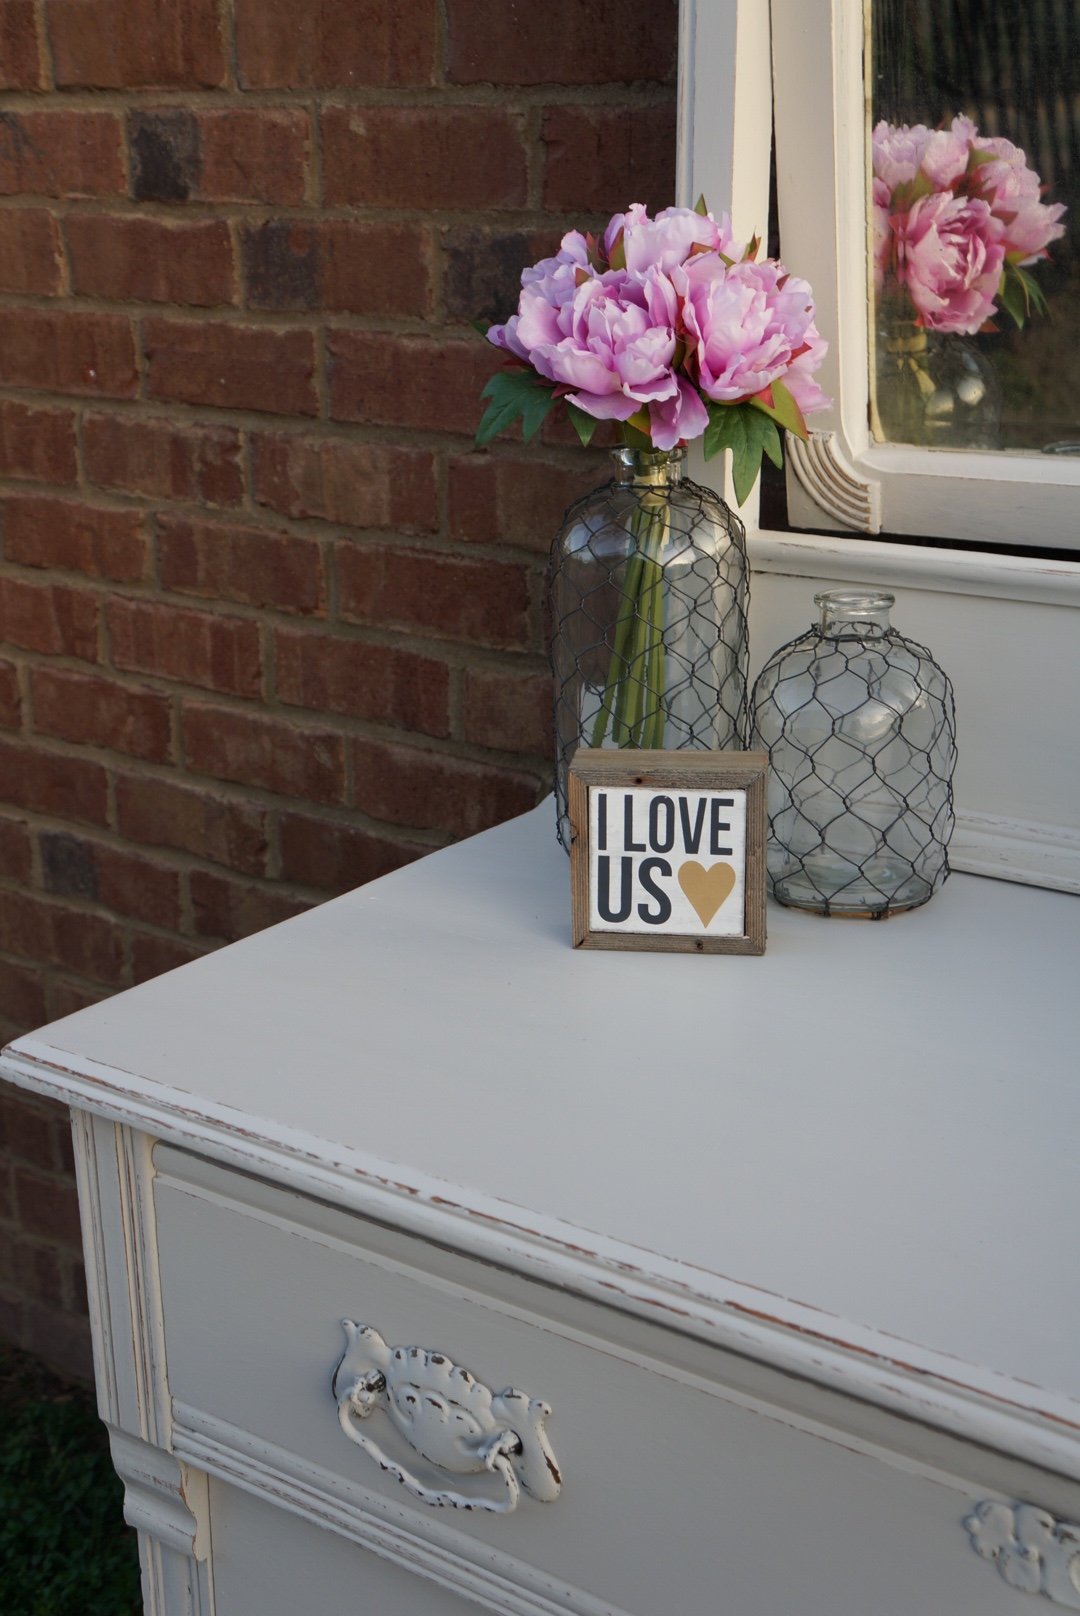
The transformation on this antique dresser was just beautiful! Here are some of the after pictures.
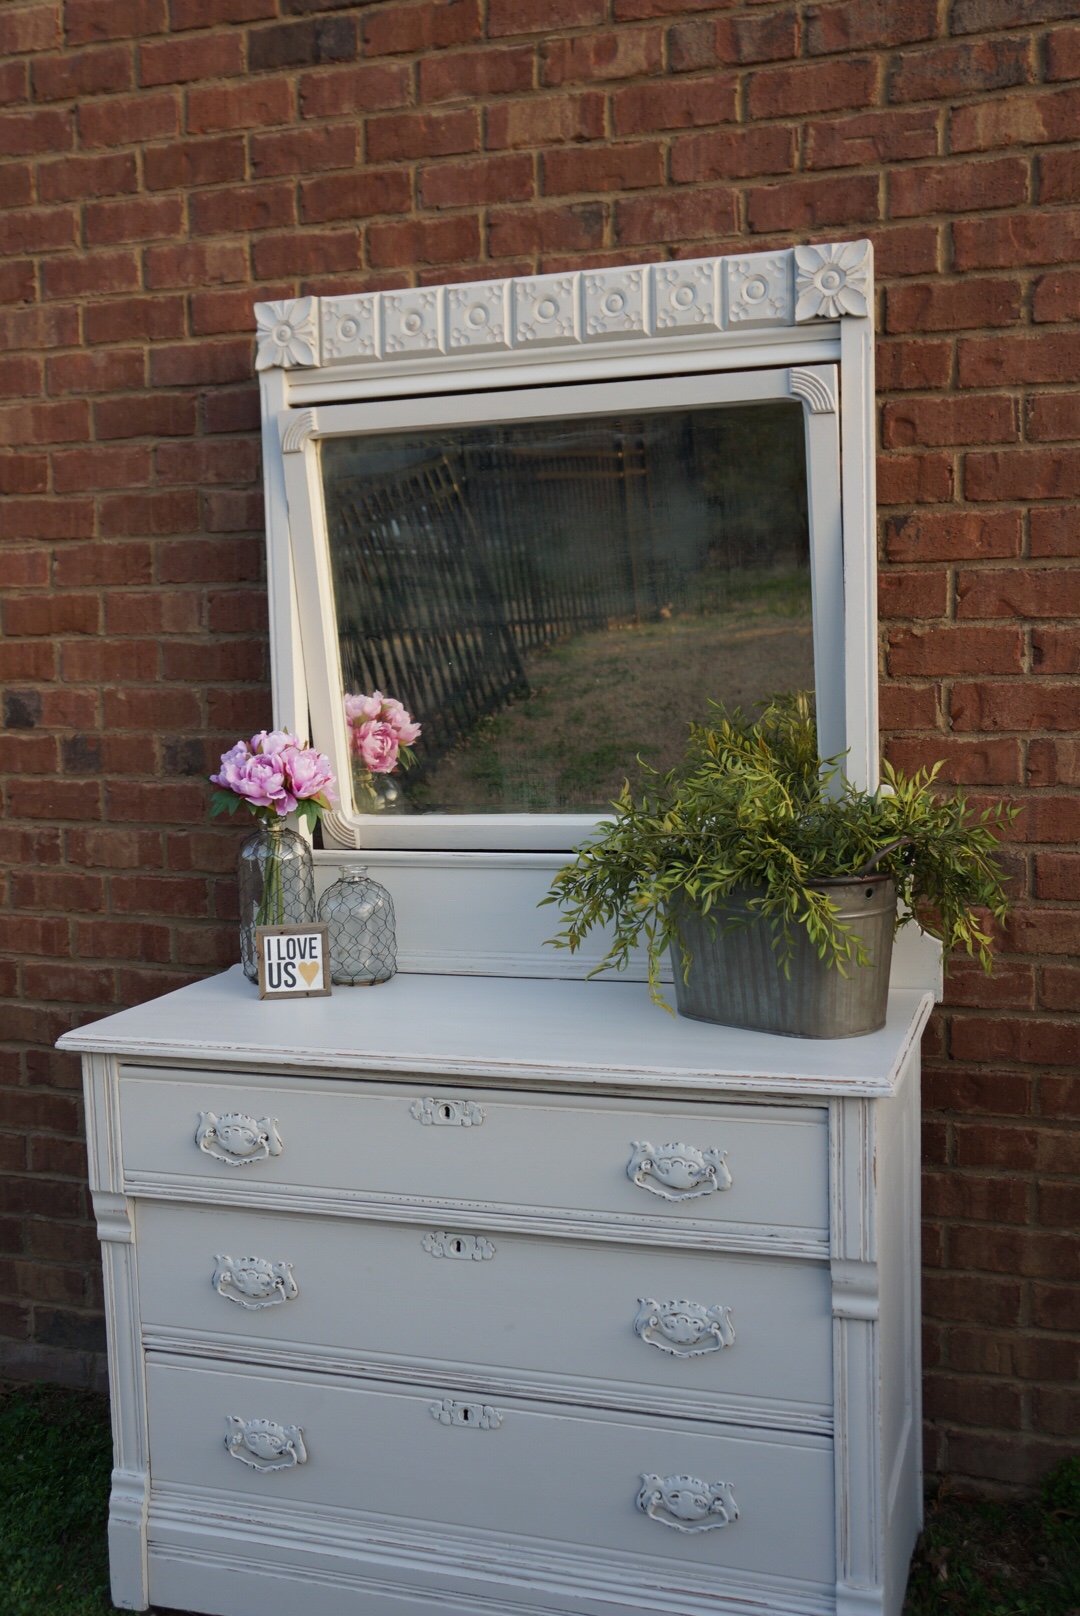

This may seem like a lot of steps to you, or a little overwhelming…but I promise you it’s not as bad as it appears. You may even find it to be your therapy, like I do. I remember the first time someone called me an “artist” and I literally laughed out loud in their face. I can barely draw a stick person, let alone some kind of piece of art. I can paint furniture for days though. While I still don’t consider myself a true artist by any means, painting furniture IS an art and is a great way to get those creative juices flowing. You pick the color, the style, the amount of distressing, etc. to determine the final look of your masterpiece. And each and every piece you do will be unique and different. I can most definitely say I have never painted 2 pieces that are EXACTLY the same.
I hope you found this tutorial helpful and full of useful information! As always, feel free to reach out if you have specific questions! Now, go walk around your house and figure out what you are going to put your paint brush on first! Happy painting!
~Stacey
This post may contain affiliate links.
The piece turned out beautifully and I’m happy to read how you go about your projects. They always look amazing to me! I also really like this warm milk color! Thanks for sharing!
Thanks so much, Angelique!! That means so much! Glad you enjoyed reading 🙂
I love this dresser and the mirror. Its also so perfectly styled!
Thanks so much, Cara!! I appreciate your comment 🙂