It’s time to share a fun DIY with you that I’m literally obsessing over! The possibilities on this one are endless!
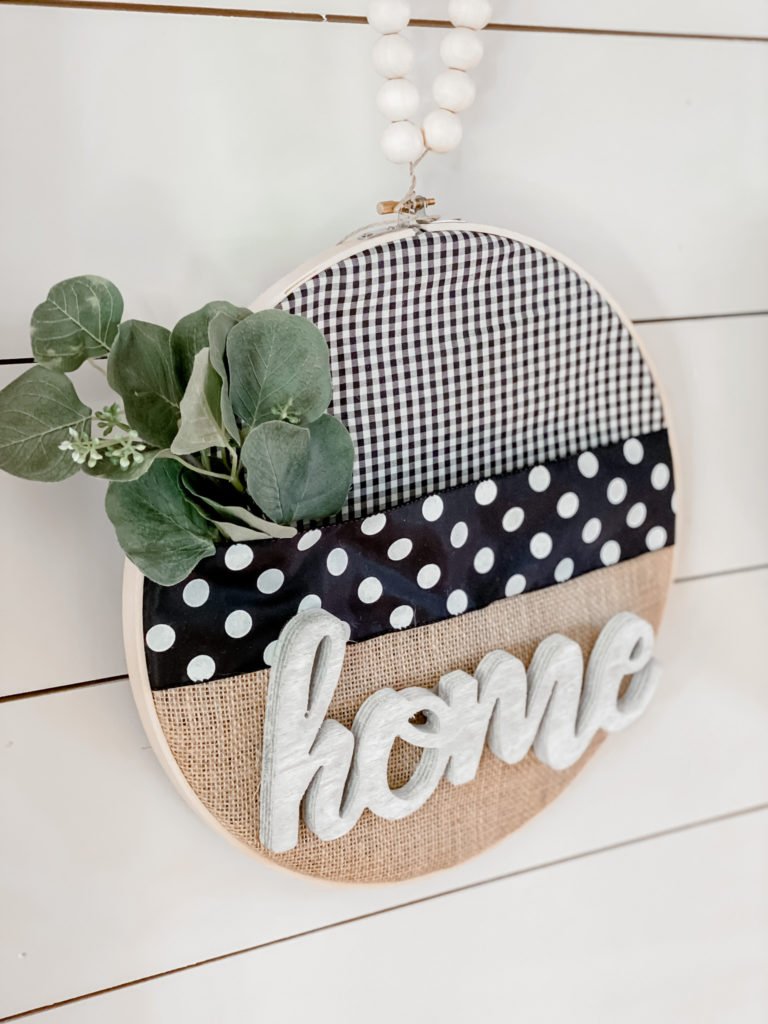
This DIY embroidery hoop farmhouse wreath is easy to do, neutral, fun and will make a statement in your home! It can be changed for the seasons too!

I took a fun little shopping trip to Walmart to get my supplies for this, so you should be able to get everything you need there. BUT- you may have a lot of this on hand, and you can also get these supplies lots of places.
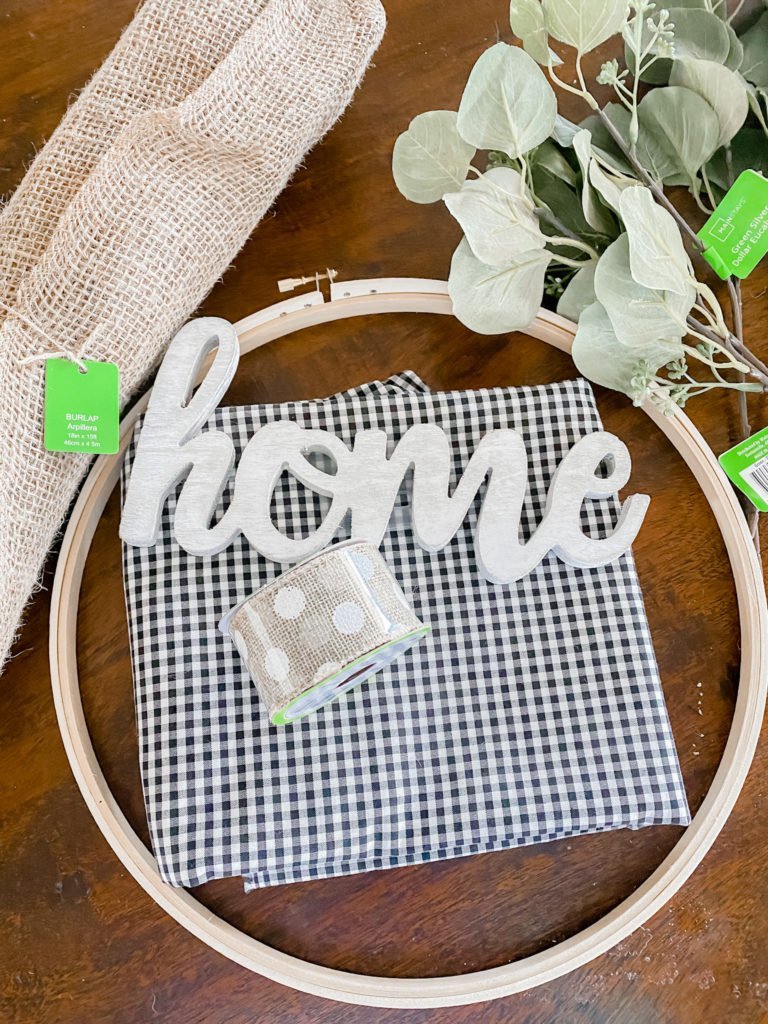
Here are the supplies you will need for this project:
12 in embroidery hoop
2 types of coordinating fabric (I picked gingham and burlap) it just needs to be big enough to cover the hoop with a little extra for trimming.
One accent ribbon that coordinates (mine was 2.5 in wired ribbon)
A wood cutout word of your choice that will fit on the hoop
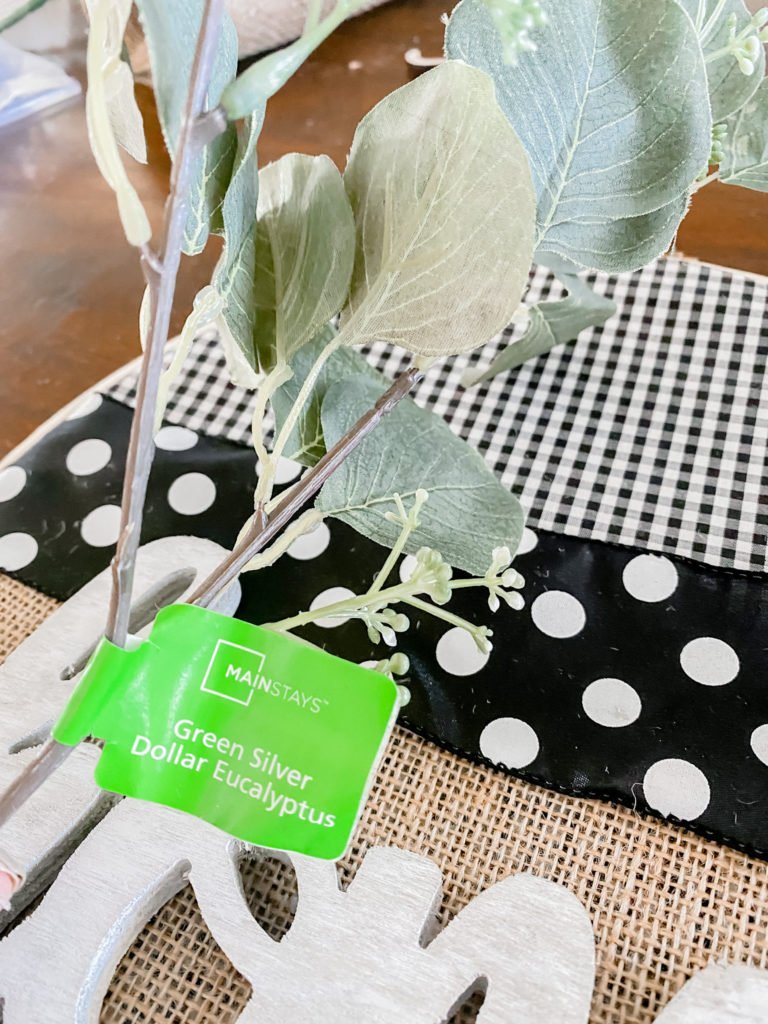
Your favorite greenery (I used some I got from Walmart)
Hot glue gun
Wood beads (20 mm) option for hanging if desired
Here are the steps to complete the project:
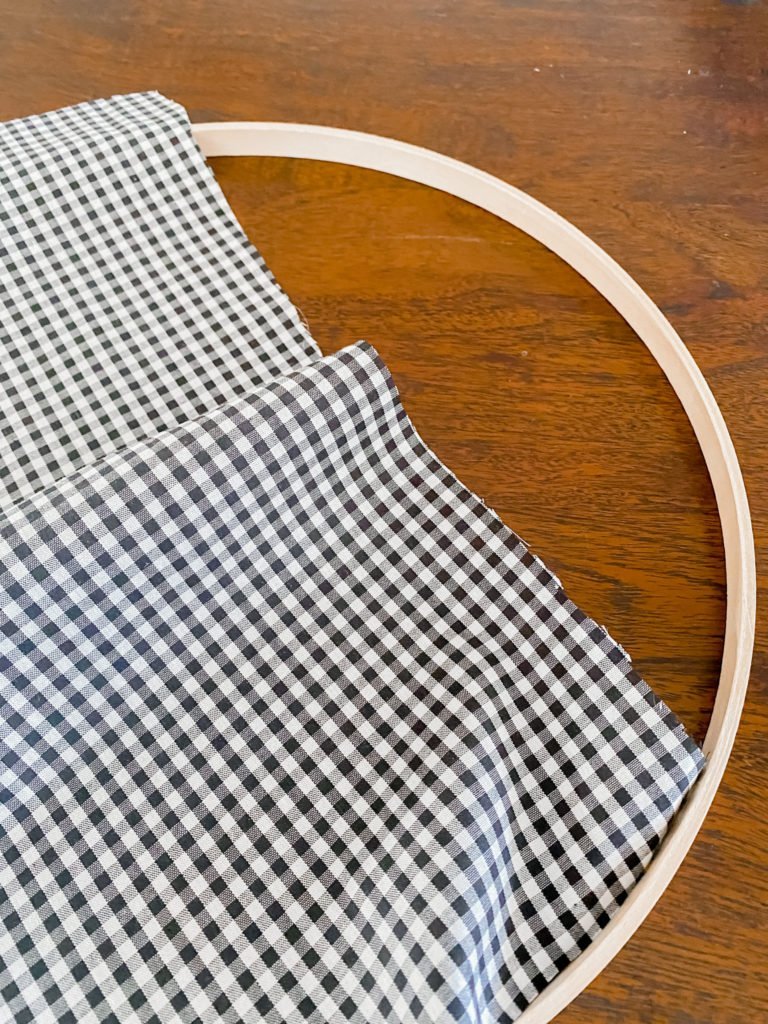
Put the smaller circle of the embroidery hoop down on your table and start with whichever fabric you want to be up top. Simply lay it over the hoop.
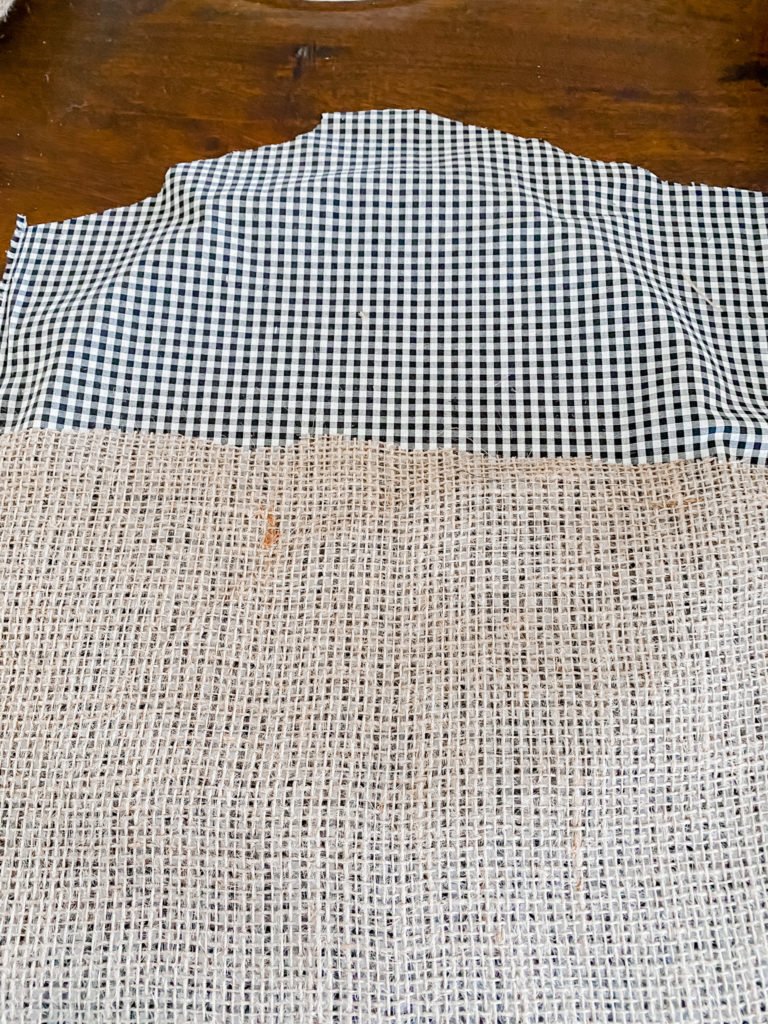
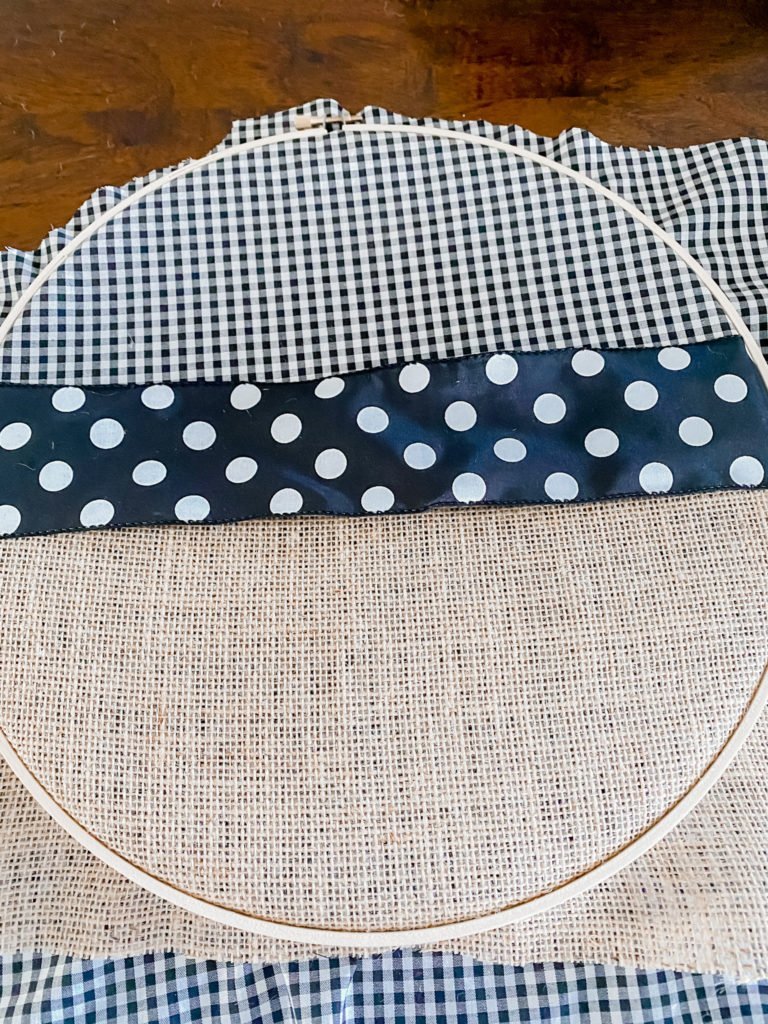
Take your second fabric and lay it on the bottom portion of the hoop on top of your first fabric. You will then take your accent ribbon and lay it in the middle of those 2 pieces of fabric.
Simply take the top hoop and lay it over the fabric and bottom hoop and push down to where it is secure and then tighten it up top with the screw to make sure it is tight.
Turn your hoop over and trim any excess fabric really close to the edge show it doesn’t show from the front.

Once you’ve done this, you have created a “pocket” in the front of your hoop with that bottom fabric. Simply take some greenery and place it down in the pocket!
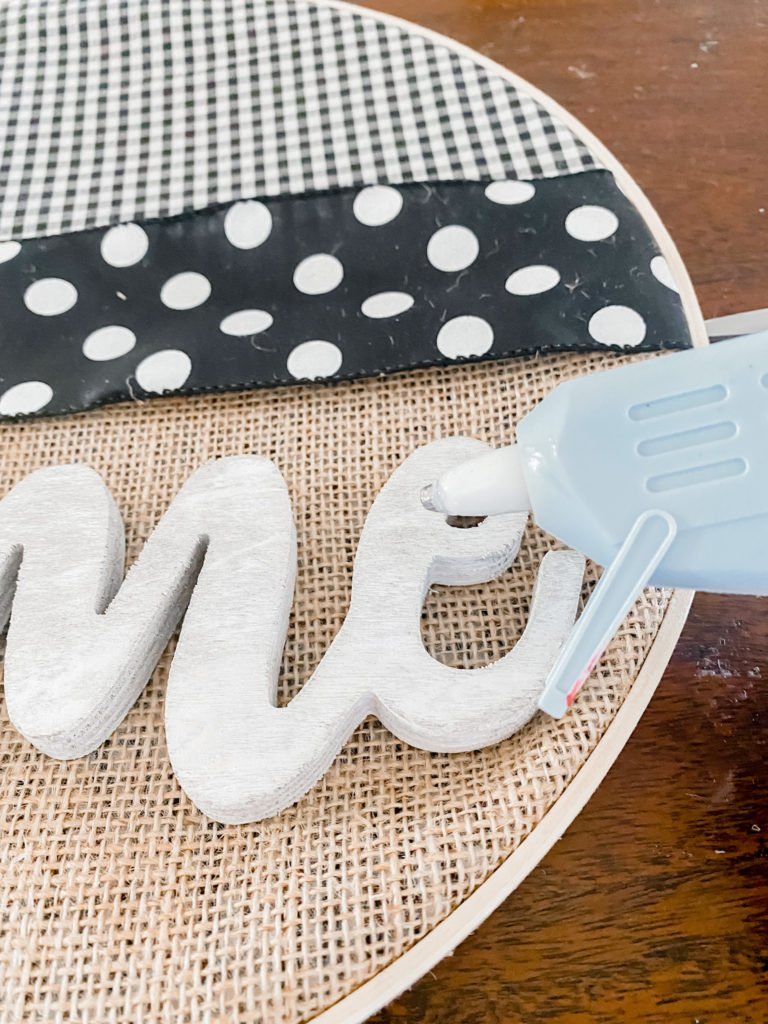
Last but not least, take whatever wood word you picked out (paint it if need be) and hot glue it right to the bottom fabric. How easy is this DIY embroidery hoop wreath project?!
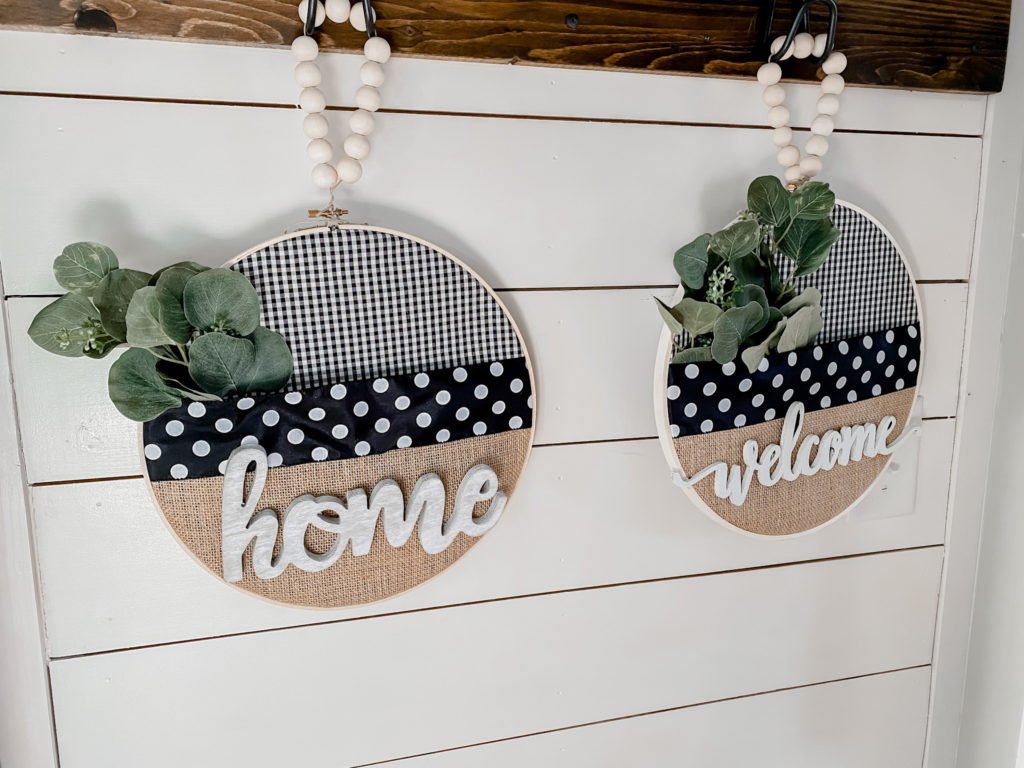
(optional- I added wood beads to some string to hang mine from! You can do this or you can just use something like jute)
I’m so, so excited with how these turned out! I ended up making 2…one for myself and one to give away! You can watch the FB Live where I made these HERE!
Be sure and PIN THIS PROJECT FOR LATER!
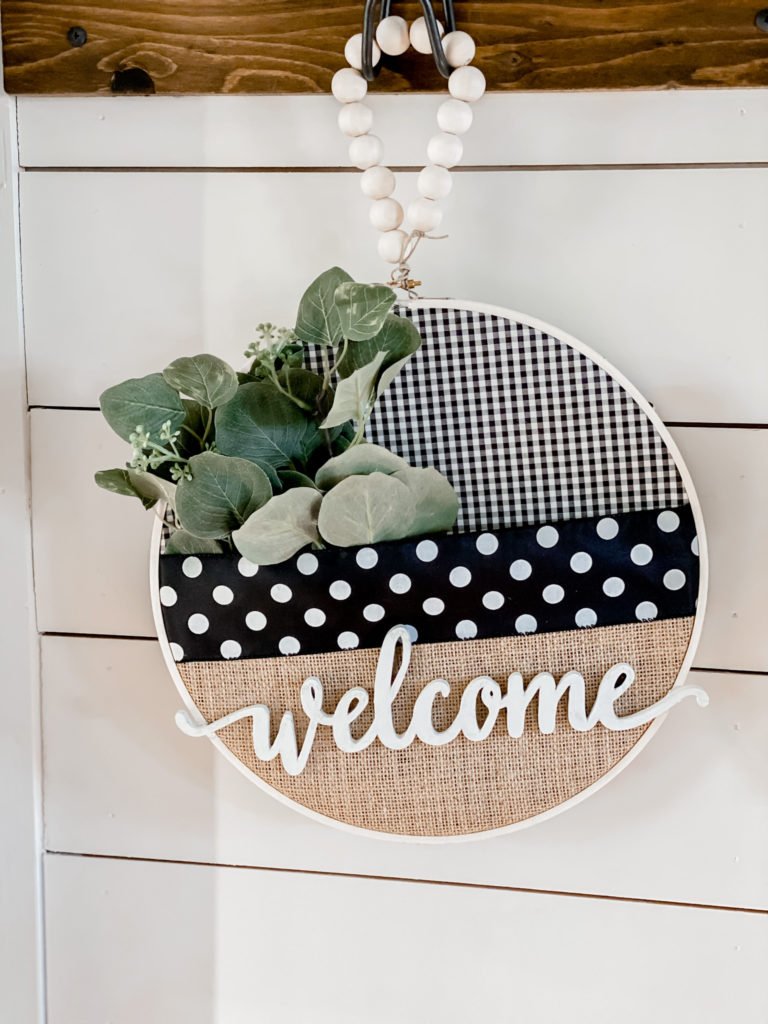
One of the things I love the most about this DIY embroidery hoop wreath is that this can easily be used for any season! You could swap out the greenery for different times of year and that would be super cute!

Let m know what you think of how this turned out?! Do you think you will try one and put your own spin on it?! I hope so!
Until next time…
Stacey
IF YOU WANT TO SEE MY SHOPPING VIDEO FROM WALMART WHEN I GOT THESE SUPPLIES, CLICK HERE!!
Love these finally a step by step tutorial and a clear and concise list. Have been trying to do many of these darling ideas and they all say I got it at dollar tree , that is just not an option here in the east part of the state. We have very few a treasures. So now I have been to michaels. Tuesday mornings. And who knows where else and I can’t Complete anyone. This is can master. Thank you again. Love your blog. And insta presence
Absolutely love this! I will be making one for sure. Thank you for sharing your talent.
Love it, will be making one!
I made the embroidery hoop project and put my own spin on it and it turned out spectacular. Thanks, for the great DIY projects. I love them all.
So glad and you’re welcome!