
I am in love with the look of a flocked tree or flocked anything for the holidays. So, when my friend Kristan called and said “I think I want to DIY flock my tree!” I quickly said “When can I be there?!” Haha! This was something I had always wanted to try, so I was excited that she said come on over and lets give it a go!
A DIY flocked Christmas tree with step by step instructions is what you will find here to make this process easy and smooth for you if you want to try it!
Let’s get right to it…shall we?! Here is her tree before. In her words it was “headed to the dump soon” because it had seen it’s better days. Some of the lights were out on it as well. So, she figured if we messed up no big deal because it was about time to get a new one anyways. (In walks flocking day!)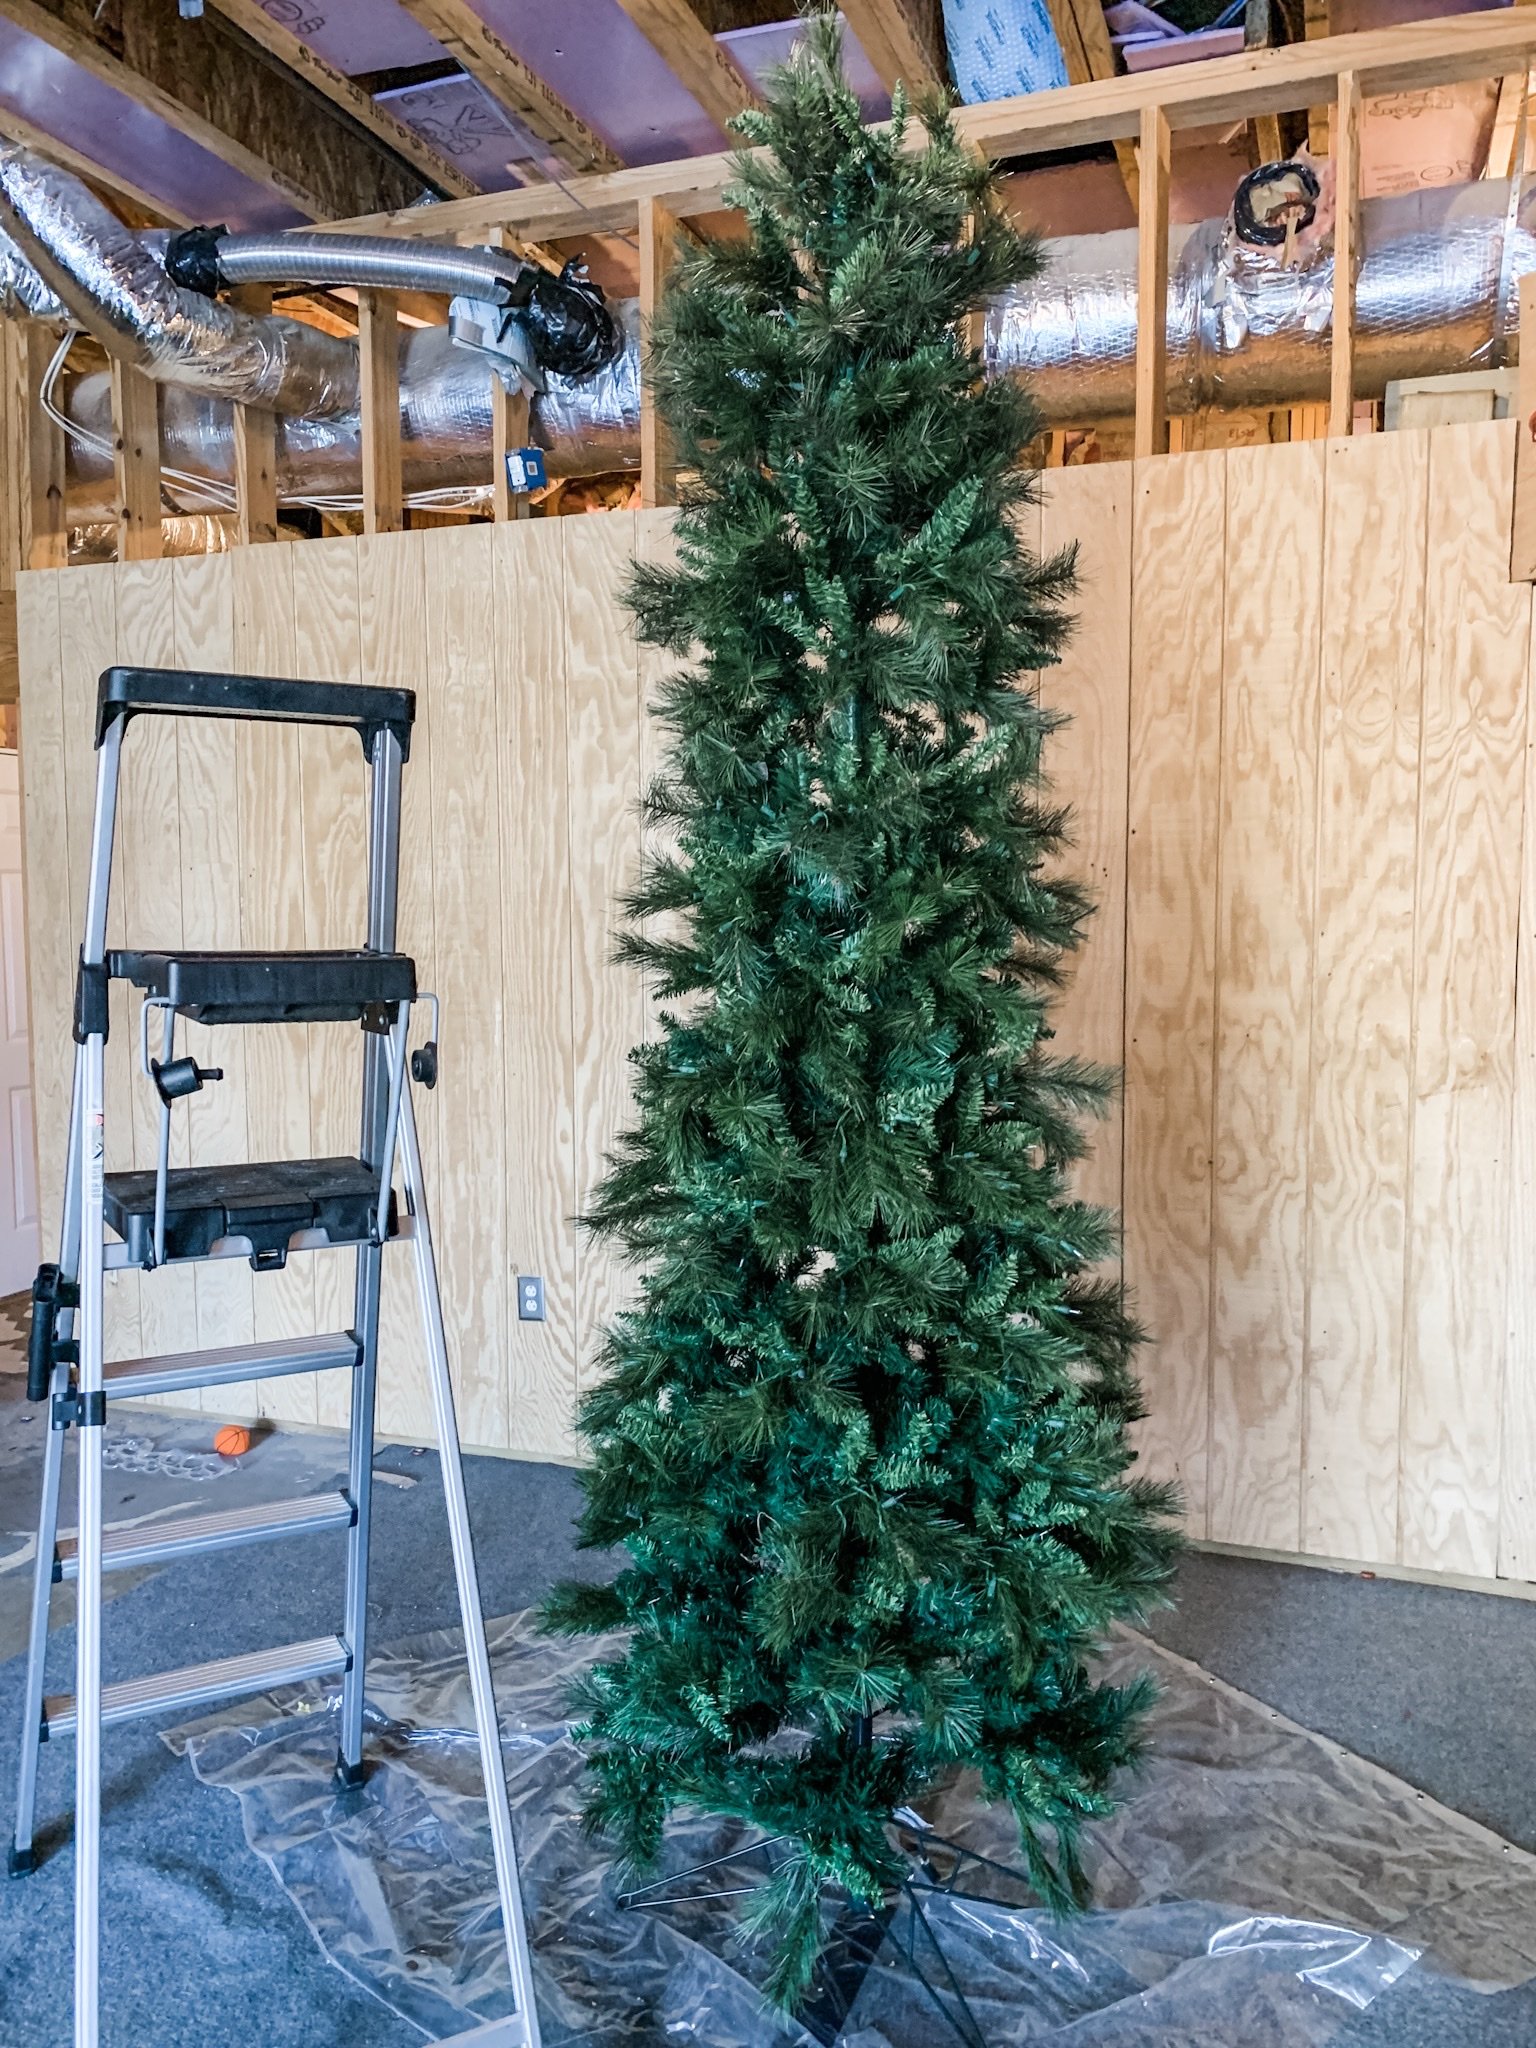
QUICK FACTS:
This is what we ordered from Amazon. (CLICK HERE)We got the 5lb box and had more than enough for her 9 foot slim tree! (We had a little less than half left…I would say we maybe used 3lb or 3 1/2 lbs on her tree for reference.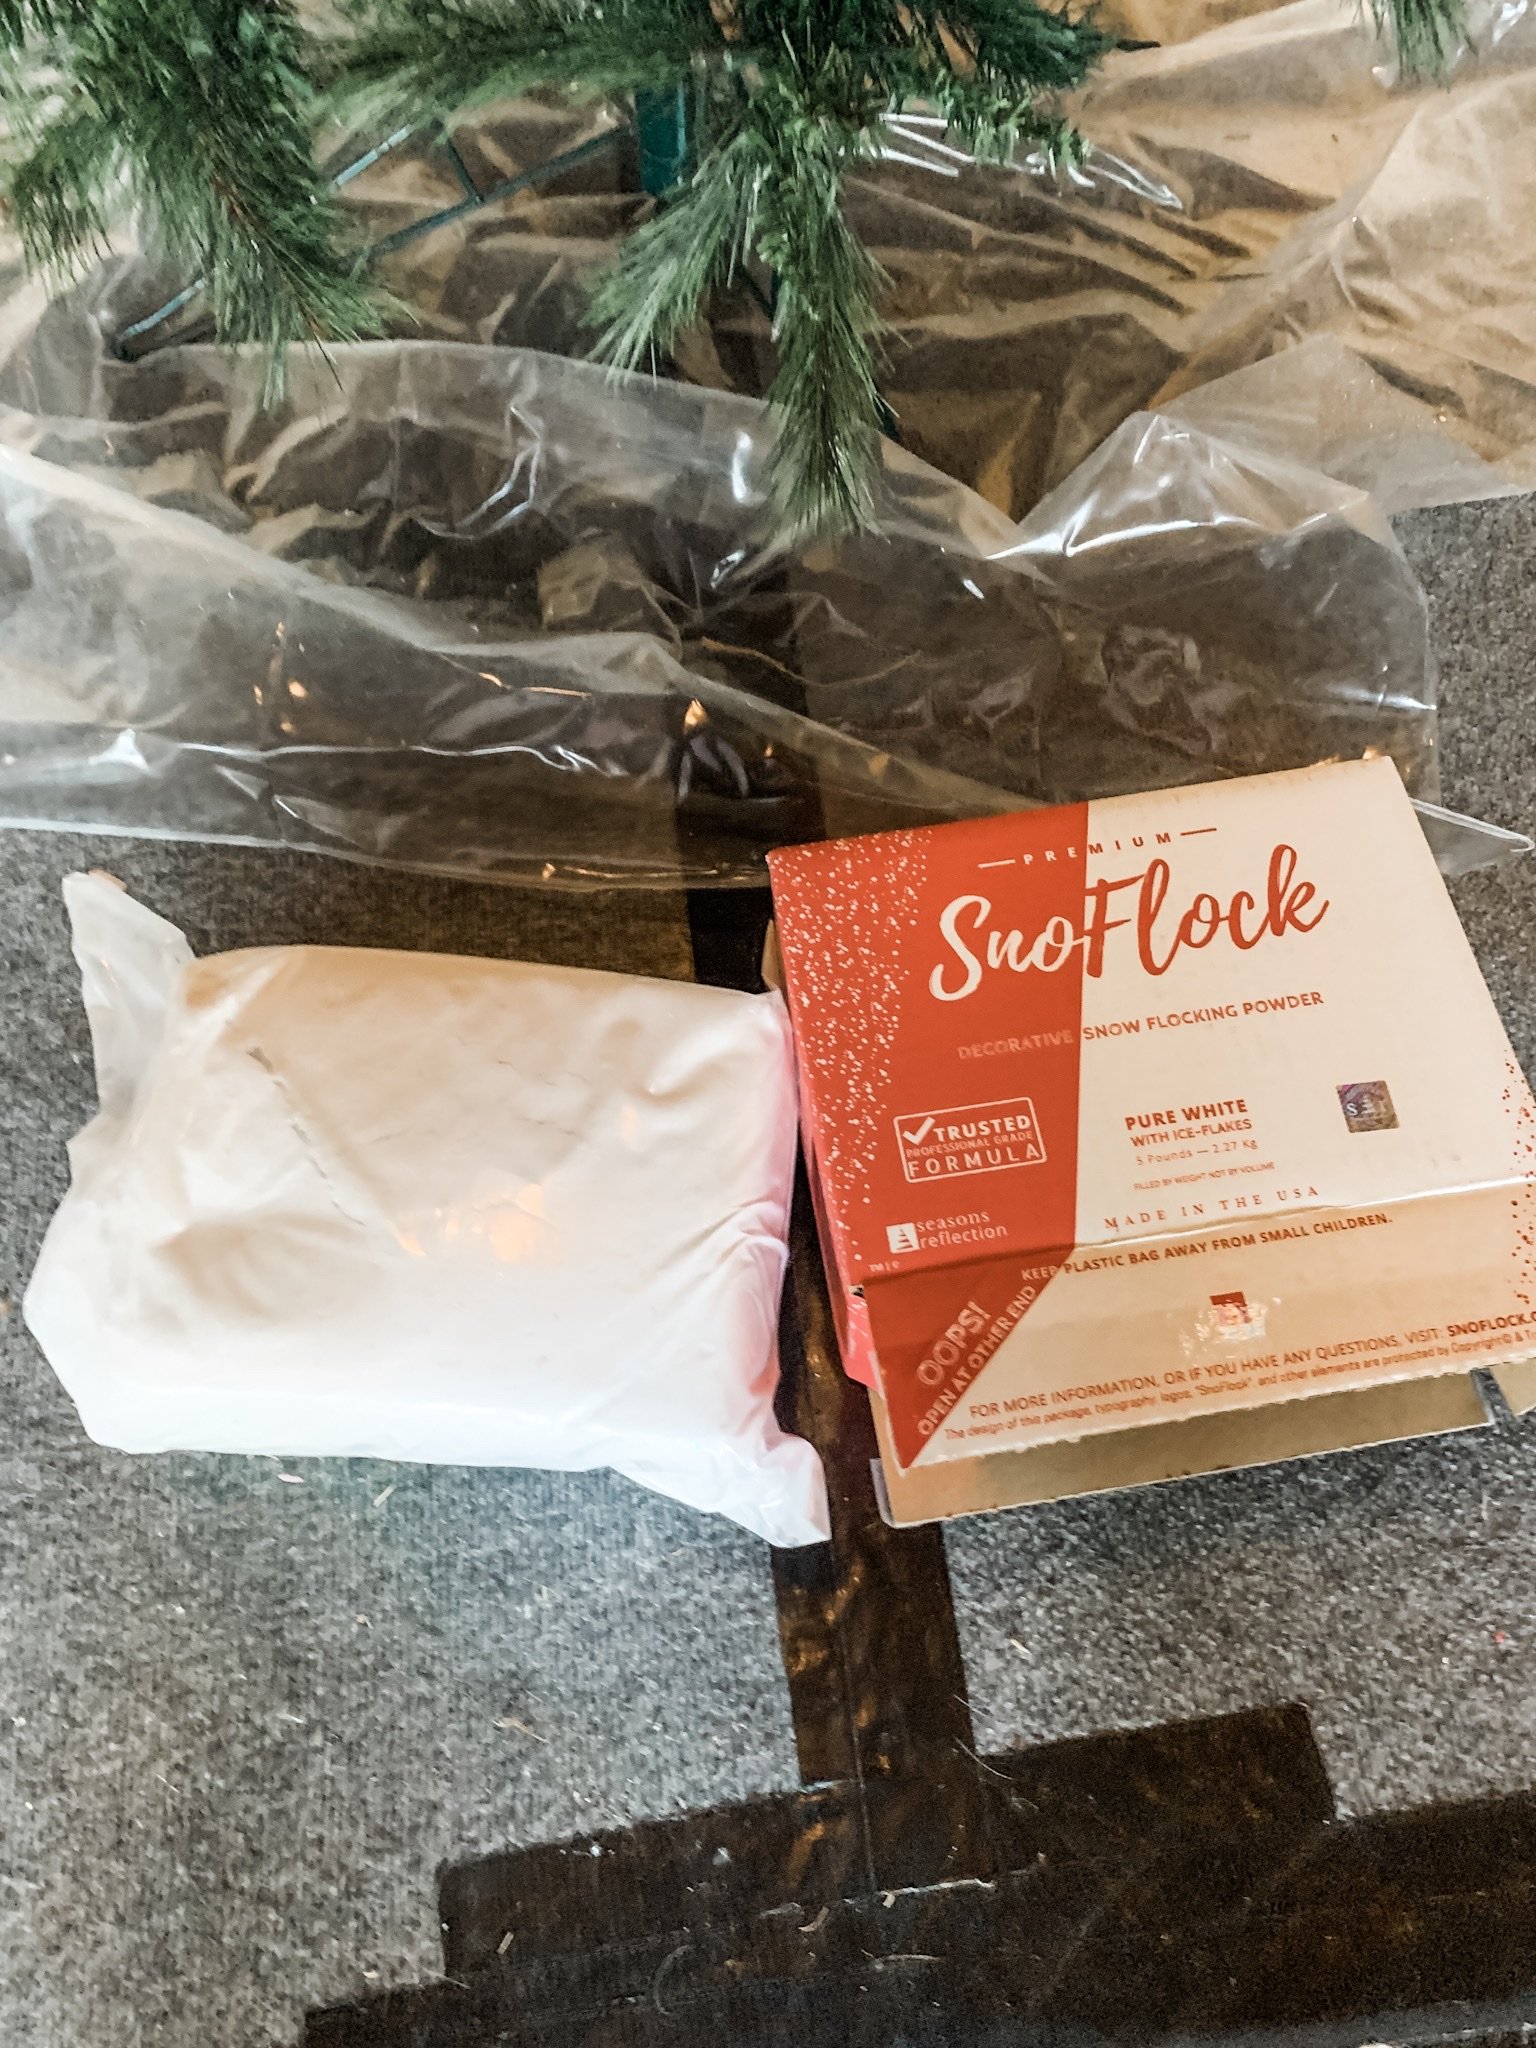
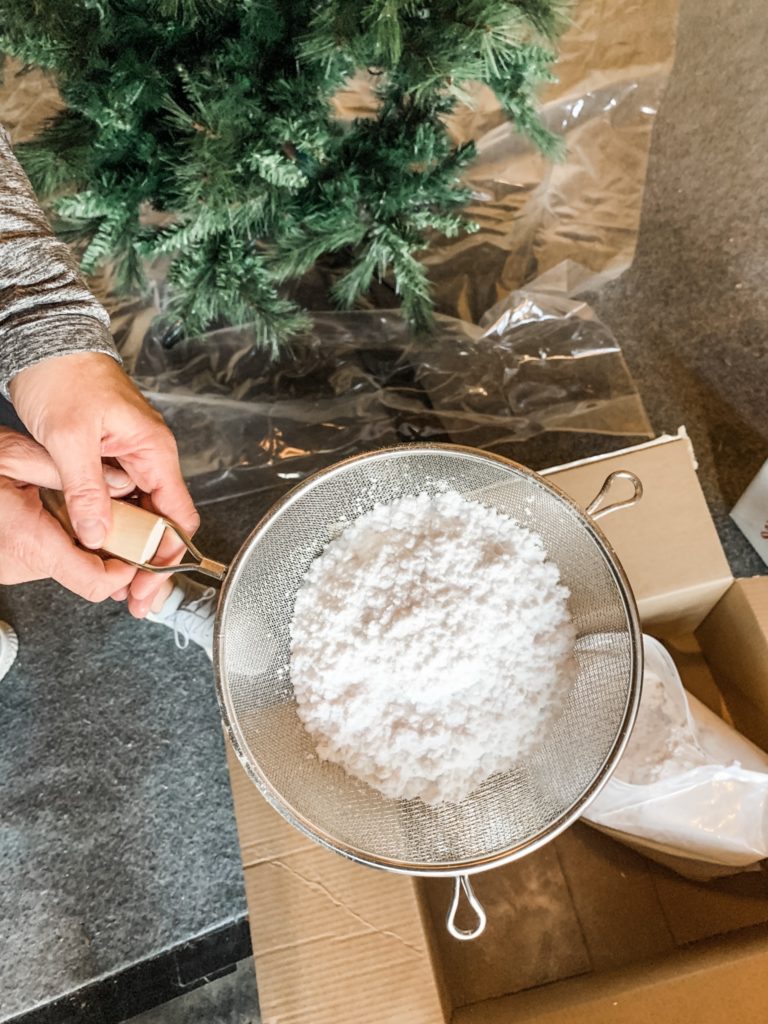
The only other thing we needed for this DIY flocked Christmas tree was a water bottle and a sifter. Any kitchen sifter will do! We used this one here.
Hers is an ARTIFICIAL pre-lit tree, but some of the lights did not work. I do not know how this would work on a real tree. I can only speak to this experience.
We did this in her basement, because YES…it is messy! You will want to do it outside, in a basement, garage, etc. If indoors lay a big tarp or something underneath.
This will be easiest if you have 2 people…you could probably do it alone, but it will be easier with 2!
We did this in about an hour, but we chatted AND went live on FB while there. So, it really is a quick project!
Lets get started…
- Take your water bottle and soak the entire tree. Be sure you get all the branches wet. We started from the top and just worked our way down.

- Once wet, you will want to put some of the flocking into the sifter. We just set ours in the box it came in so that it would have somewhere to fall.
- Start at the top of the tree and start letting the flocking fall out of the sifter onto the branches. You will want to be spraying water from your water bottle at the SAME TIME (this is where it’s easier to have 2 people). One of us would spray, and one would sift. (For picture purposes, Kristan took one of just me doing this step)
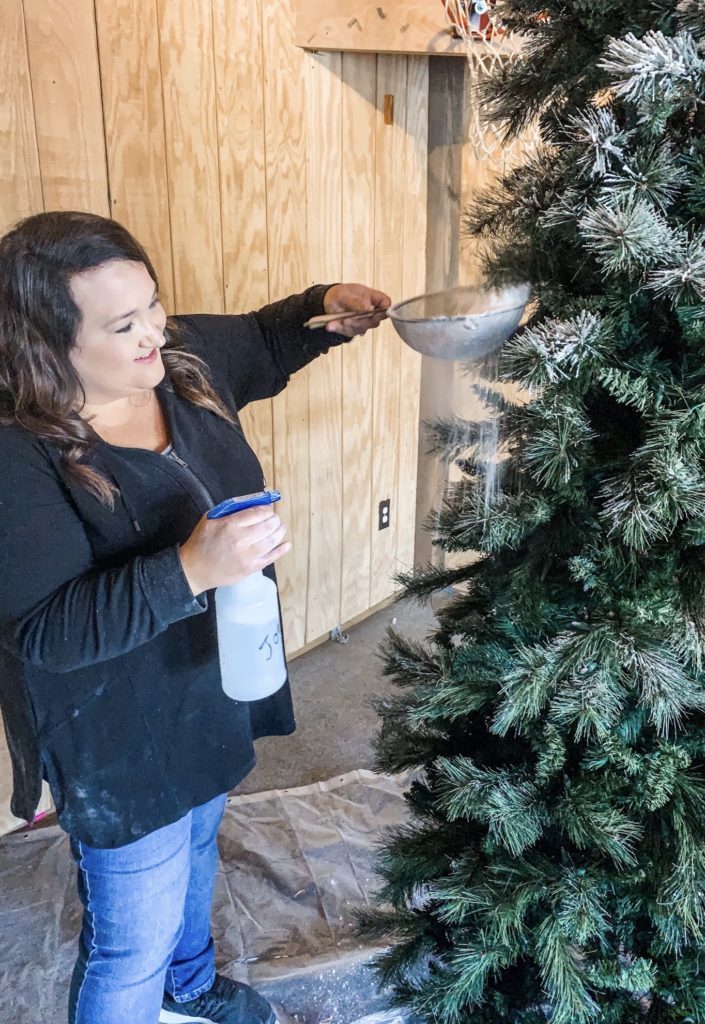
- As the flocking and water hit the branches together it will slowly start to expand and stick. You literally just do this all around and up and down the tree. We would do it, take a step back to see spots we missed, etc. and just keep going with it.
- One little trick we learned was that it was kind of hard to get the sifter into the back part of the branches. In that case, we literally just put some of the flocking in our hands and got back in there to cover it. (yes, it will stick to your hands but it’s all good!)

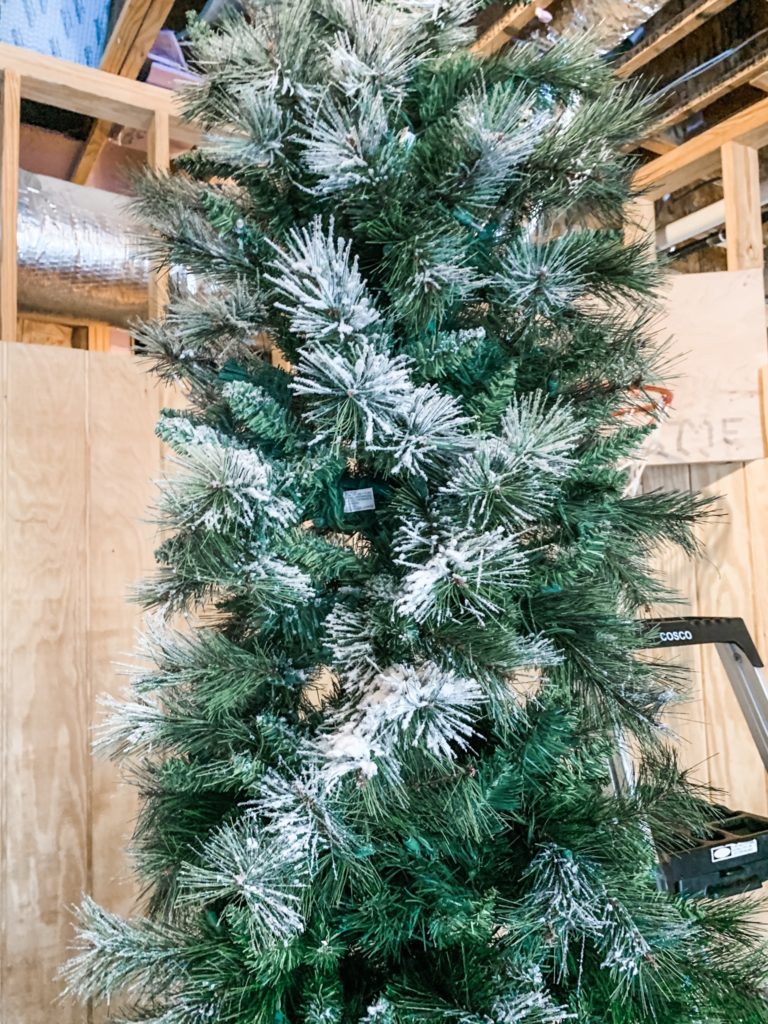
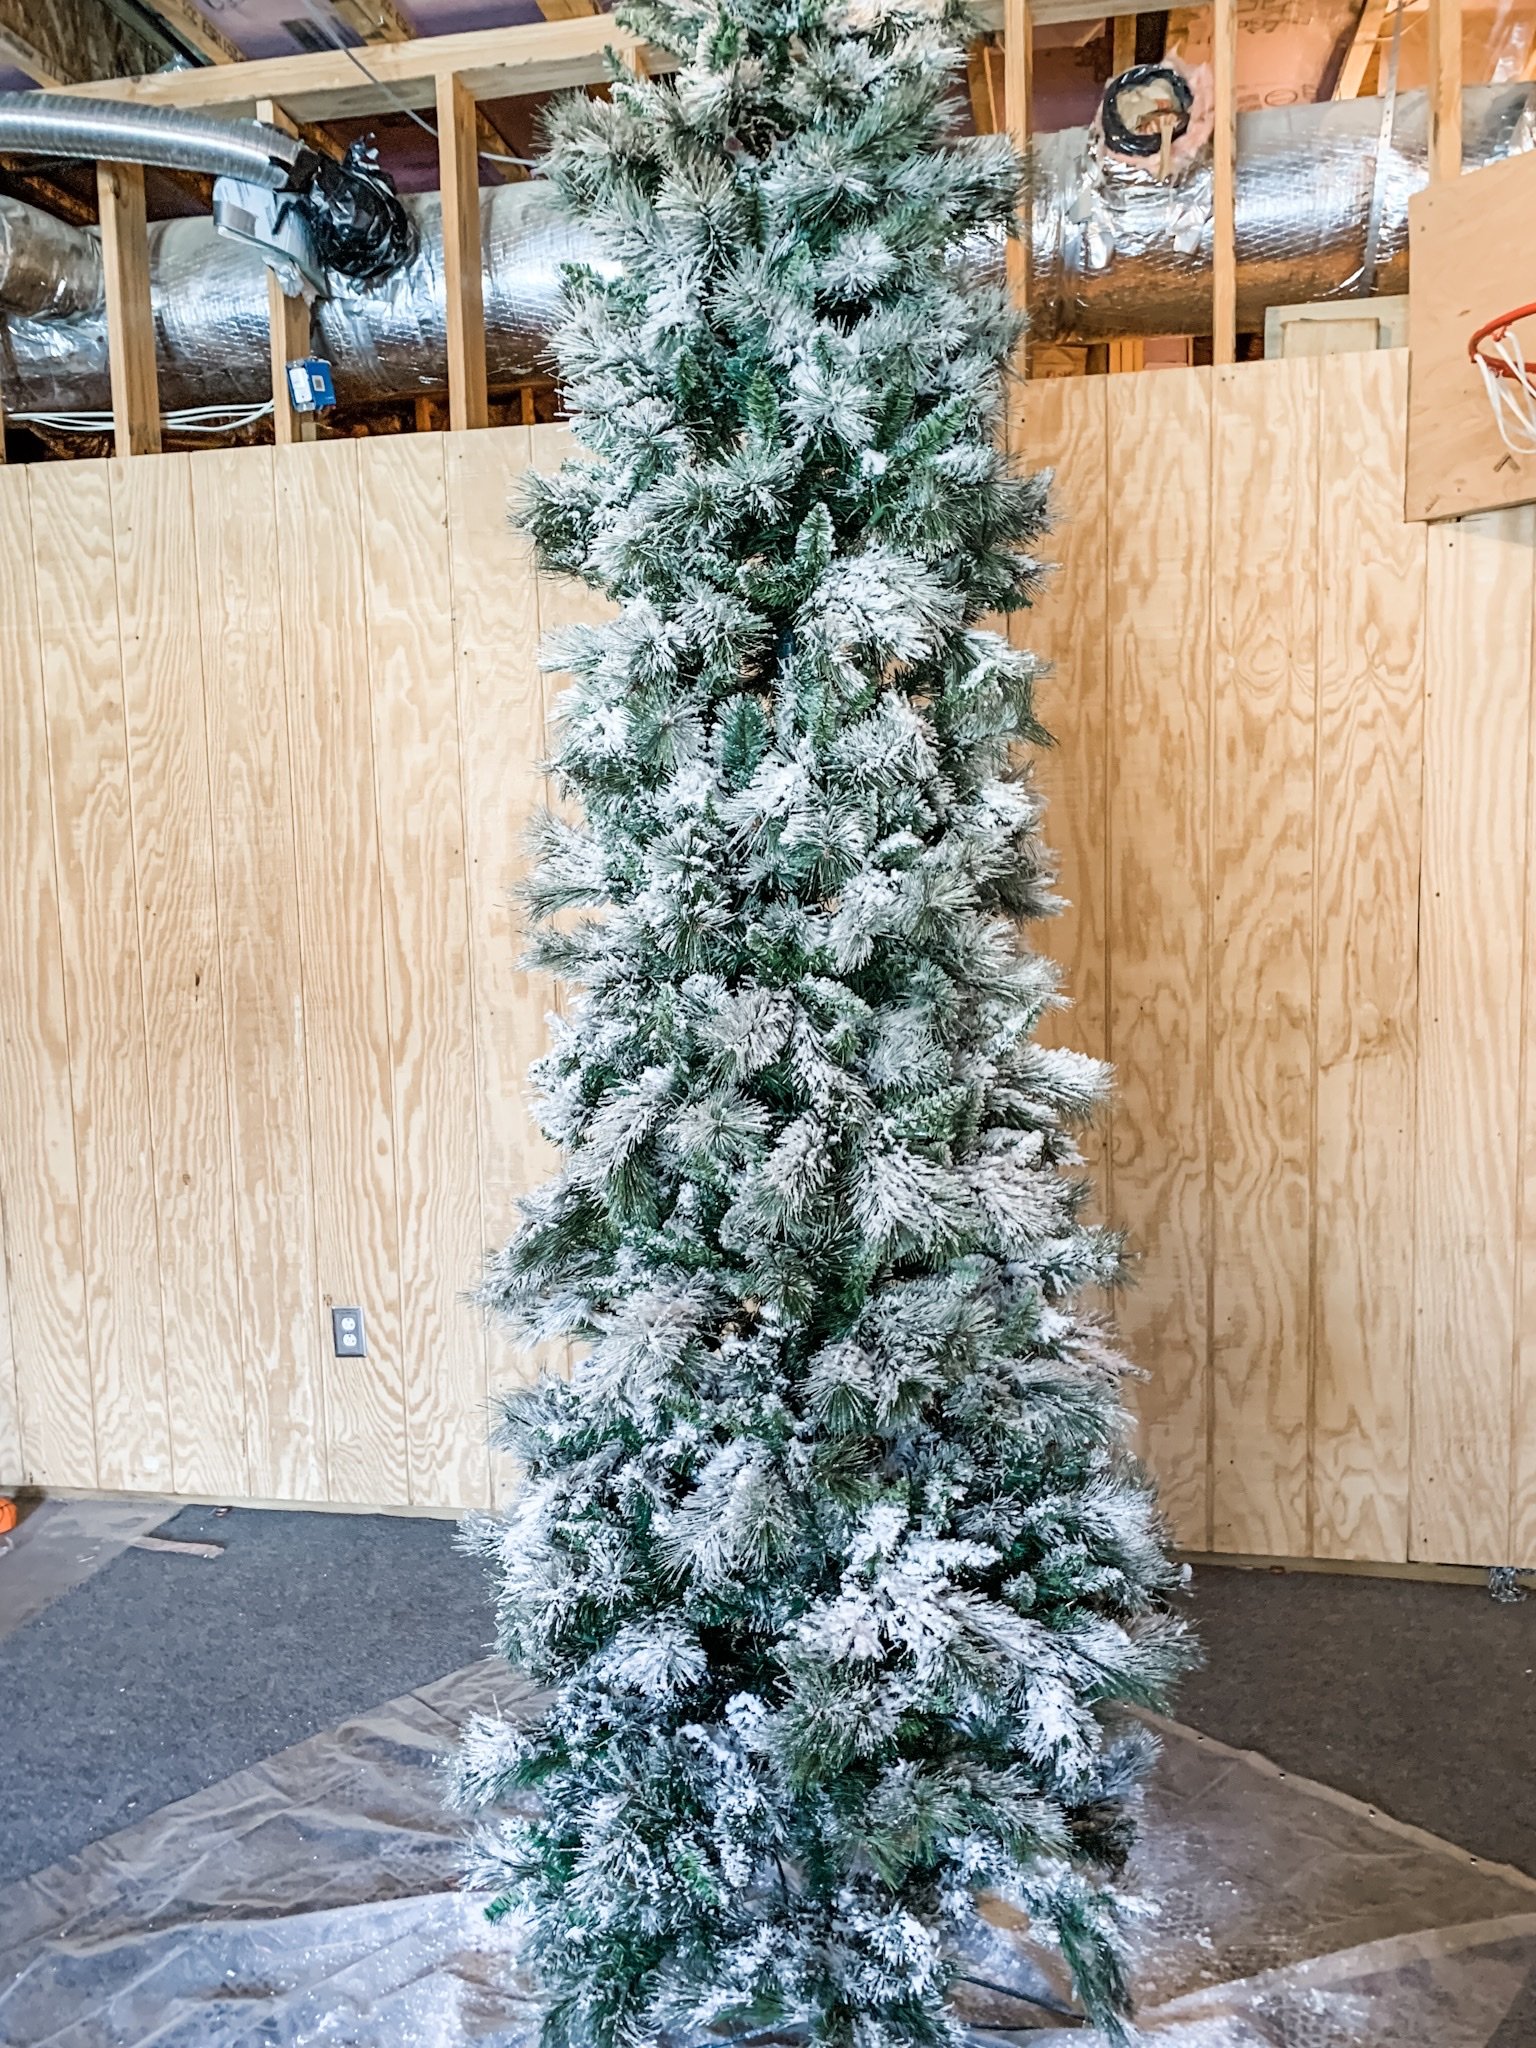
THAT IS IT! Step back and look at the beauty of your newly flocked Christmas tree! We had so much fun doing this together and both were in amazement of how easy it was and how good it looked. Her tree was no longer destined for the dump!


Can you believe this before and after?!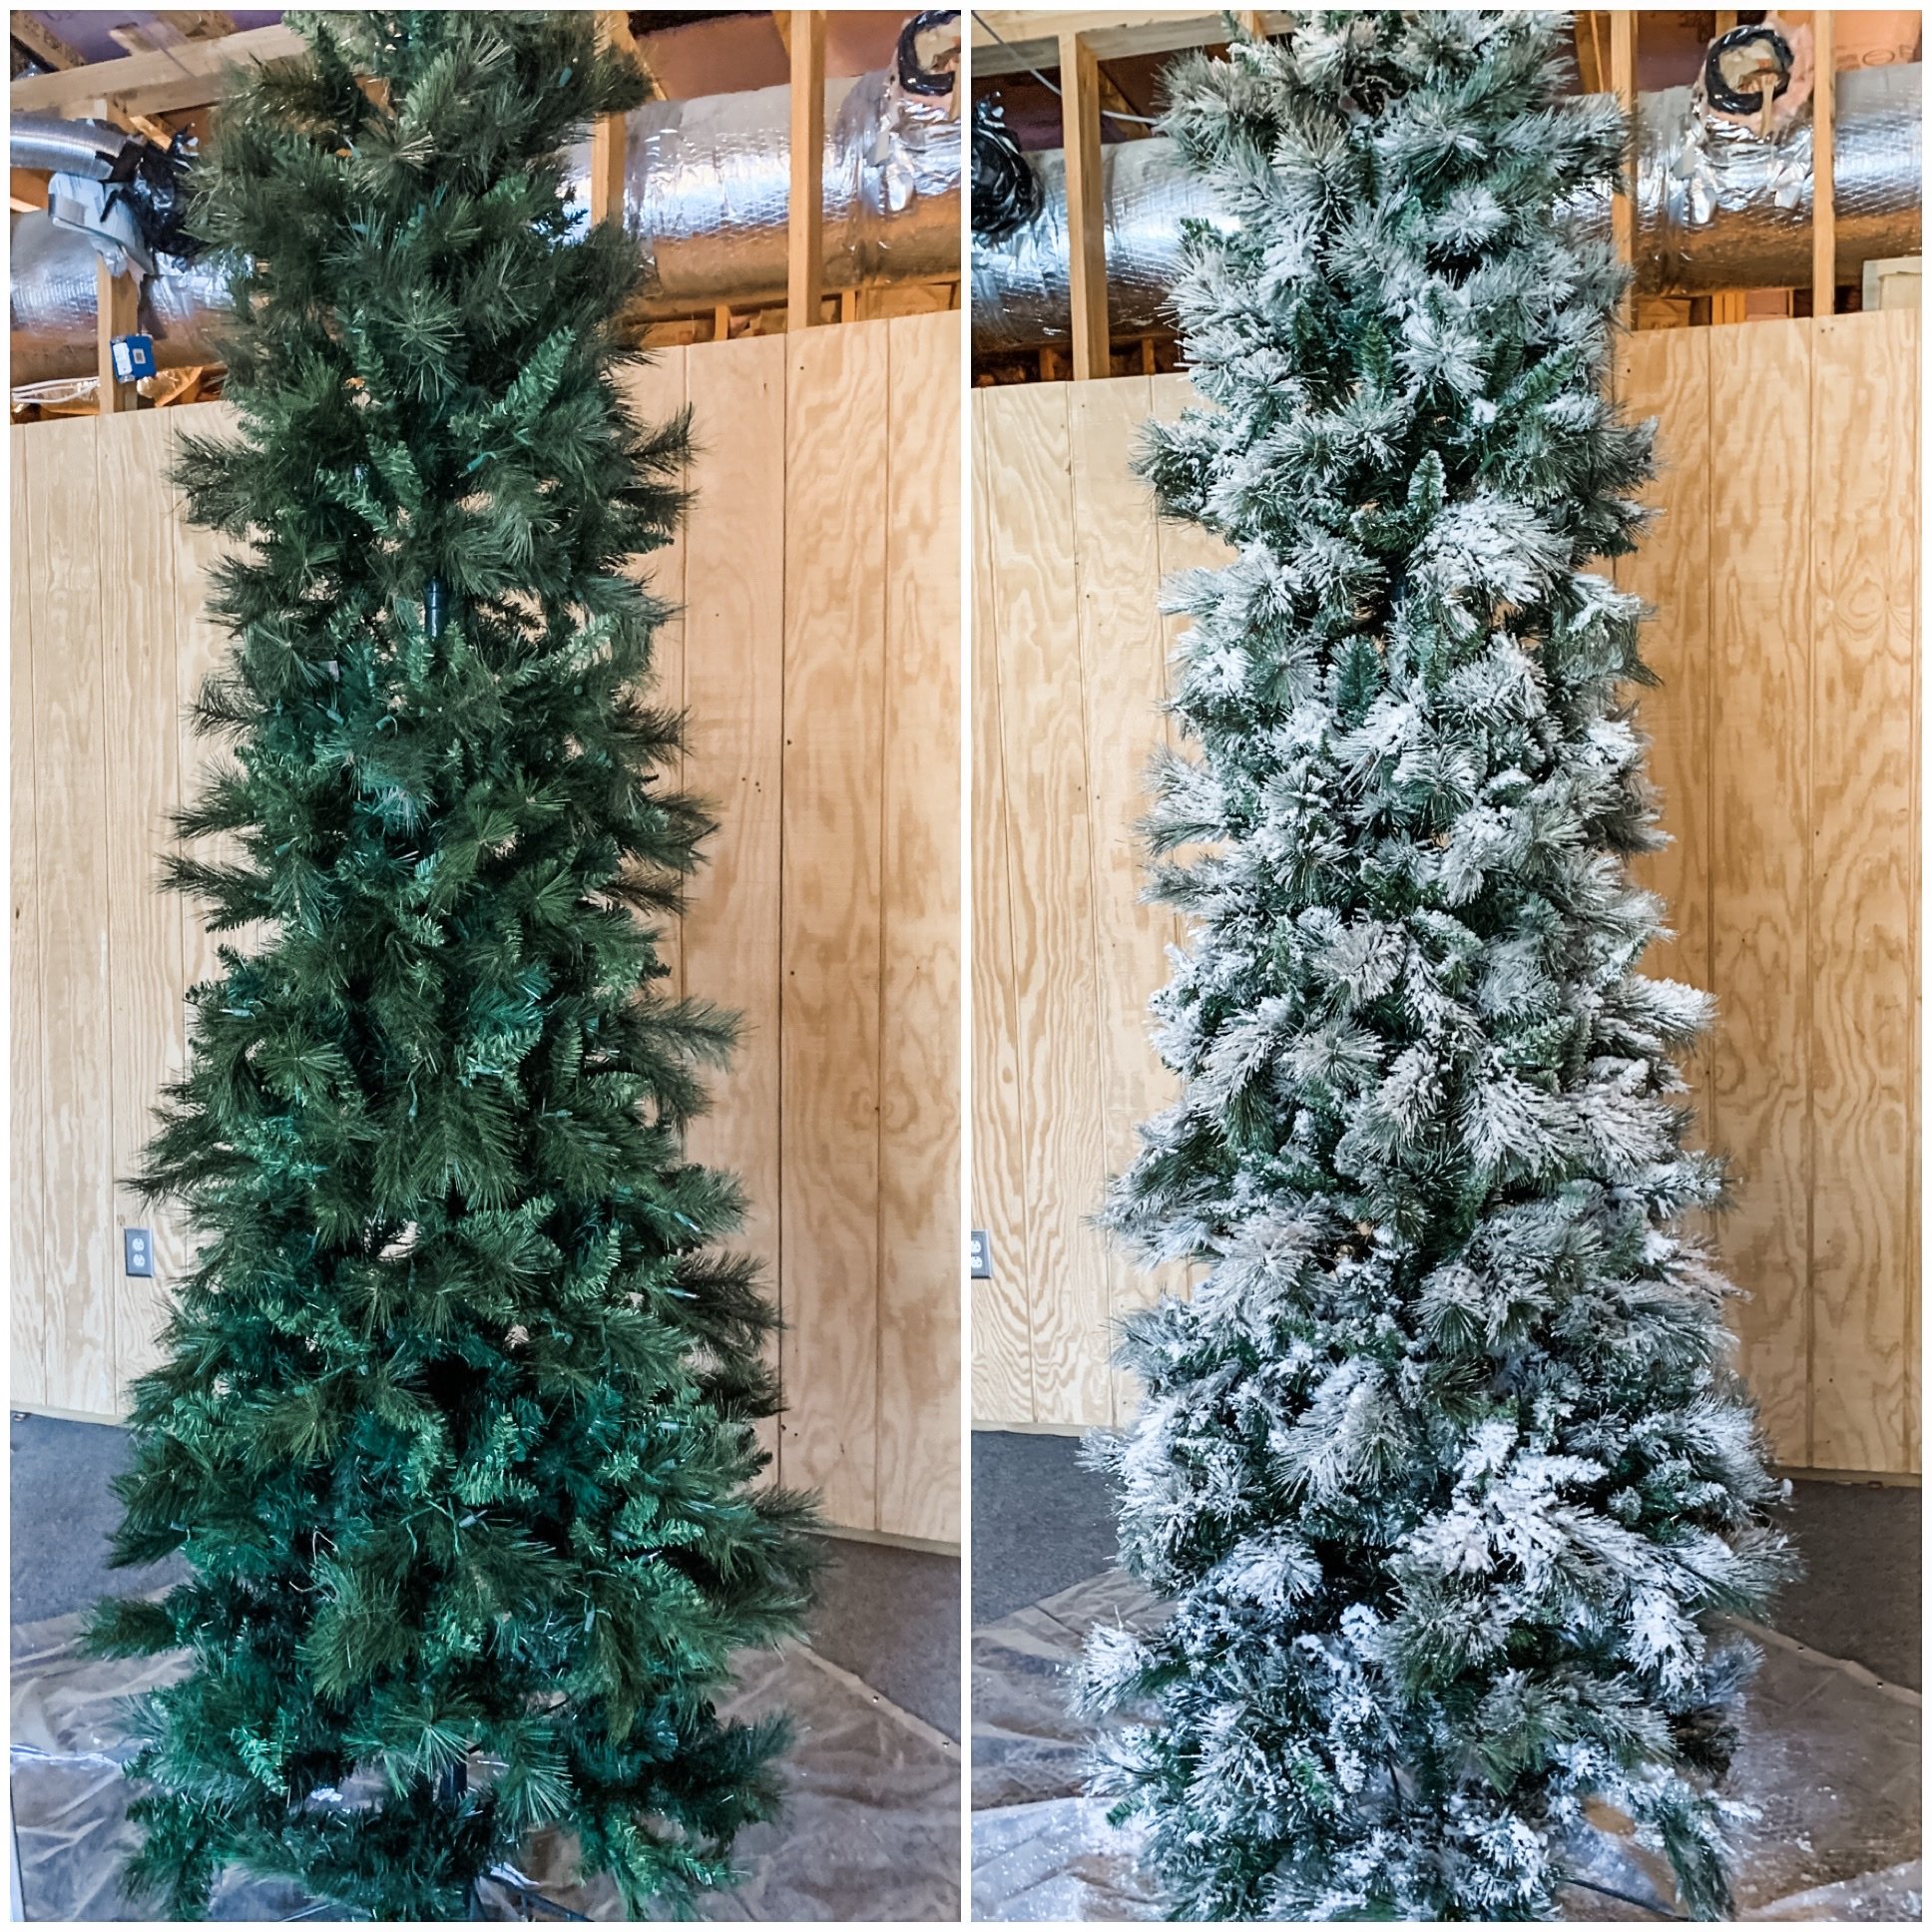
Now, let me answer the number one question I have gotten so far about this. WON’T IT BE MESSY WHEN SHE MOVES IT UPSTAIRS?! ANSWER: YEP!!
Let me explain something about flocking. If you are super OCD, a flocked tree might not be for you. It does make a mess when moving it, setting it up or decorating it. However, I have found that once they are decorated they do just fine because it’s not like you are touching them every 5 seconds.
I even got my clothes messy doing this (Seen here. haha) but that is just part of it! 
Kristan told me that they simply carried her tree up the back steps of the deck into the house and set it up. It was no mess that a vacuum or a broom couldn’t fix! It was messy when she decorated it too, but again-they make household appliances for that!
Now that it’s up it’s doing just fine. Kristan sent me these pics! Isn’t it GORGEOUS all decorated and lit up?! 

I hope you found this DIY flocked Christmas tree guide helpful. If you are a little nervous to do your big tree, start with some garland or a wreath to test it out. Do you think you’ll try it on something?!
Until next time…
Stacey
DISCLAIMER: I have only flocked this one Christmas tree, so I can not speak to other styles of trees or how the process will work. Maybe try a few branches on the back first to be sure it is going to work how you would like it to. I’m not responsible for anyone who reads this, tries it and doesn’t like it 🙂 This is just MY experience!
This post does contain affiliate links. Please see my full disclosure page for more details.
It’s gorgeous and I love it so much. We have already had so many compliments on it. Even the Amazon delivery guy yesterday said “whoa” when I answered the door! Thanks again, Stacey. It’s so beautiful and I had so much fun with you.