So, these little Dollar Tree calendars have been ALLLLL the rage lately! People are buying them up and using them for crafts…which really is so cute!
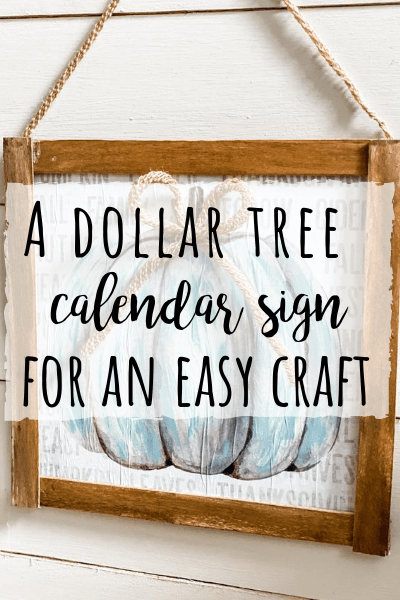
This Dollar Tree calendar sign is an easy DIY project that anyone can do, and you could do it with ANY of the calendar pages!
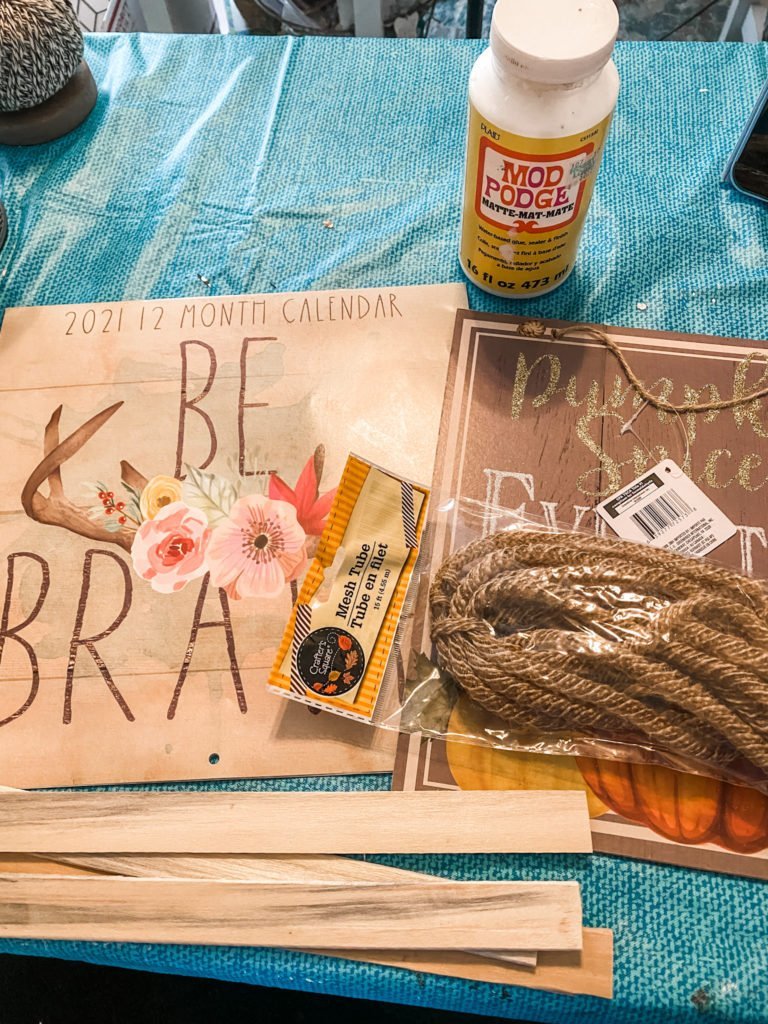
This is the calendar I picked for this project, because I knew I wanted to use the pumpkin for Fall. But…I also knew I wanted to put a twist on it!
I started off with this sign from the dollar tree because it was square and the perfect size to act as my “surface” for this project.
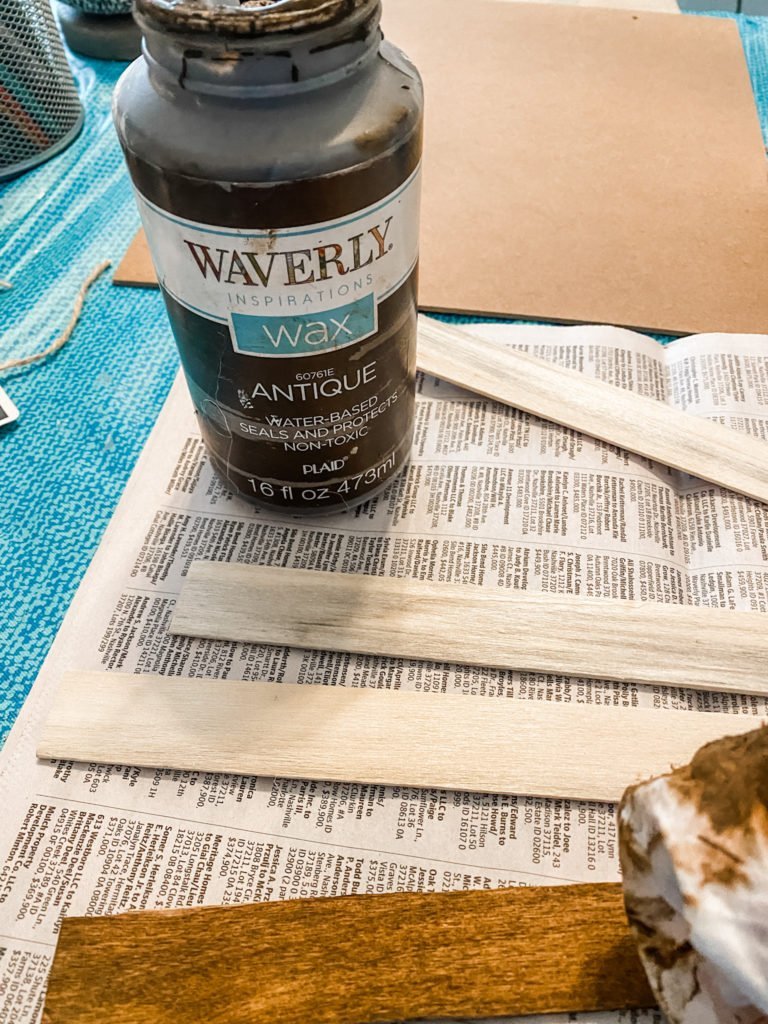
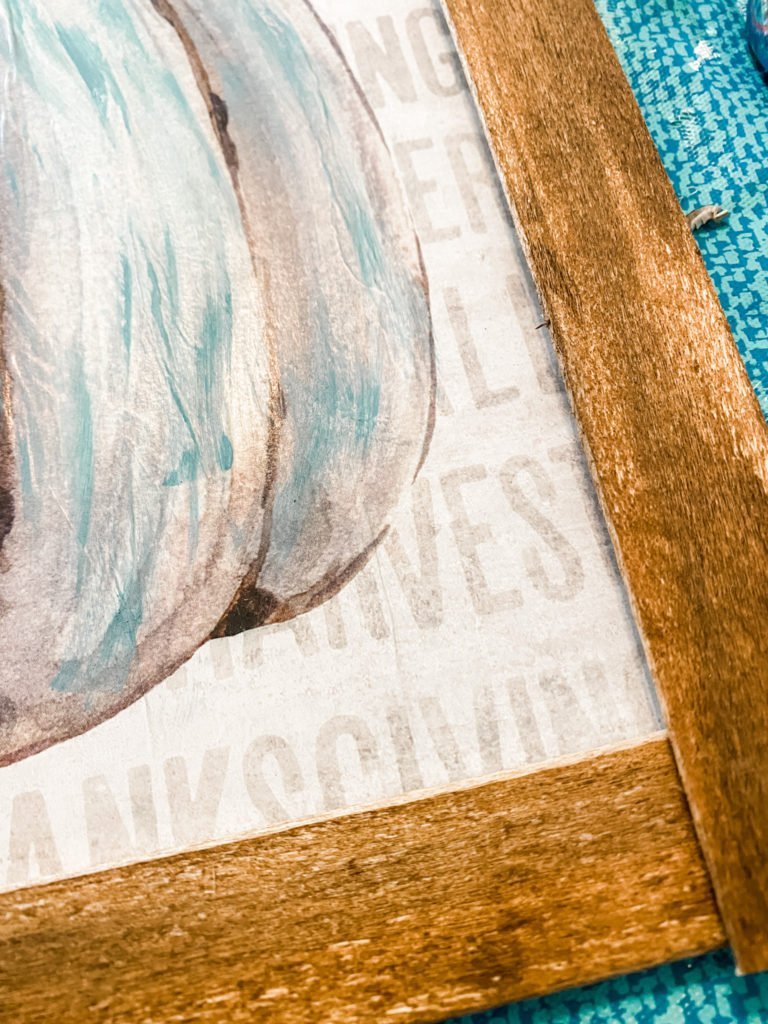
Next, I took 4 of these little paint sticks (I ordered them from Amazon HERE) and stained them with Waverly antique wax. You could also use watered down brown paint to get this look.
I then used mod podge to adhere my calendar to the surface. I’ll be honest, I went a little crazy with it and used too much which caused some bubbles. BUT…no worries!
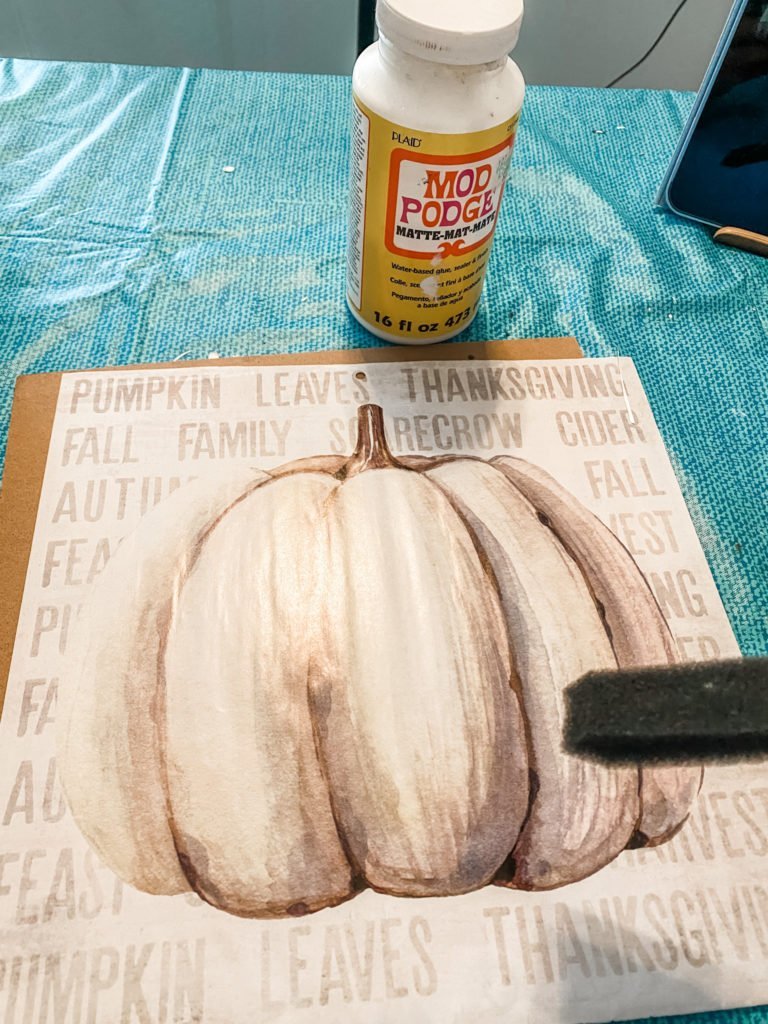
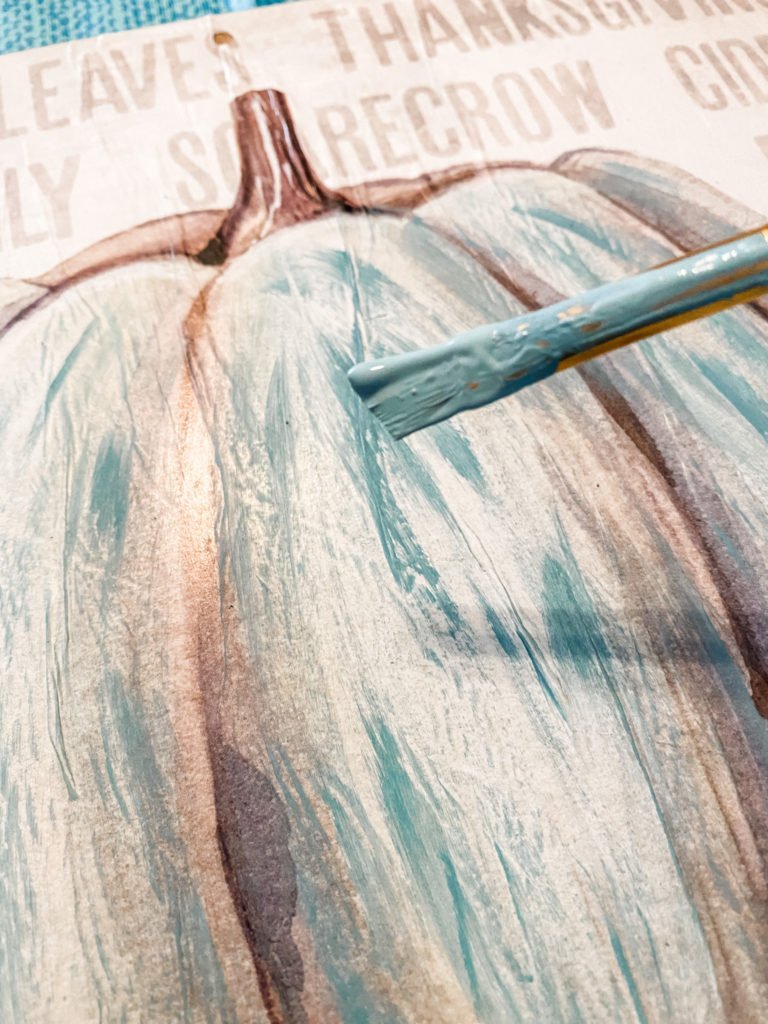
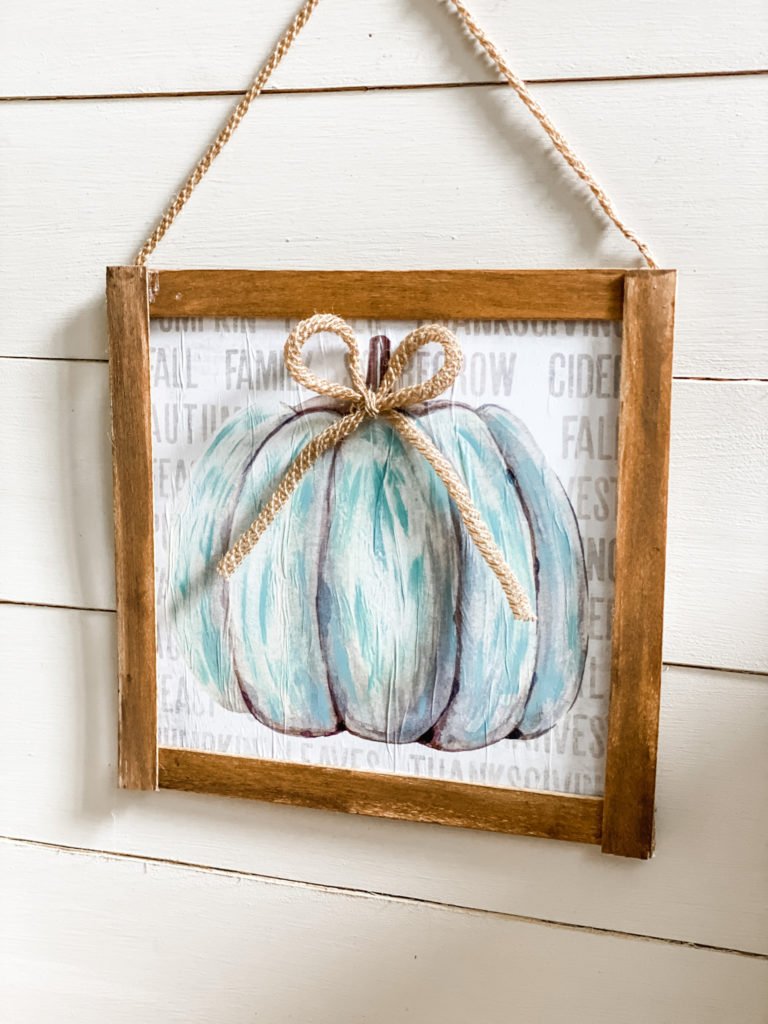
My next idea was going to make it look like it was meant to be that way with all the extra “texture” of the bubbles. I took some Waverly chalk paint in the color agave and did super light brush strokes all over the pumpkin to make myself a little blue pumpkin! I WAS BECOMING OBSESSED!
Once I was done with that, I simply hot glued my paint sticks on to make them look like a frame. Super quick and easy!
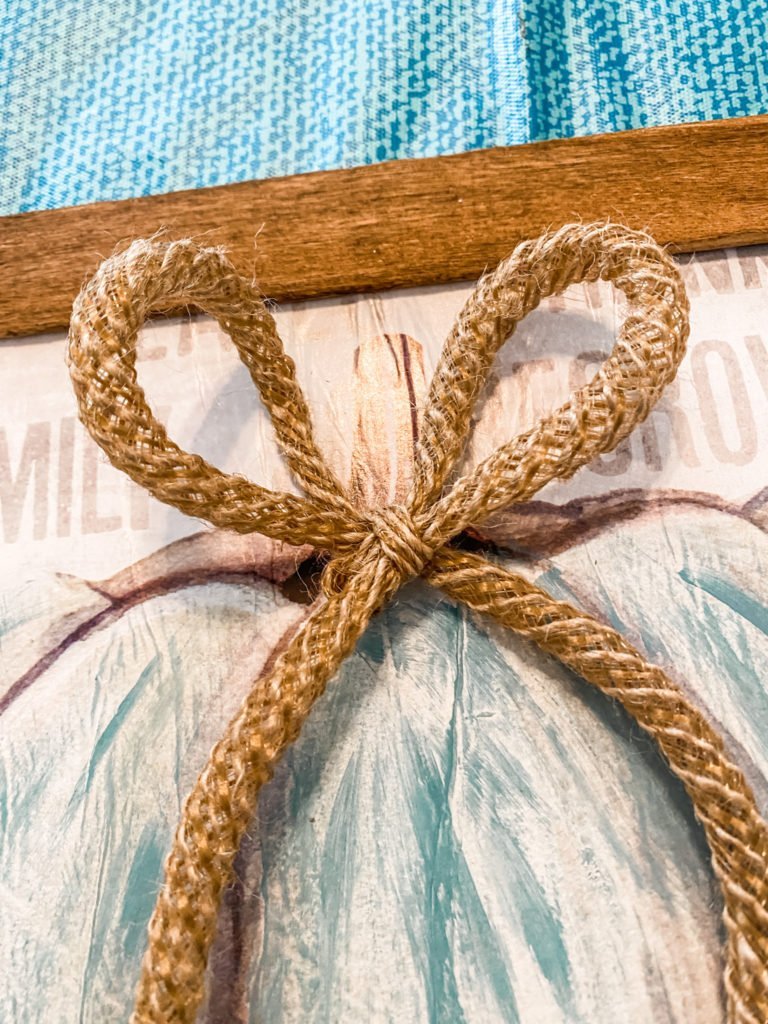
Last but not least, I took the little mesh tube from Dollar Tree and made a bow on the pumpkin AND I used the same thing for a hanger on the back.
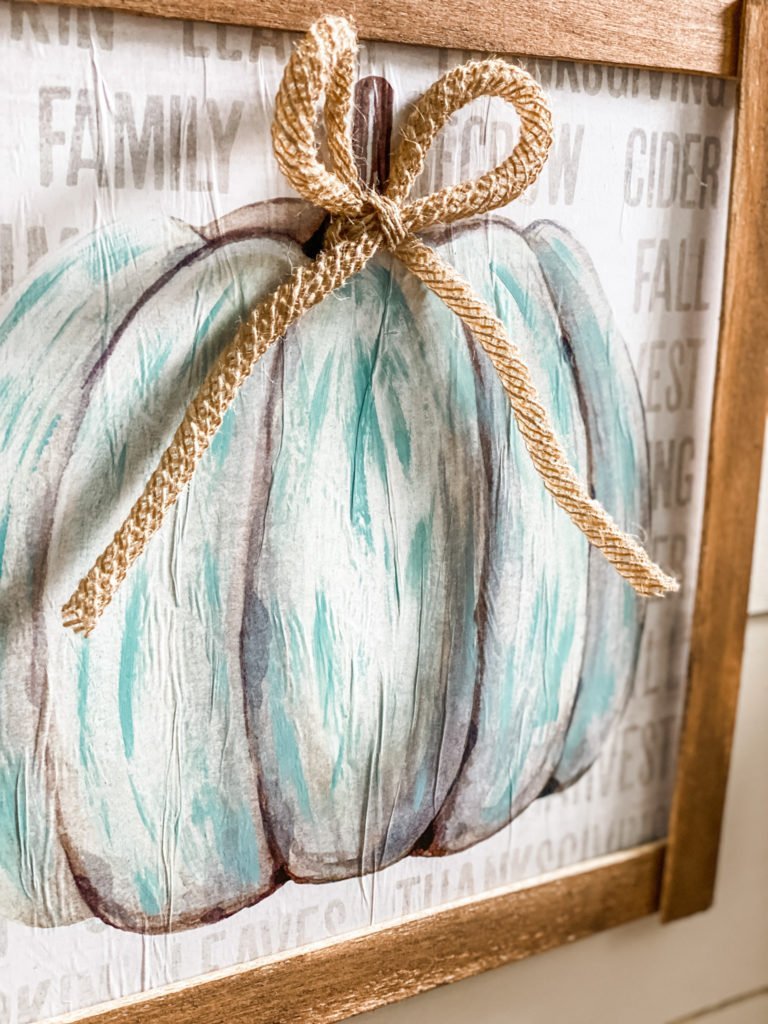
What do you think of my twist on this project?! I really love how it turned out and I hope you do too! Don’t forget you could get this same look with ANY of the Dollar Tree calendar pages! And if you use less mod podge than me, you’ll have less bubbles. Ha!
Until next time…
Stacey
It turned out great! Adding the color makes it pop and totally changes the look!
The aqua color absolutely makes this sign pop. You have made a beautiful version of the pumpkin sign. Bless you.
Nice!!
I Love that, the colors are beautiful ??? You have a way to make anything you do turn out just awesome. I have that calendar and can’t wait to craft mine ???
Love it I musdt try this craft.
It is beautiful! The bubbles add texture to your blue pumpkin. You did a super job. Thanks for the inspiration!
I can’t wait to try this!
❤️ the little additions! Perfect!
turned out so pretty, with the extra touches you did. Great job. love it.
Love it. Now to find those darn Calendars. Lol
I love it!!
Stacey, I love the added touch to the white pumpkin from the Be brave calendar. I have that calendar and the blue you added to the pucture is my accent color for my fall decor. I am going to try to create it for myself. Hope it turns out!
Darling project! Love the color combinations!
That turned out so great. Love the aqua color
I absolutely love this you always have the best ideas and give us so much inspiration. Thank you!
Love what you did with this Stacy! I wish I was more confident in my painting skills 😀
I love it
Did you apply a 2nd coat of mod podge over the top of calendar? Or over the paint?
No I didn’t on this project!