
Have you ever gotten bubbles when using mod podge? Been frustrated doing a project using mod podge? Me too, friend!! That’s why I’m glad we have some different options out there!
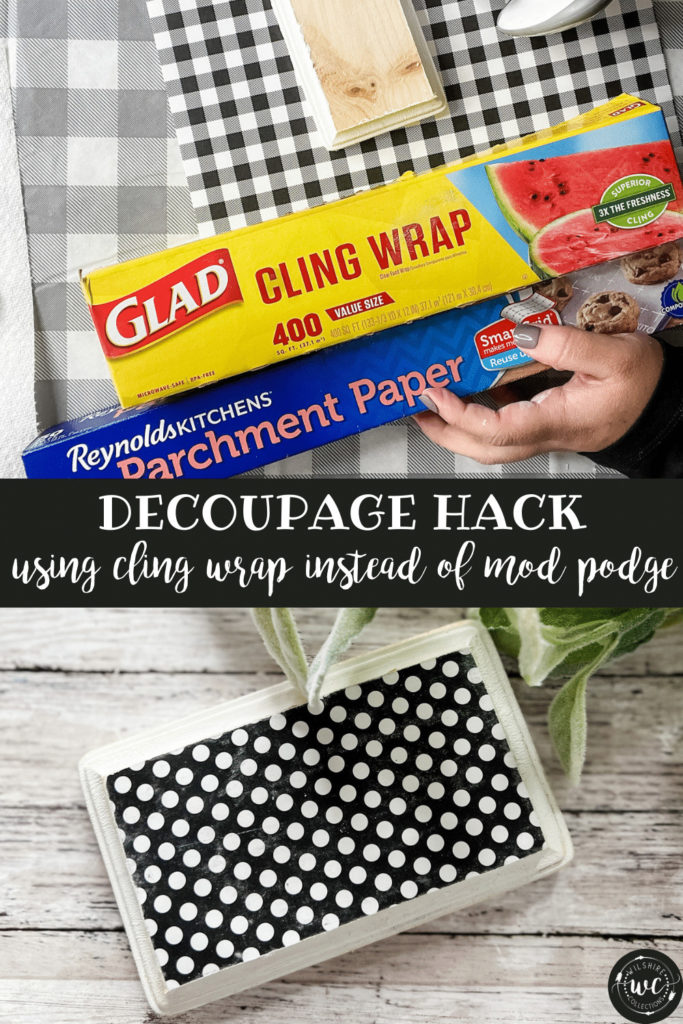
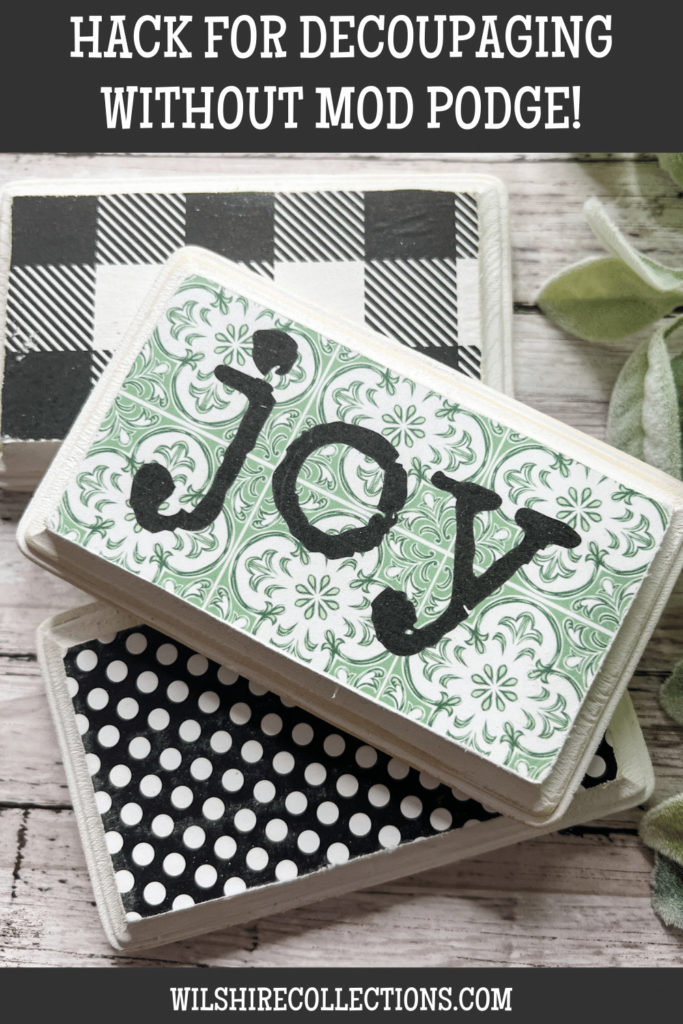
This decoupage hack using cling wrap instead of mod podge is not only mind blowing and cool, but it works great too!
I know this way has been around for a long time, and I’ve always heard about it and seen it but for whatever reason I had just never tried it. So, I grabbed some supplies and decided to put it to the test in 3 ways!
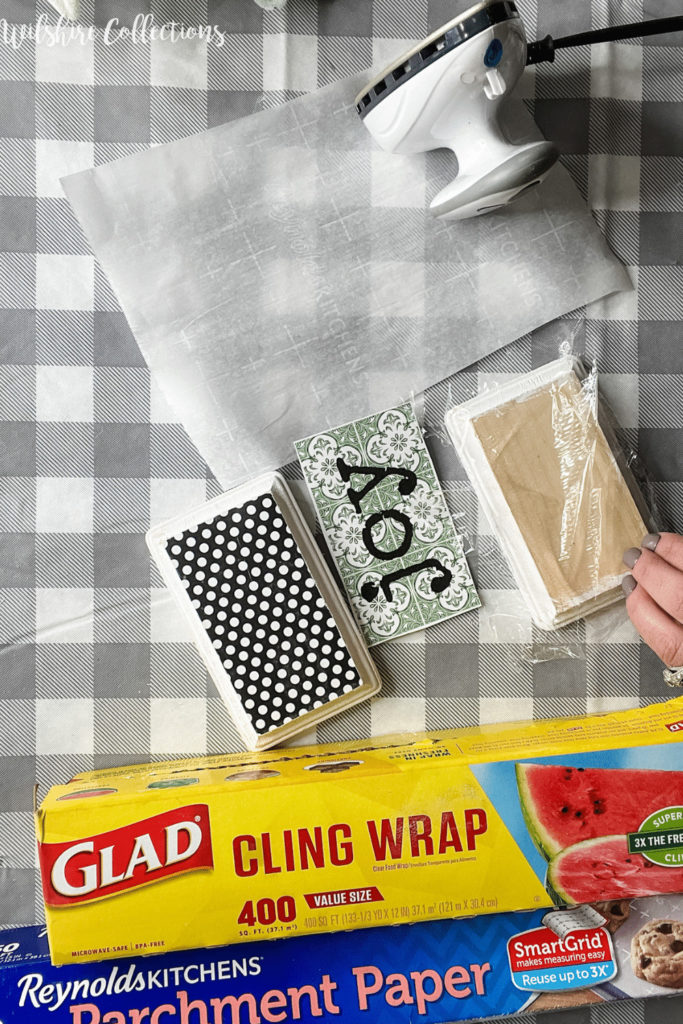
What you’ll need:
- Wood surface
- Something you want to attach to surface (scrapbook paper, printable, napkin,etc)
- Parchment paper
- Iron
- Sandpaper/sanding block
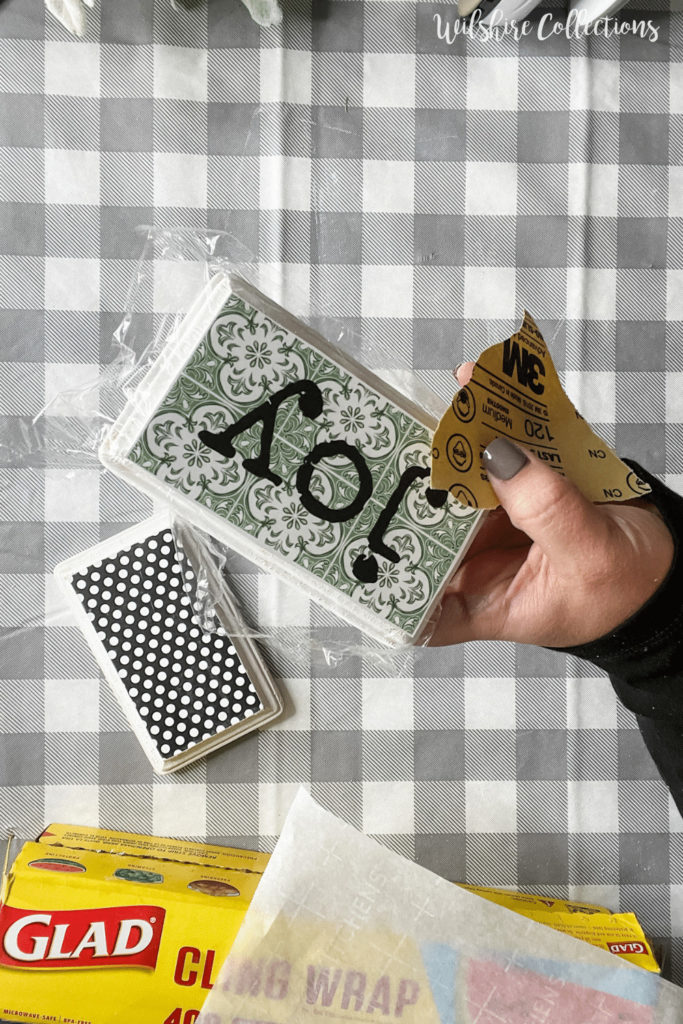
I just grabbed 3 little wood blocks from hobby lobby so that I could test this technique out with scrapbook paper, one of my printables and a napkin. The steps are the same no matter which thing you are using here. (Although if using a napkin, you will need to peel the extra layers off and use only the layer with the pattern)
DISCLAIMER: I have heard that the GLAD cling wrap works best for this, and that Saran wrap and generic brands don’t work as well. However, I have not tried the others so this post is only in regards to Glad cling wrap.
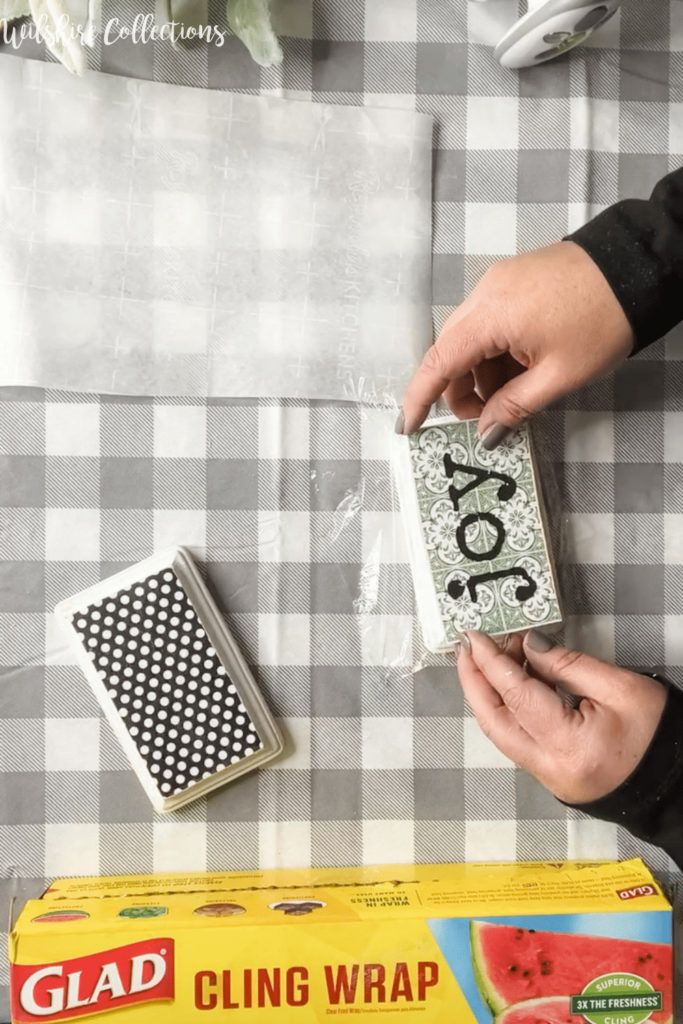
Paint any part of your wood surface that won’t be covered and let it dry first. Get a piece of cling wrap and cut it where it is a little bigger than your surface and lay it on top of your wood surface.
Next, cut your paper (or napkin) to the size of your surface. (it’s ok if it’s a little bigger, you can trim excess later) Lay that on TOP of the cling wrap in the exact position you want to adhere it.
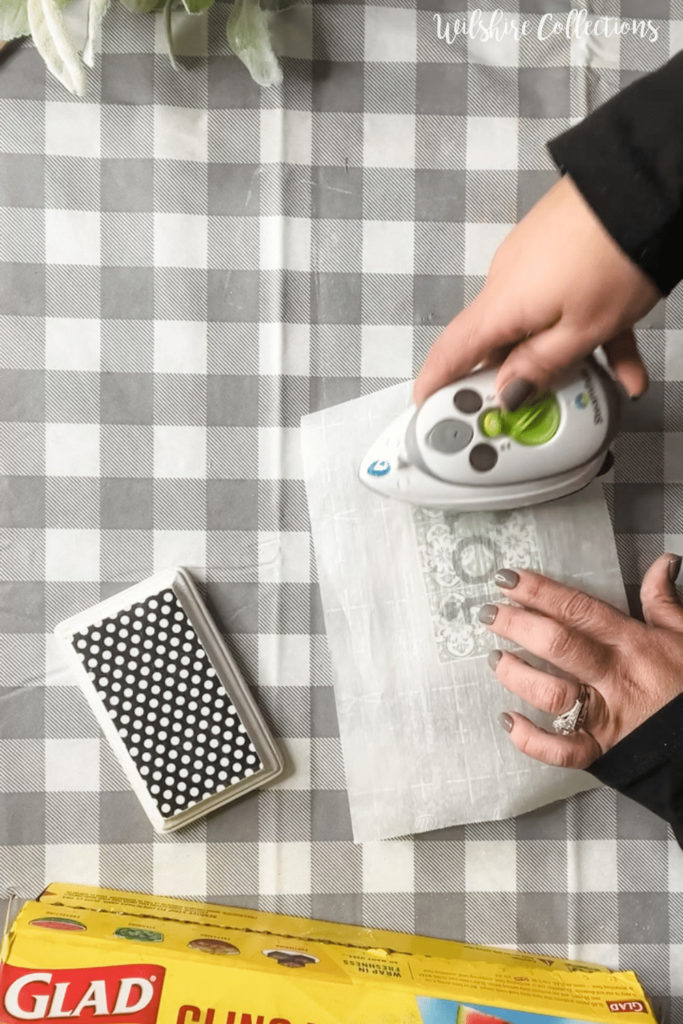
Put a piece of parchment paper over the top, then take your iron and go back and forth over it until the cling wrap literally MELTS into the wood and adheres your paper or napkin.
Once it’s adhered you can use your sandpaper/block to trim off any excess paper or cling wrap.
Tips: I am using a small travel iron that can be found here! My iron was on a medium to high heat setting. From what I have heard a regular iron works just fine, just don’t use steam.
I would just lift my parchment paper up from time to time to make sure that it was sticking and didn’t need more ironing.Please note, the bigger your surface is…the longer this is going to take. So it may not be the quickest decoupage hack, but…
Look how smooth it is! No bubbles AT ALL! It truly worked so well, I was shocked!
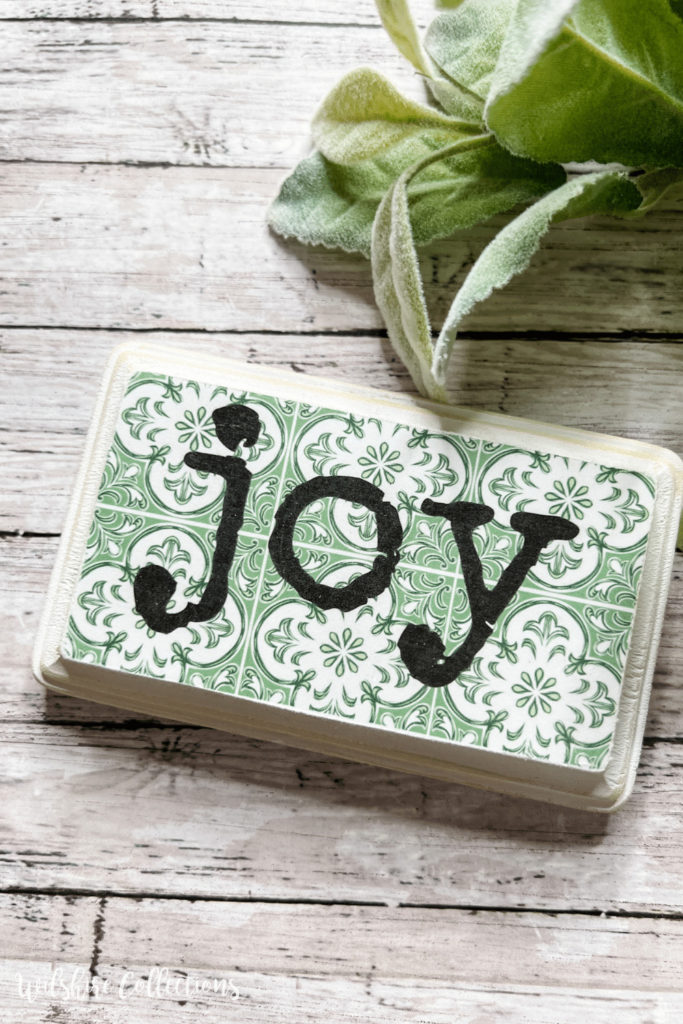
I repeated this same process with the scrapbook paper and then a paper napkin and they all worked great! You’ll definitely want to PIN this one for later!
Now for the million dollar questions- Will it stay and last? Do I need to seal the top? Answer: YES! I recommend sealing it just like you would any decoupage project so it protects it and keeps it sealed! You can use any type of sealer you prefer.
For me, I’ll stick with mod podge for the top (I know, the bubbles lol). But if I do get bubbles on top, I will use my iron method hack to help smooth those out.
What do you think of this decoupage hack? Are you going to give it a try? (Or maybe you’ve been doing it for years lol). I can’t wait to hear either way. I will be 100% honest, I still think the mod podge iron method is still my preferred way to decoupage, but I love having this as an option too!
Until next time…
Stacey
*this post does contain affiliate links. Please see my full disclosure page for more info.
Have been told to do this when you want to put a picture on a t-shirt?!??